
Many portraits are not unusable because of pose or composition. They fail because the light did not land the way the moment actually felt. A photo taken indoors, at night, in a restaurant, or in a dim everyday setting can look much darker and heavier than the real scene. The face may be visible but not clear enough, the shadows may feel muddy, and the whole image can end up looking gray, flat, or lifeless even when the memory itself felt warm and worth keeping.
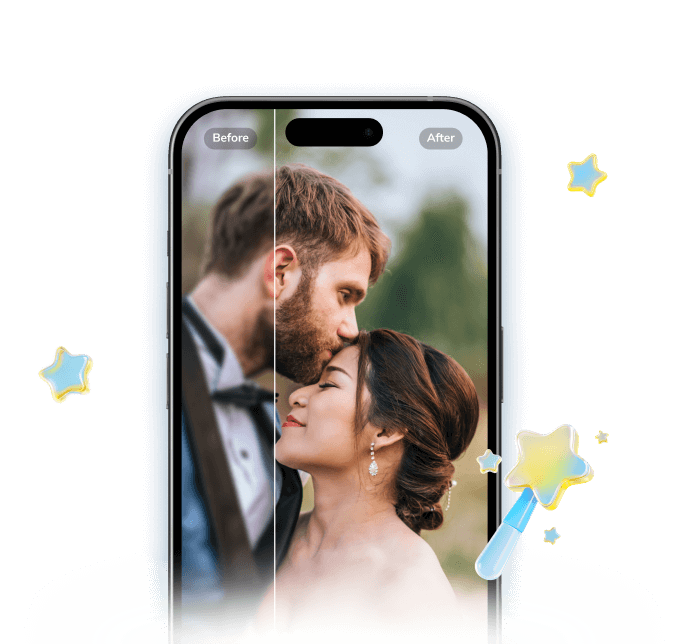
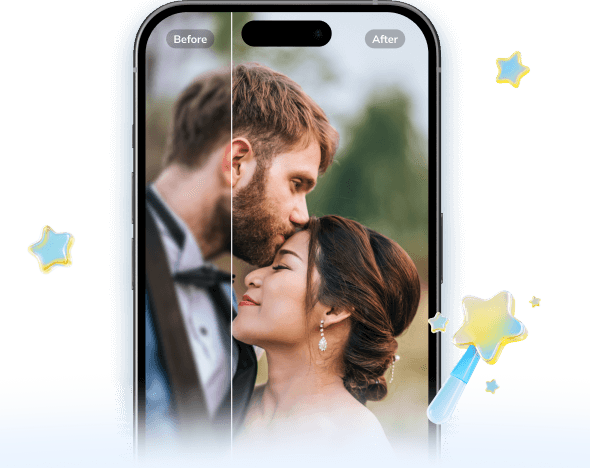
This is exactly where users start looking for a brighten-photo solution. But the real need is usually more specific than "make it brighter." Most people do not want a washed-out face, a blown background, or a filter-heavy result. They want the portrait to feel closer to the moment they remember: clearer facial light, cleaner shadow balance, and a more natural overall impression. Relumi describes its Photo Lighting Enhancer and AI Retake workflow as a way to fix what the camera caught wrong so the moment looks the way it actually felt. That framing matters here, because a believable brighten-photo result should feel like a better retake, not like aggressive editing added afterward. Official references: Photo Lighting Enhancer and Relumi App.
In this article
Part 1. Why dark portraits often look worse than the real moment
Low-light portraits usually fail because the camera records light more harshly than the eye experiences it. In real life, you can still read expressions, sense atmosphere, and separate a face from the background even in a dim room, a restaurant, a hallway, or an evening setting. But once the photo is captured, those same scenes can look heavier and less readable. The face may fall into shadow, the skin can lose liveliness, and the image may feel flatter than the memory itself.
This is why users often describe the problem in emotional terms rather than technical ones. They say the portrait looks too dark, the face is hard to see, the indoor lighting is bad, or the whole photo feels gray and lifeless. Those pain points match the exact search intent behind brighten-photo queries. The real problem is not always extreme darkness. It is that the light no longer supports the person in the frame well enough to make the image feel worth keeping.
Part 2. How Relumi helps brighten a portrait naturally
Relumi Lighting Enhancer
Retake photo lighting naturally with AI-powered scene relighting.
 Balance harsh facial shadows without flattening the portrait
-
Improve hard light, patchy light, and low-visibility street portraits naturally
-
Keep urban mood while making the subject easier to see
-
No editing skills required — upload, relight, preview, and save


Why brightening a portrait is not the same as overexposing it
According to Relumi's official product page, Photo Lighting Enhancer reads face brightness, shadow direction, background contrast, and scene atmosphere, then rebuilds the image so it feels more naturally relit. That matters because an effective brighten-photo workflow should not simply push every part of the image brighter. If you do that, the face can look chalky, the background can wash out, and the final result may feel fake rather than improved.
For dark portraits, what users usually need is better balance. The face should be easier to read. The shadows should feel less muddy. The photo should retain the original setting while becoming more usable. This is why Relumi's positioning around a better "retake" is more convincing than a generic brighten filter. The goal is not to erase the original light logic. It is to make that logic work better for the portrait.
What a natural brighten-photo result should actually feel like
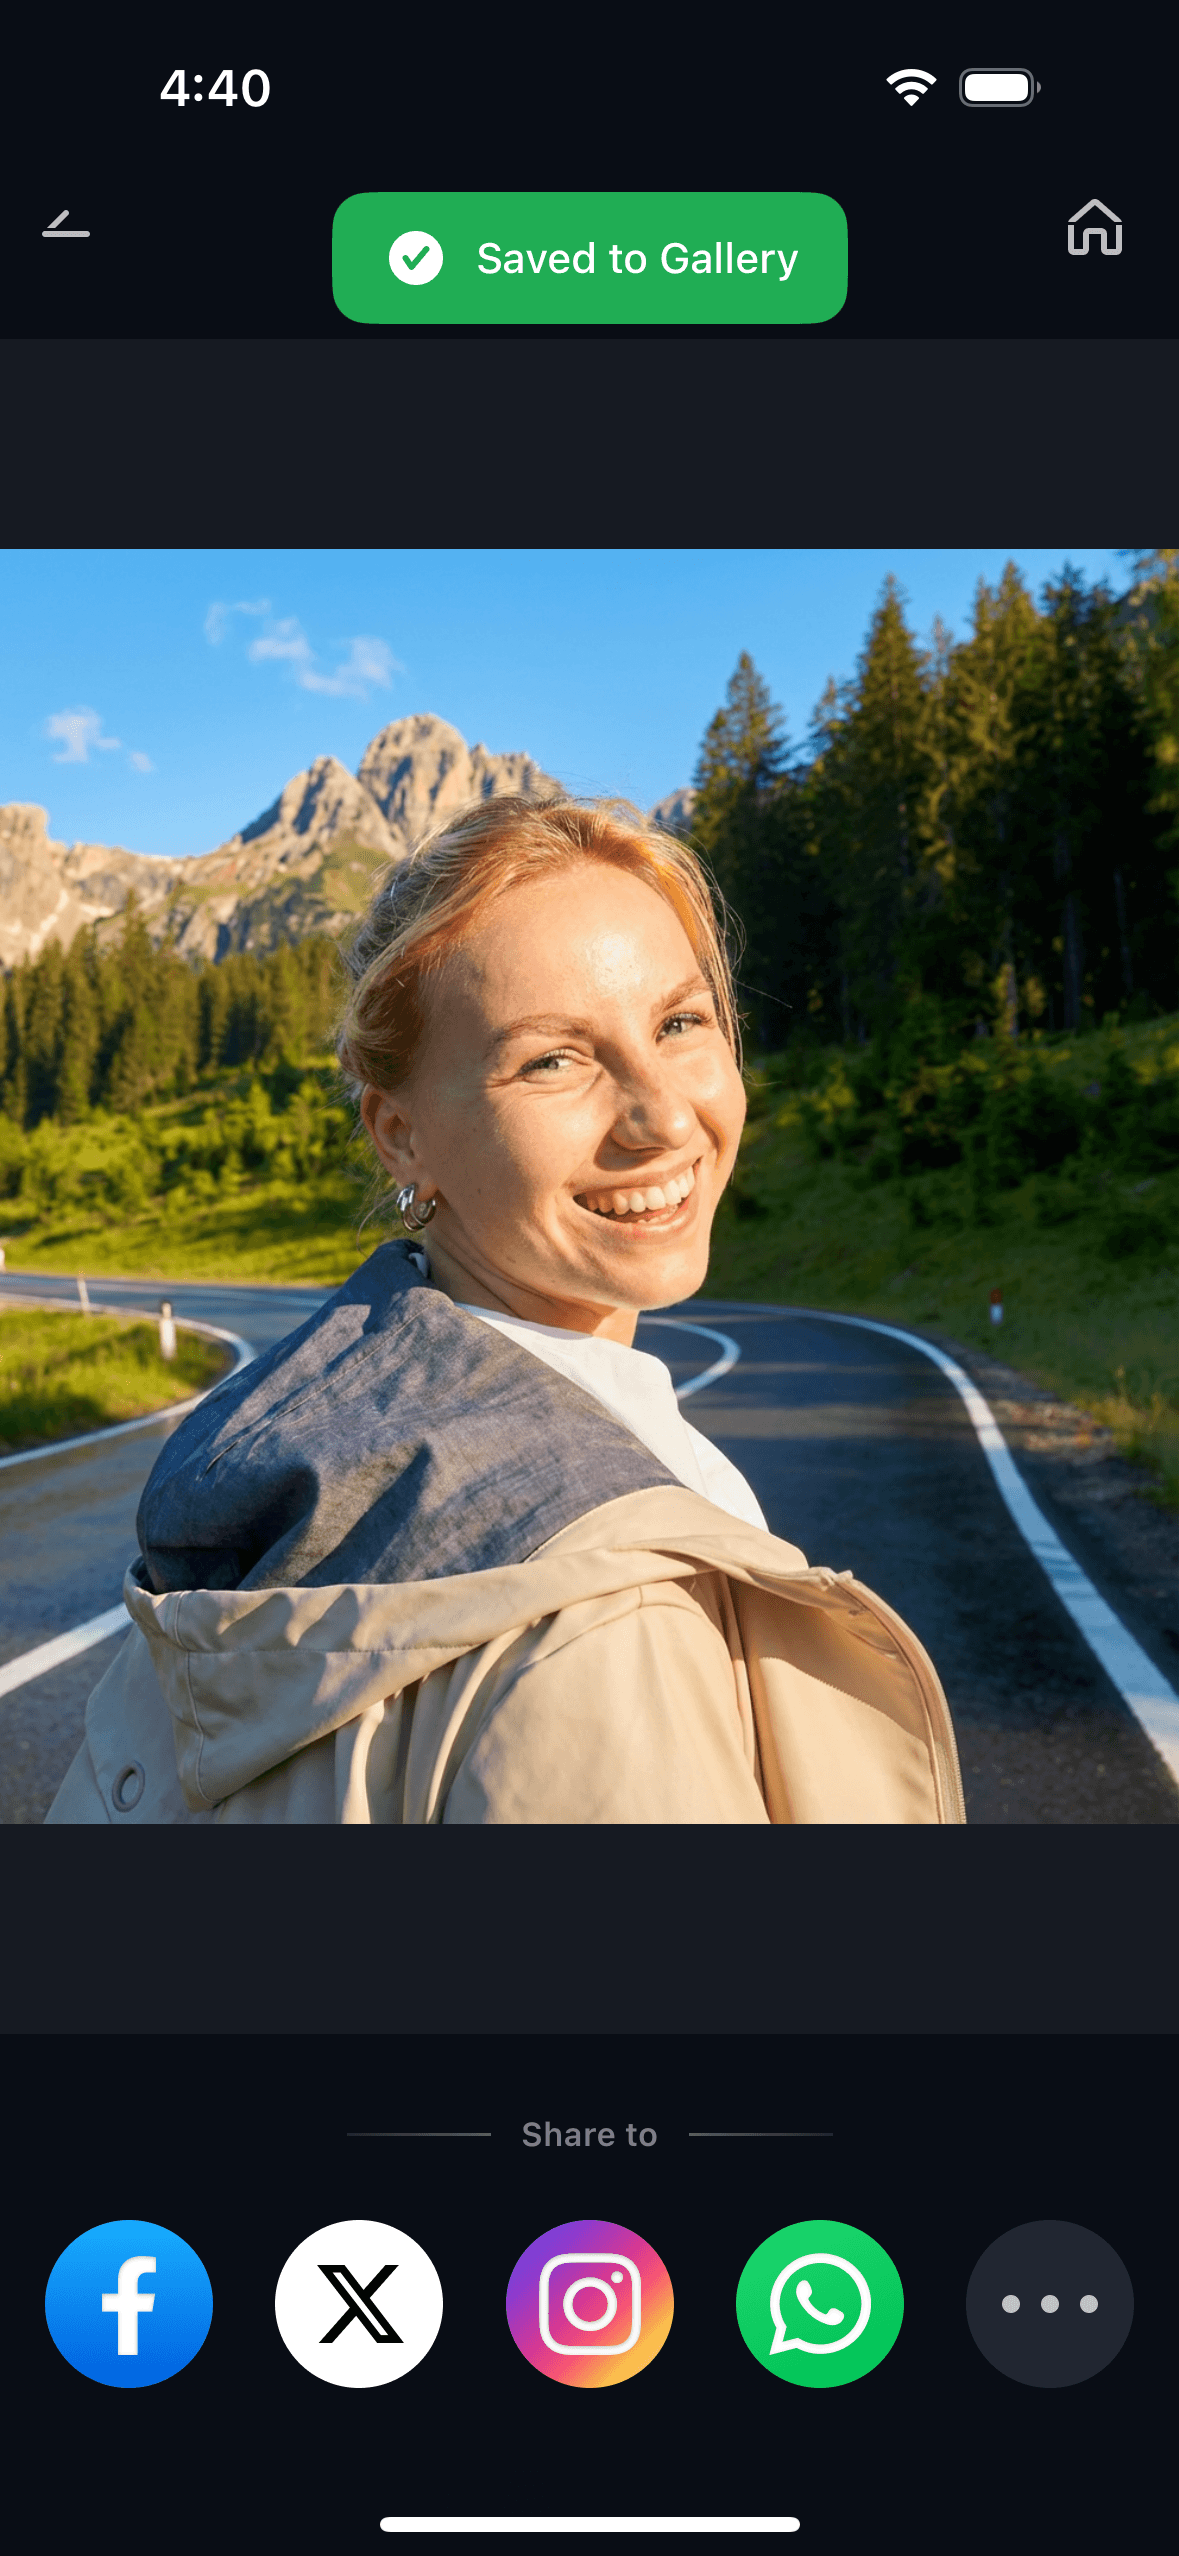
A good brighten-photo result should make the image feel cleaner and more readable without making it look artificially processed. The face should have more presence, but still look like the same person in the same scene. The background should remain believable. Warm indoor environments should not turn cold, and dark scenes should not suddenly look like they were shot in full daylight.
For most users, the ideal result is subtle but meaningful. The portrait looks more alive, the facial details are easier to see, and the overall scene feels closer to what the eye actually experienced.
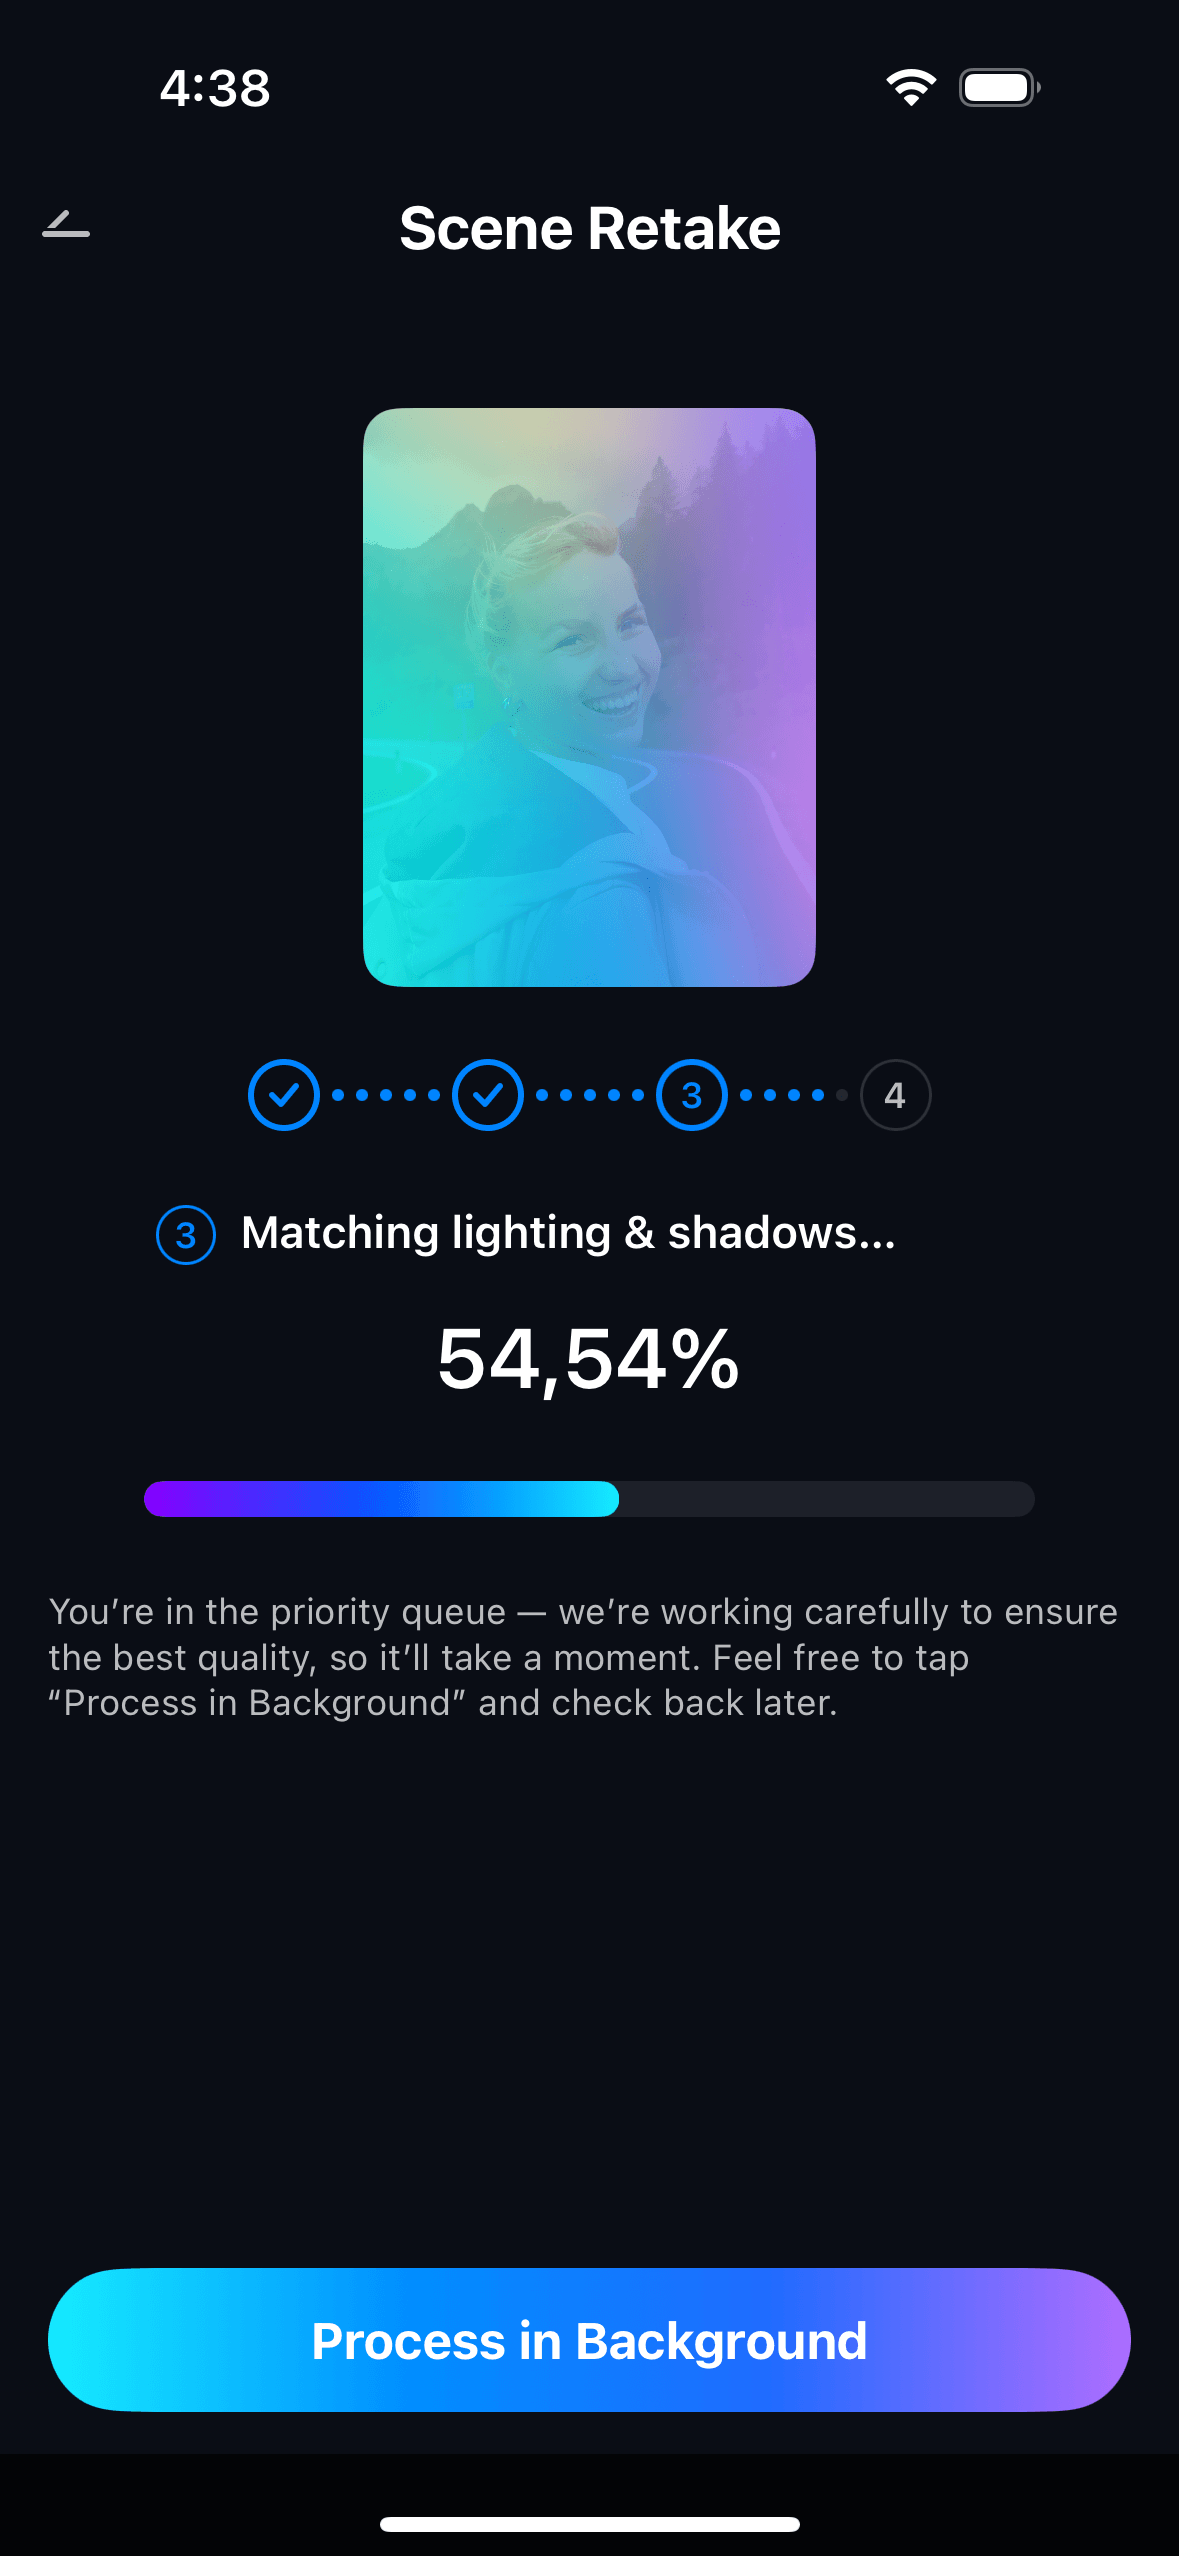
Part 3. How to use Brighten Photo in Relumi
Step 1. Add the dark portrait
Upload the photo you want to improve. This works best when the image already has memory value or a good composition, but the subject looks too dim, the face is not readable enough, or the whole portrait feels darker than the real moment.
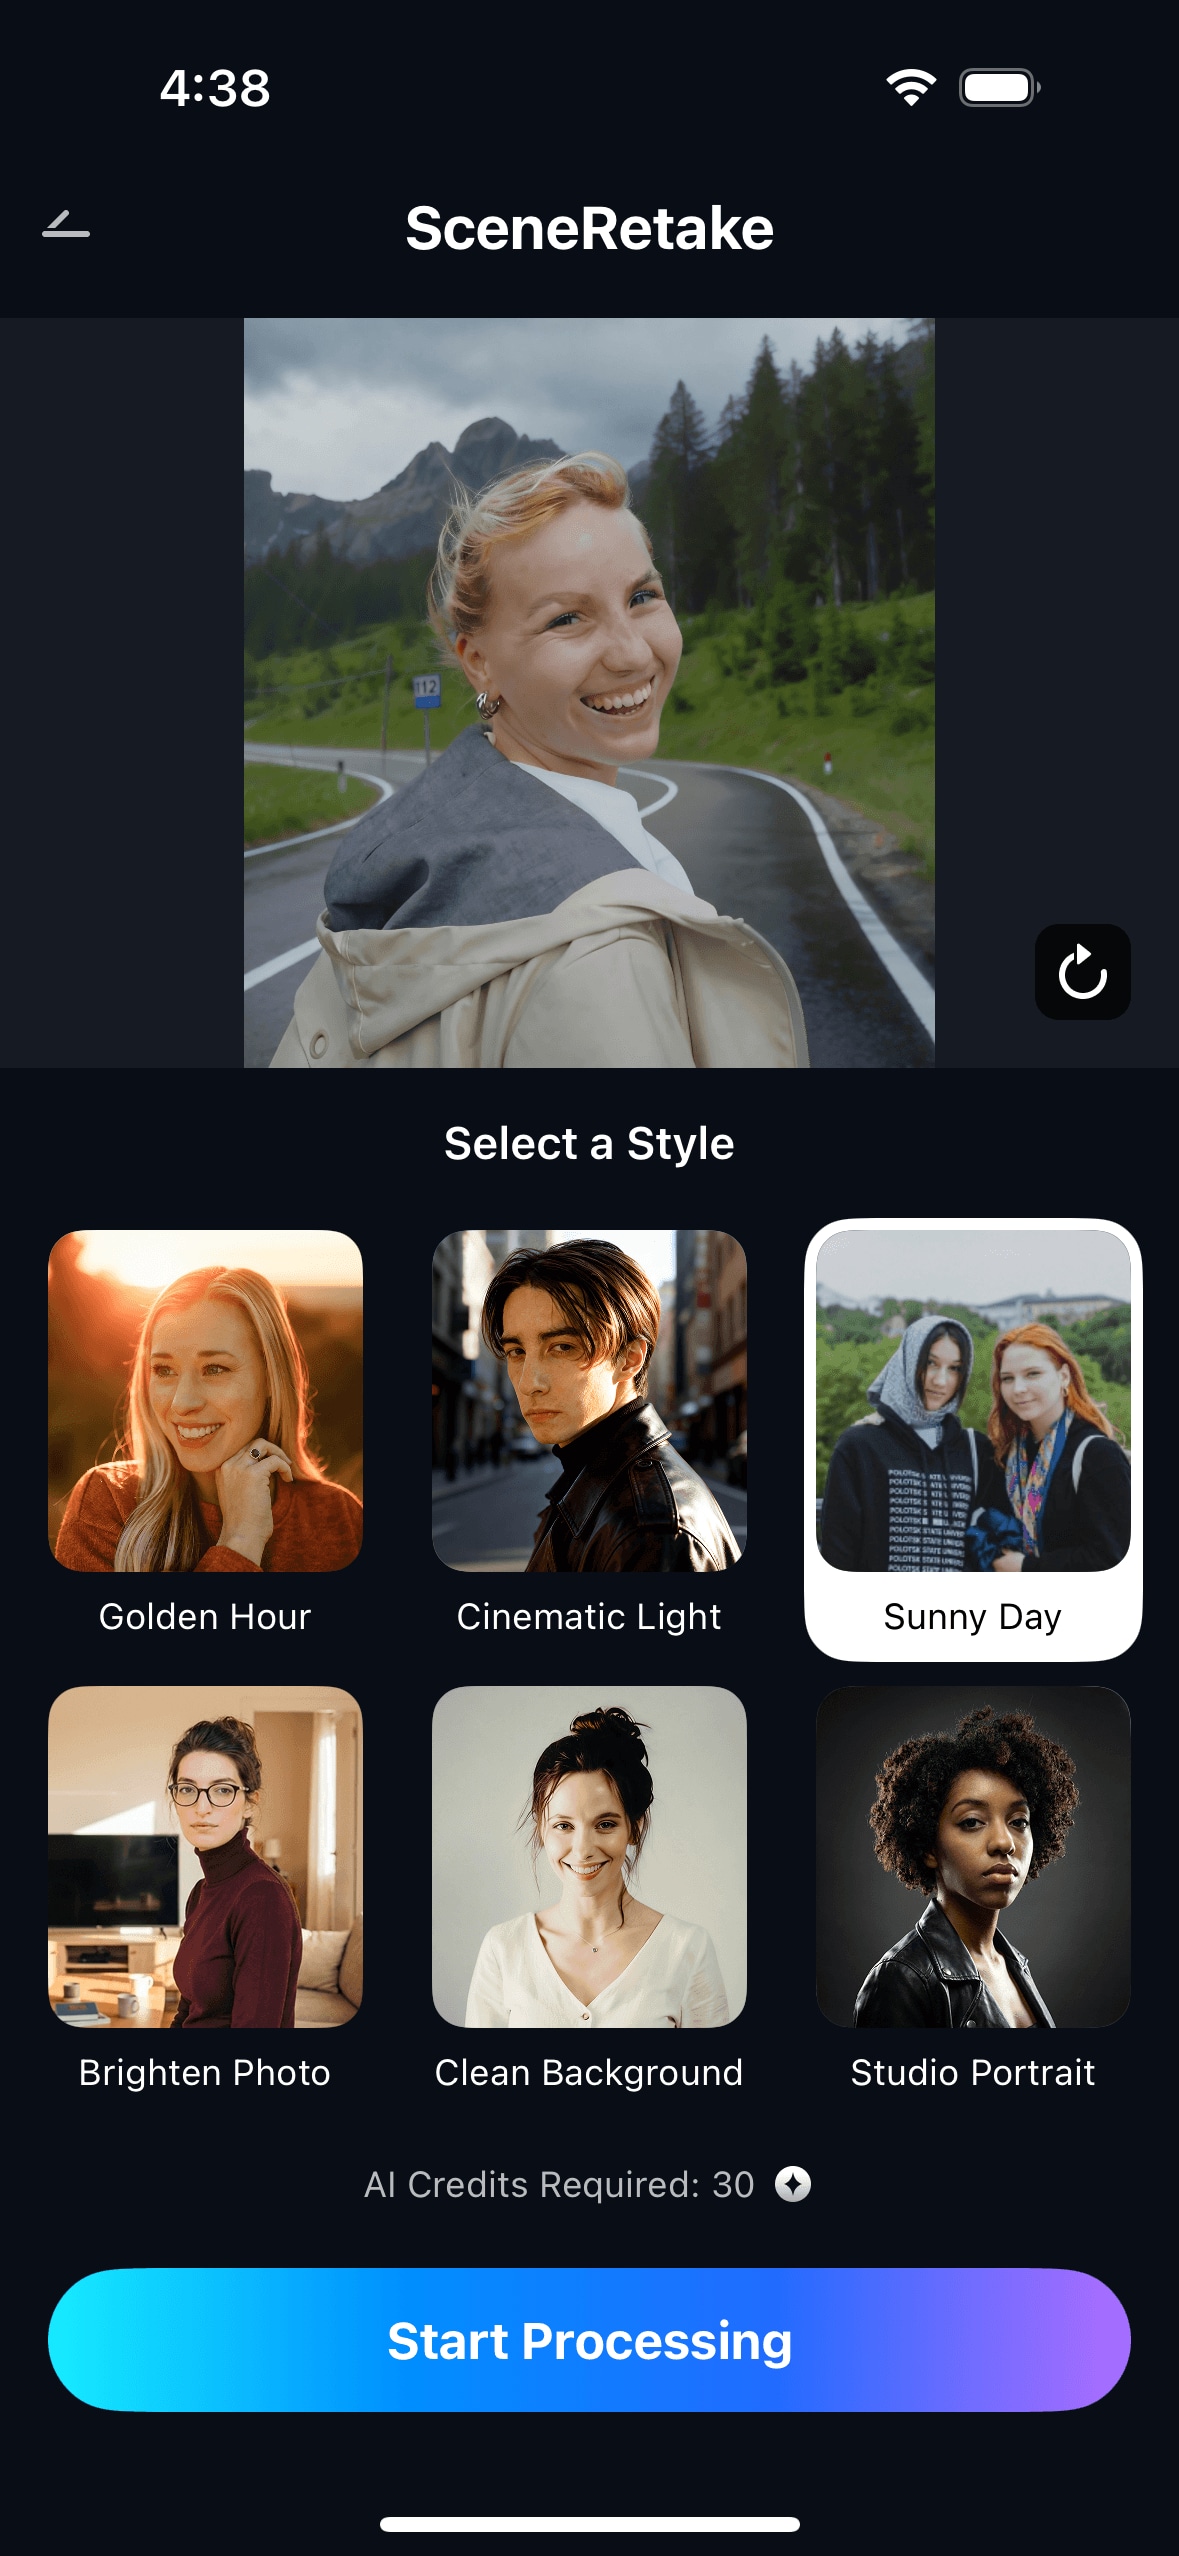
Step 2. Choose Scene Retake to improve the lighting
Select Scene Retake and use the brightening-oriented direction that best fits the photo. This is especially helpful when the portrait needs stronger facial readability, softer shadow handling, and a clearer overall light impression without becoming obviously edited.
Step 3. Preview and save the version that still looks real
Before saving, compare the updated image with the original. The best version usually feels brighter and easier to read, but still believable. Skin tone should remain natural, the background should keep useful detail, and the photo should still feel like the same moment rather than a heavily re-edited replacement.
Part 4. When this works best
Best photo types for brighten-photo correction
This workflow is most useful when the original image is worth saving, but lighting problems keep it from feeling usable or attractive. Common examples include:
- indoor portraits where the face looks too dark or less lively than expected
- low-light selfies that feel underexposed or muddy
- night portraits where facial detail got lost
- restaurant or dinner photos where mood is good but visibility is weak
- party, gathering, or everyday dim-environment portraits that need clearer face light
In these use cases, Brighten Photo works best as a realism-first fix. Users usually want the photo to become clearer and more keepable, not to look dramatically transformed.
Quick checklist before saving
- Does the face look clearer without becoming over-bright?
- Do the shadows feel cleaner instead of artificially flattened?
- Does the background still look believable and detailed?
- Does the image feel closer to the real moment you remember?
- Would the result still look natural if someone assumed it was never edited?
Part 5. When results may be limited
Brighten Photo works best when the source image still contains enough usable detail in the face and surroundings. Results may be limited if the portrait is heavily blurred, deeply underexposed, strongly compressed, or missing too much information in key areas such as eyes, skin texture, or background structure. In those cases, the feature may improve the overall impression, but it may not fully rebuild a clean and natural portrait.
It is also important to keep expectations realistic. If a photo was captured in extremely poor light, the best outcome may be a more readable version of the same moment rather than a polished studio-like image. Good guidance should make that clear, because trust matters more than over-promising.
Conclusion
If your portrait looks darker, flatter, or less readable than the real moment felt, the problem is usually not the memory itself. It is that the camera did not translate the light in a flattering way. A good brighten-photo workflow should help the portrait feel clearer and more natural without making it look fake. That is where Relumi is most relevant: helping the photo recover a more believable version of the moment you actually wanted to keep.
FAQ
-
1. Can Brighten Photo help if my portrait is dark but not completely underexposed?
Yes. Many portraits are technically visible but still feel too dim, too flat, or too muddy. This is one of the most relevant use cases, because the goal is often to improve facial readability and overall light balance rather than perform extreme recovery. -
2. Will brightening the portrait make it look fake?
It should not if the correction stays believable. A strong result usually makes the face easier to see and the shadows cleaner without washing out the background or making skin tone look unnaturally pushed. -
3. What kinds of dark portraits are best for this feature?
Indoor portraits, underexposed selfies, night images, restaurant portraits, party photos, and dim everyday portraits are all strong candidates when the moment looked better in real life than it does in the image. -
4. What should I check before saving the final version?
Check whether the face is clearer, the background still feels real, and the photo looks naturally improved rather than obviously edited. The best result usually feels more usable and more truthful at the same time.
 ChatGPT
 Perplexity
 Google AI Mode
 Grok
Grok


