
Indoor portraits often disappoint for a reason that feels familiar but is hard to describe. The room did not feel that dark in real life, you could clearly see the person's expression, and the moment itself may even have felt warm or comfortable. But once the photo is reviewed, the face looks dimmer than expected, the shadows feel muddy, and the whole image can turn gray, heavy, or lifeless. In many cases, the problem is not the subject. It is that indoor light was recorded in a less flattering way than the eye experienced it.
This is why so many users search for a natural way to brighten an indoor portrait rather than simply increase exposure. Most people do not want a face that looks chalky, a room that gets washed out, or a result that feels like a strong filter was added. They want the portrait to feel closer to the real moment: clearer facial light, softer shadow balance, and a more readable subject without losing the indoor atmosphere. Relumi describes its Photo Lighting Enhancer and AI Retake workflow as a way to fix what the camera caught wrong so the moment looks the way it actually felt. That framing is especially relevant for indoor portraits, where the goal is not maximum brightness but believable recovery. Official references: Photo Lighting Enhancer and Relumi App.
In this article
Part 1. Why indoor portraits often look darker than the room felt
Indoor lighting is difficult because it usually comes from a few limited sources rather than a broad, even daylight wash. A room may rely on ceiling light, a lamp, window spill, warm restaurant lighting, or mixed light from different directions. To the eye, the face still feels readable because human vision adapts quickly. A camera does not adapt in the same way. It may preserve the room, but let the face sink slightly into shadow. Or it may keep the face somewhat visible while letting the whole image feel flat and gray.
That is why users often describe indoor portraits with phrases like too dark, face not visible enough, indoor lighting is bad, or photo looks gray and lifeless. These are not always signs of a ruined image. More often, they indicate that the portrait light was captured without enough balance between the subject and the environment. The memory is still there, but the photo no longer communicates it clearly.
Part 2. How Relumi helps fix a dark indoor portrait naturally
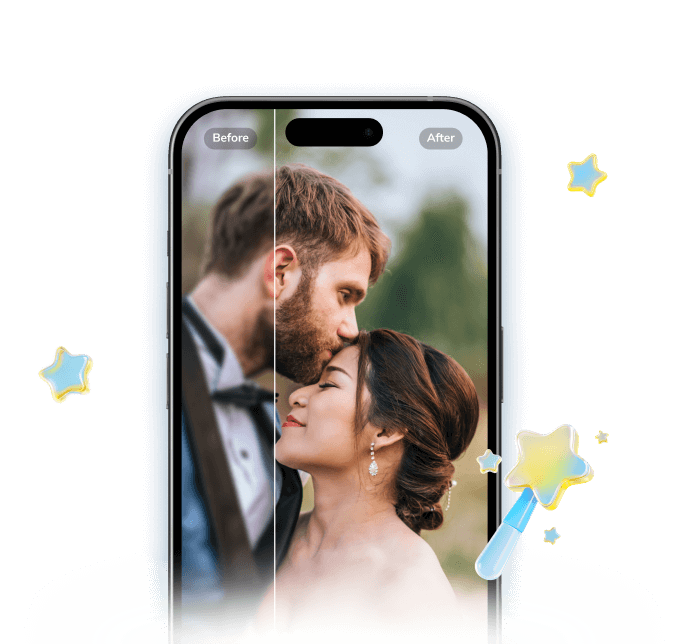
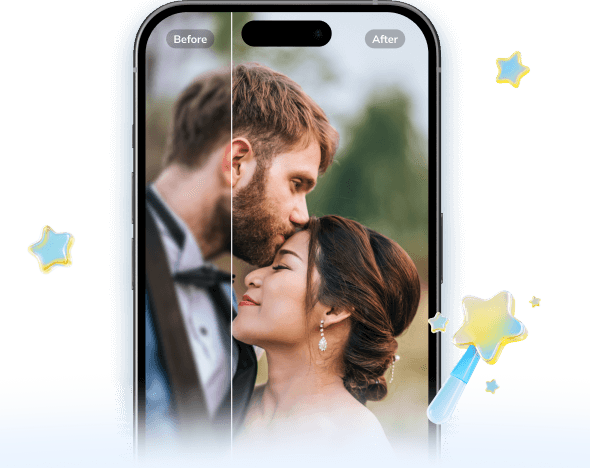
Relumi Lighting Enhancer
Retake photo lighting naturally with AI-powered scene relighting.
 Balance harsh facial shadows without flattening the portrait
-
Improve hard light, patchy light, and low-visibility street portraits naturally
-
Keep urban mood while making the subject easier to see
-
No editing skills required — upload, relight, preview, and save


Why bad indoor light is not solved by brightness alone
According to Relumi's official product page, Photo Lighting Enhancer reads face brightness, shadow direction, background contrast, and scene atmosphere, then rebuilds the portrait so it feels more naturally relit. That matters because a weak indoor portrait usually does not need every part of the image pushed brighter at the same time. If you only increase exposure, skin can look pale, warm rooms can lose atmosphere, and the background can become washed out or unnatural. Source
For indoor scenes, the real goal is usually better facial readability and more convincing separation between the person and the room. The image should feel clearer, but still like the same indoor moment. That is why Relumi's retake-style positioning is more useful than a simple brighten filter. Users are typically trying to recover the photo they thought they had already taken.
What a good indoor brightening result should actually feel like
A good indoor brightening result should feel softer and more readable, not obviously edited. The face should be easier to see, but still believable in the room. Warm indoor light should stay warm if that is part of the scene. Shadows should become cleaner, not fully erased. If the final image looks too white, too smooth, or strangely detached from the environment, the correction has probably gone too far.
For most users, the ideal result is modest but meaningful. The portrait no longer feels buried by the room light, and the person becomes easier to connect with while the indoor setting still feels real.
Part 3. How to use Brighten Photo in Relumi
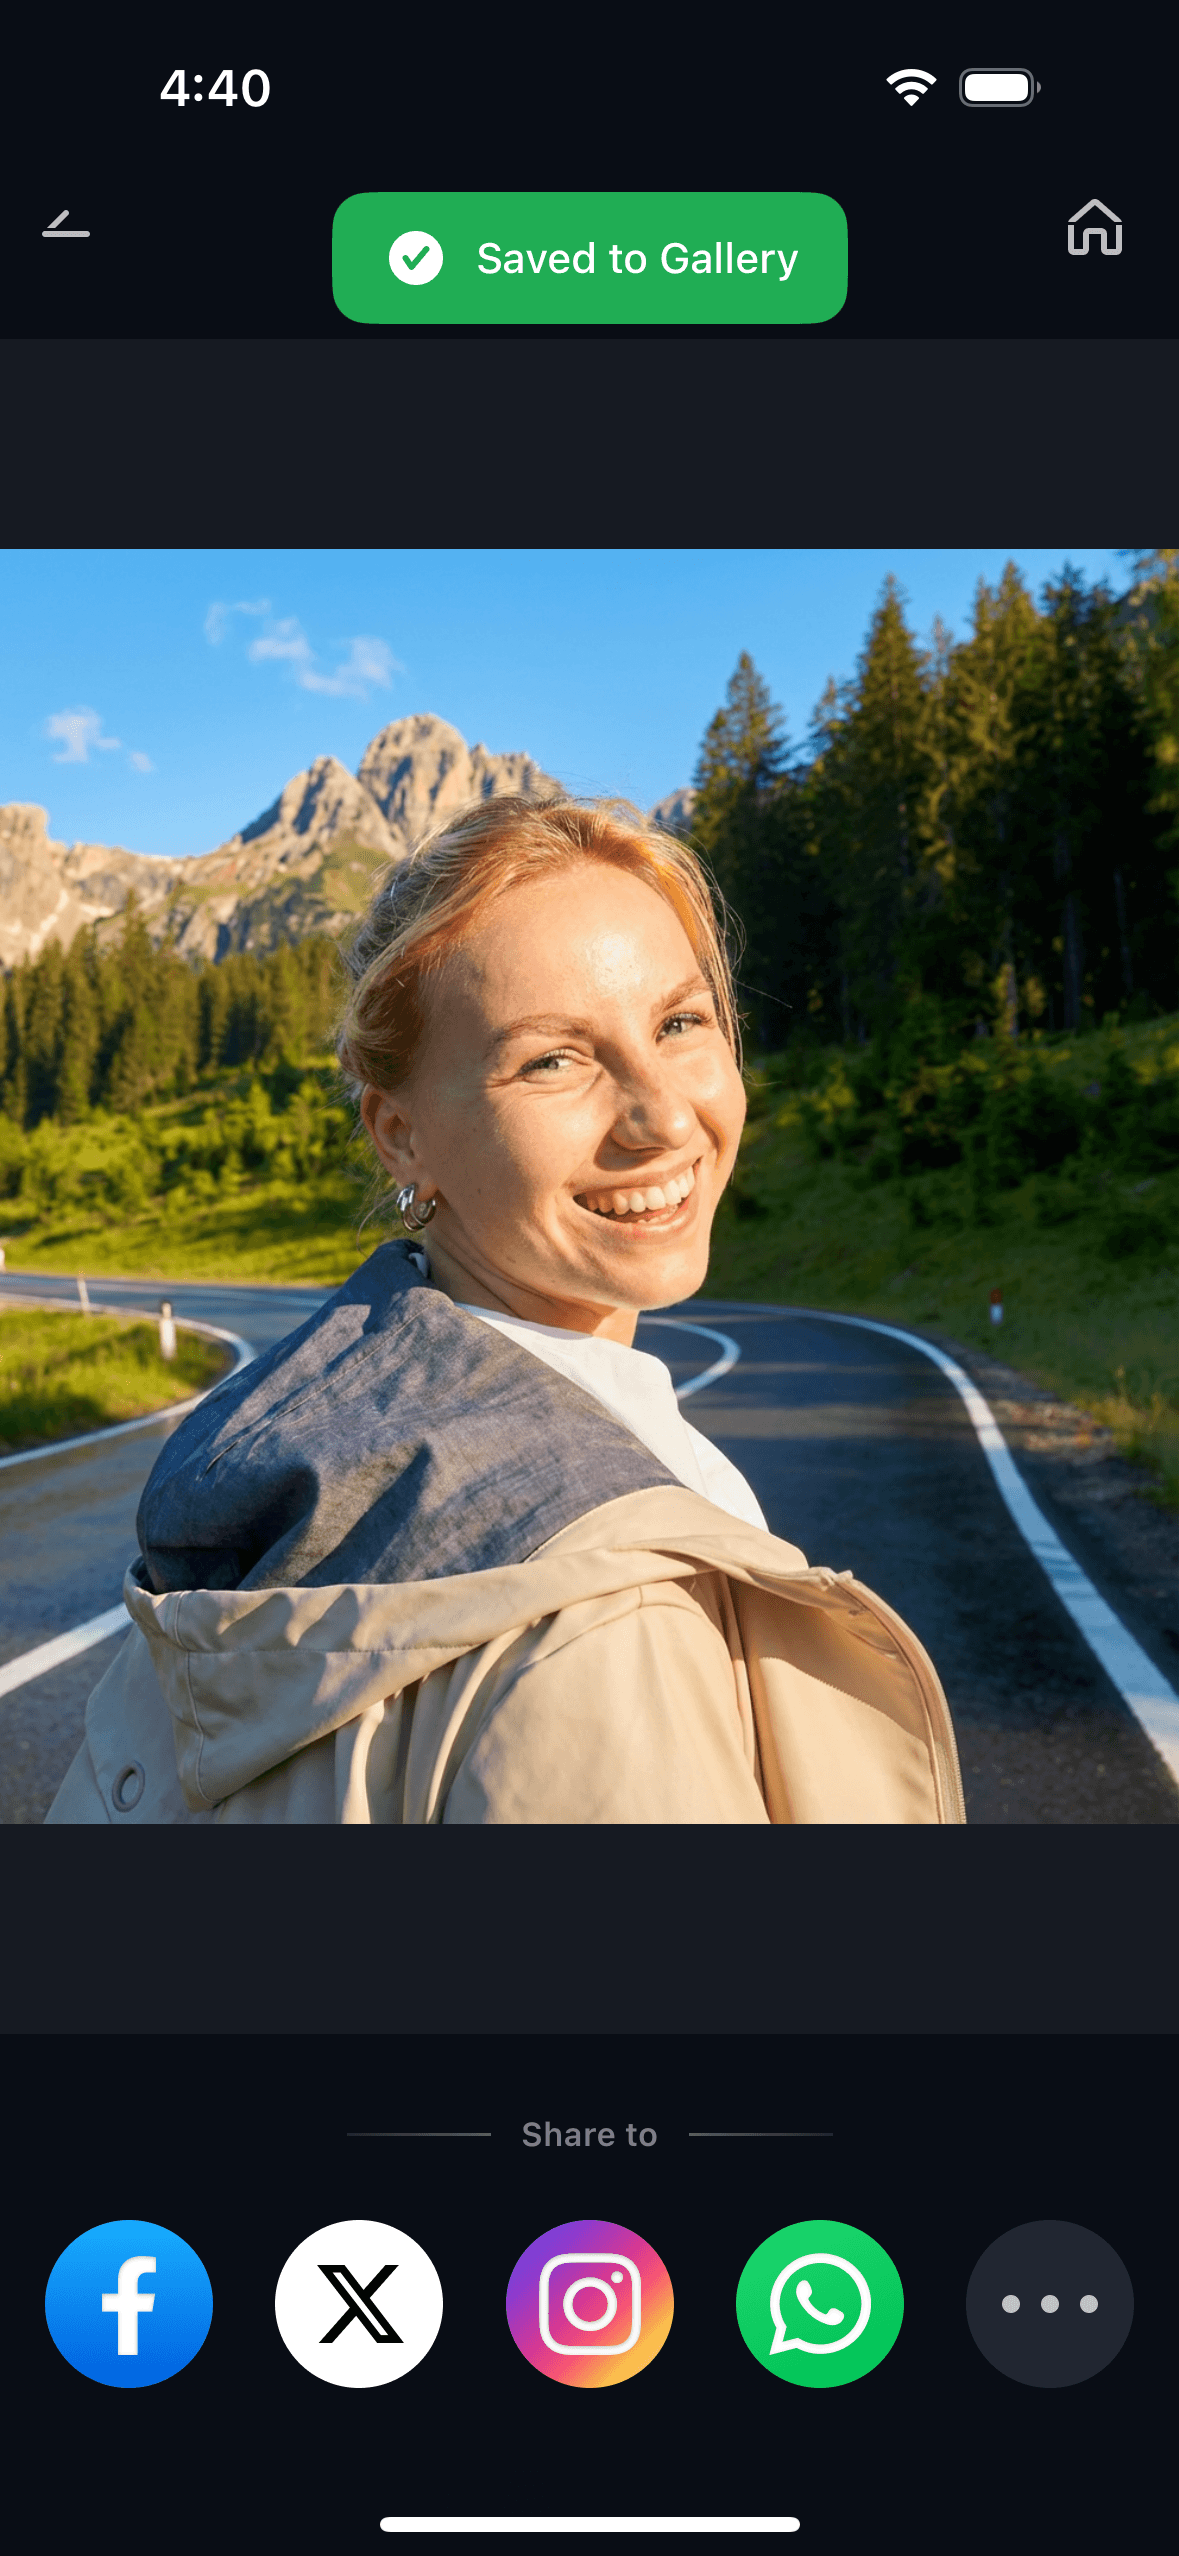
Step 1. Add the indoor portrait
Upload the portrait you want to improve. This works best when the moment is worth keeping but the face looks dim, the room feels heavier than it should, or the overall image is less readable than the real scene.
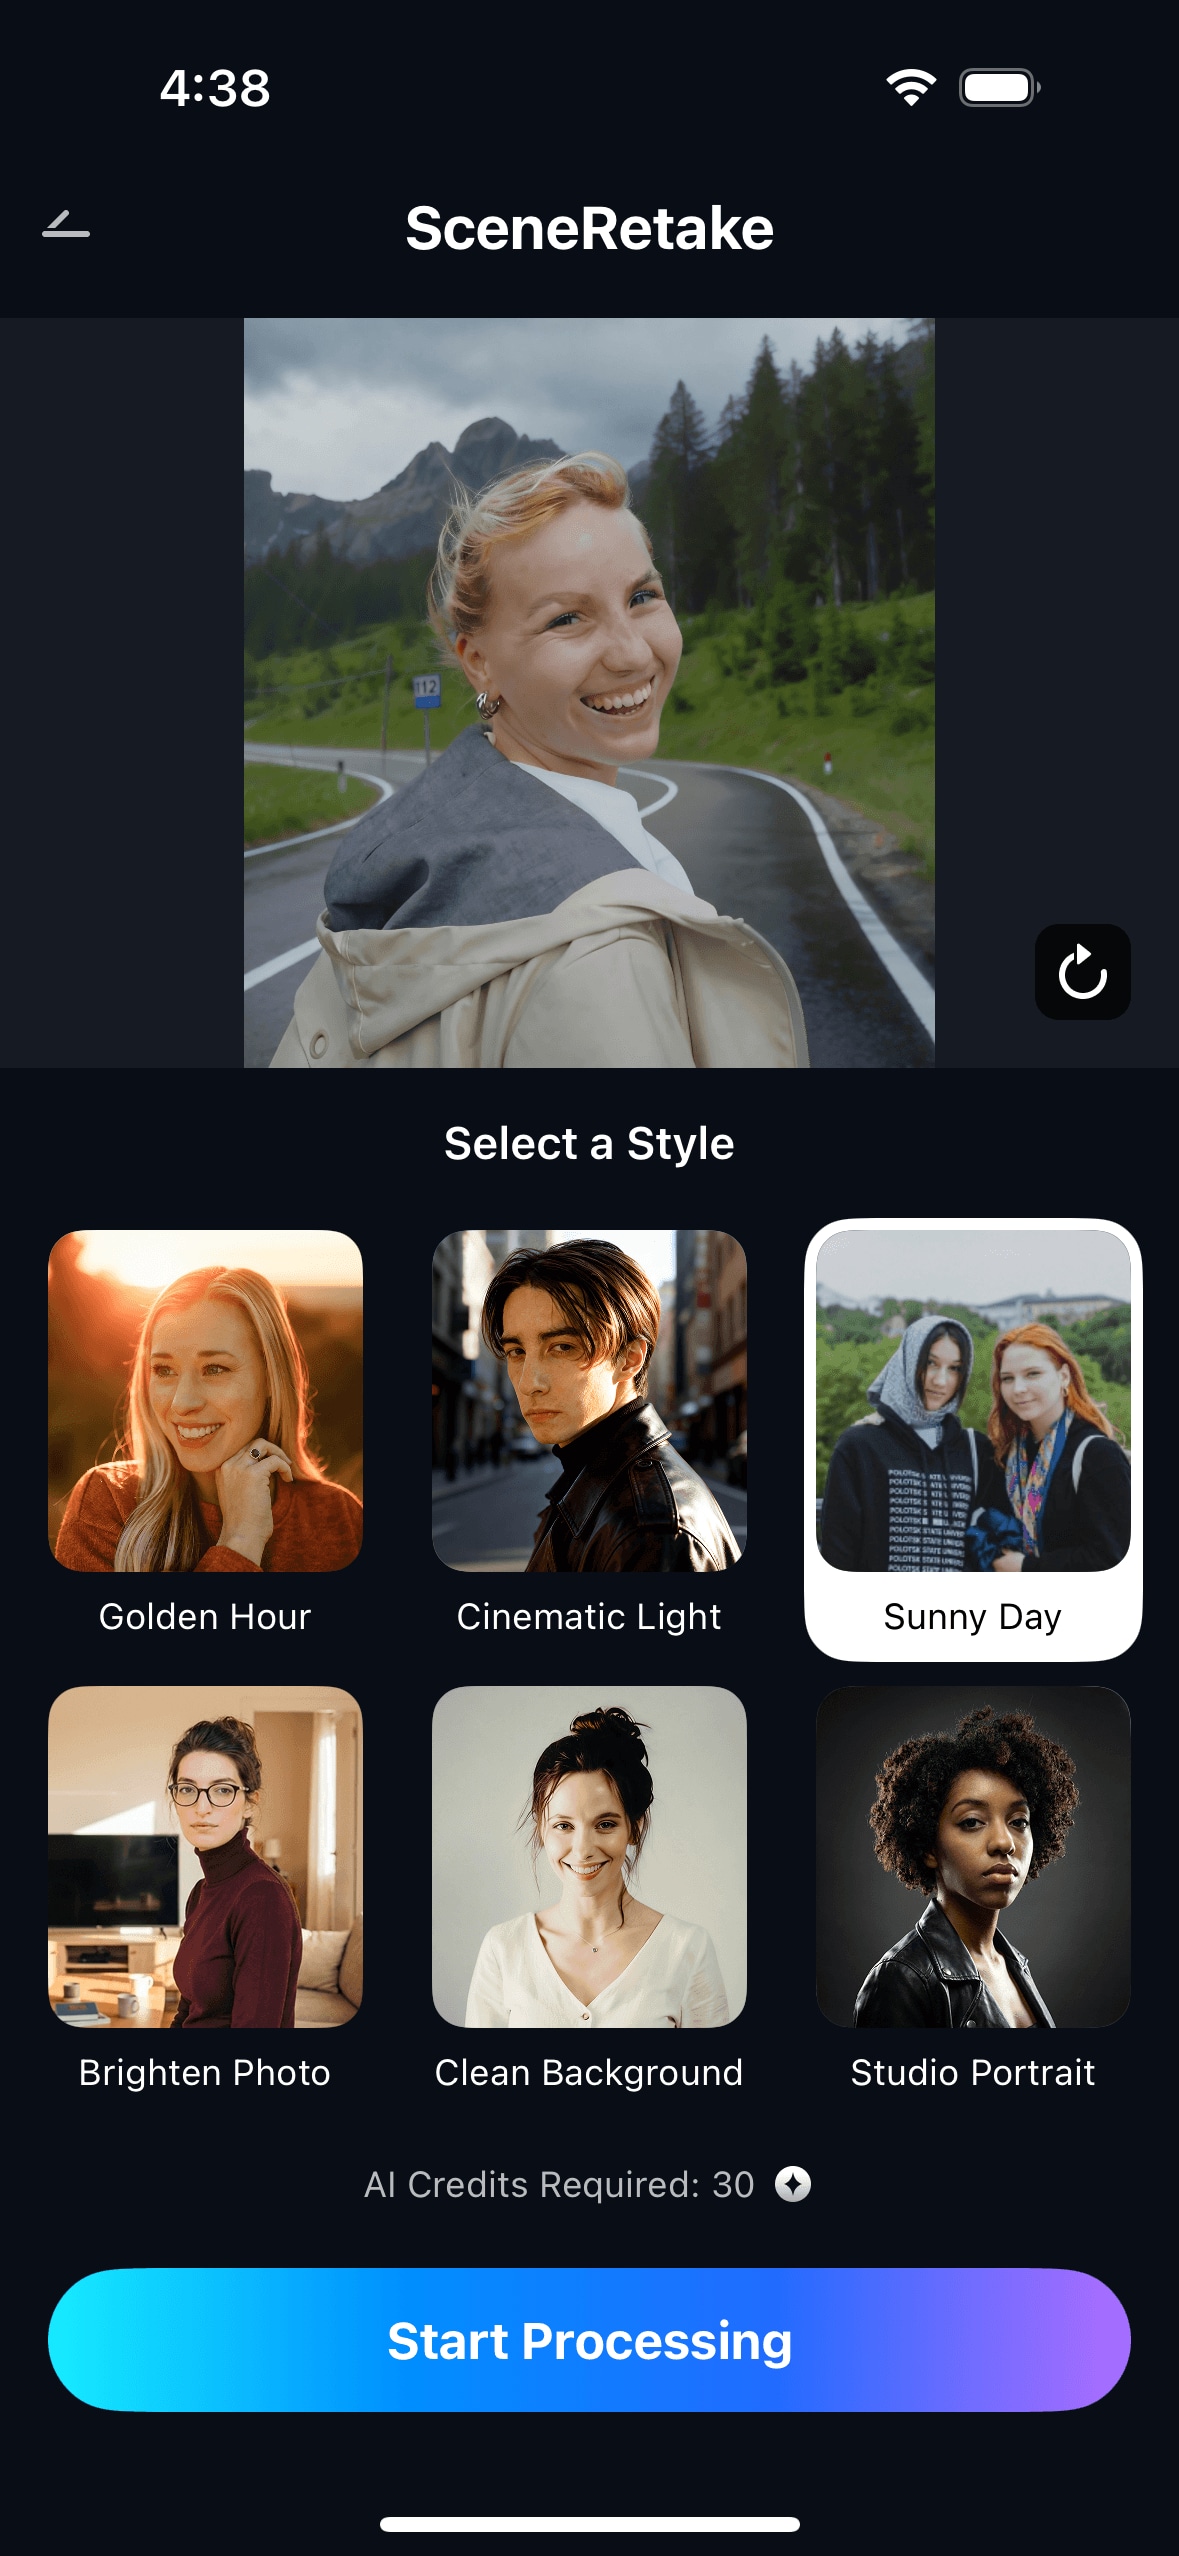
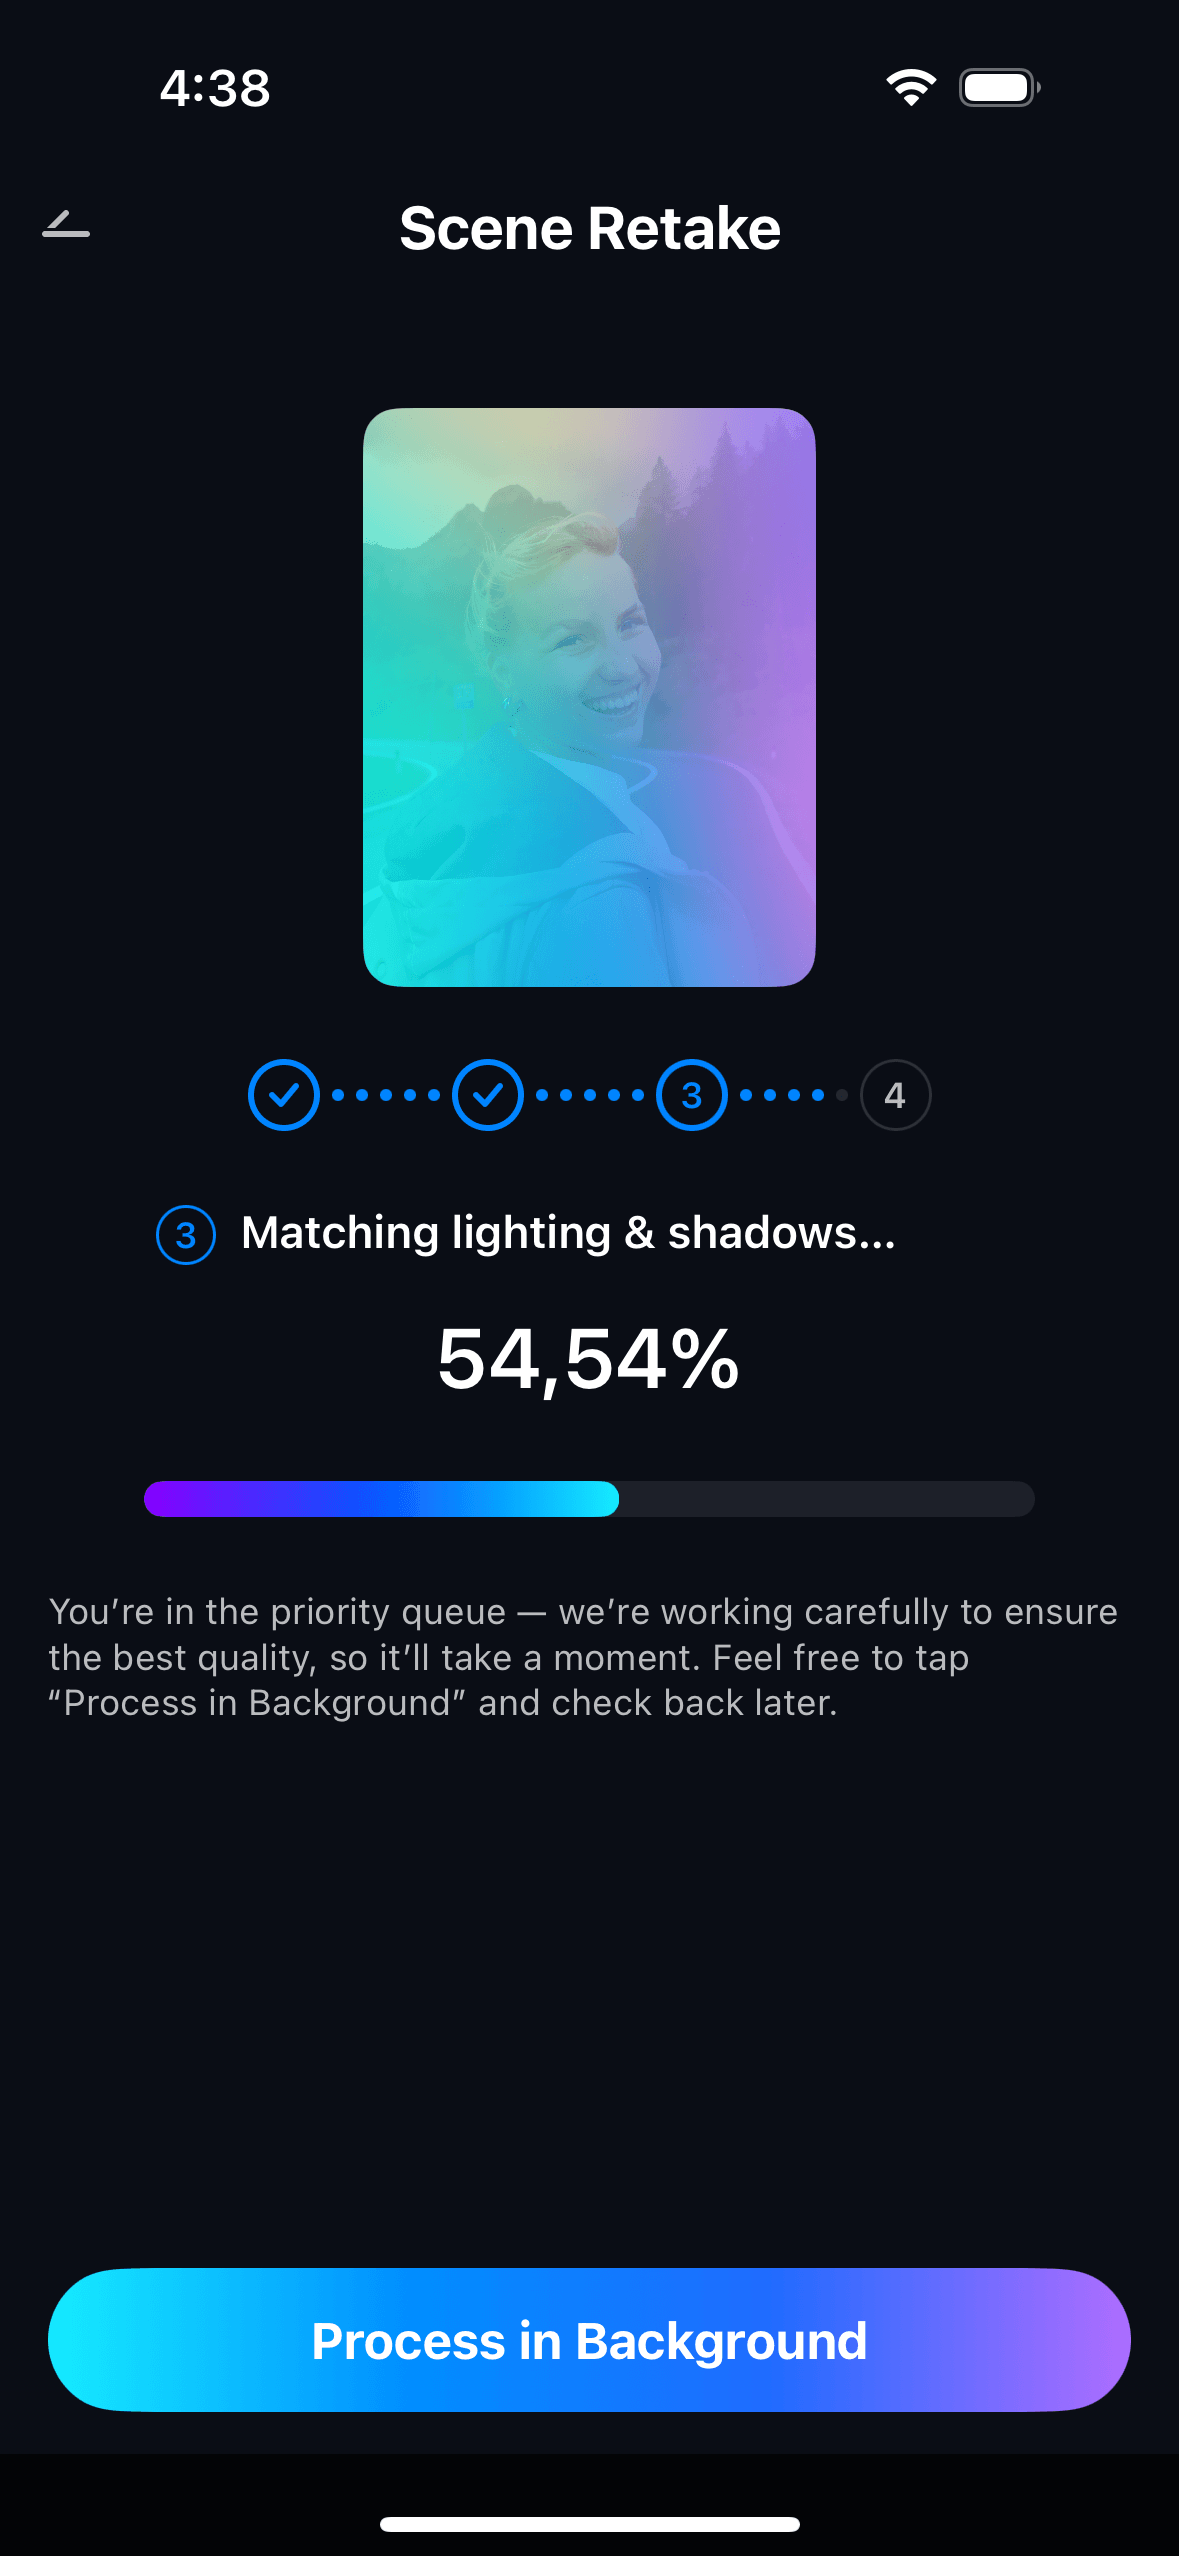
Step 2. Choose Scene Retake to improve the light balance
Select Scene Retake and use the brightening-oriented direction that best matches the image. This is especially useful when the portrait needs cleaner face light, less muddy shadow structure, and a more usable indoor look without losing the atmosphere of the room.
Step 3. Preview and save the version that still looks real
Before saving, compare the updated version with the original. The strongest result usually improves the person's visibility and cleans up the shadows while keeping skin tone, room detail, and indoor mood believable. If the face looks detached from the room or the environment seems over-brightened, the result is probably less natural than it should be.
Part 4. When this works best
Best indoor photo types for this correction
This workflow is most useful when the original portrait already has memory value or a good expression, but poor room light keeps it from feeling usable. Common examples include:
- indoor portraits where the face feels darker than the room looked in person
- casual home photos with muddy shadows or weak face light
- low-light selfies taken under ceiling lamps or mixed room lighting
- dinner or restaurant portraits where the atmosphere is good but visibility is poor
- everyday indoor moments that need a clearer, more natural facial impression
In these situations, Brighten Photo works best as a realism-first correction. Users generally want a better version of the same moment, not a dramatic transformation into a different scene.
Quick checklist before saving
- Does the face look clearer without becoming unnaturally bright?
- Do the shadows feel cleaner without being completely flattened?
- Does the room still look believable and consistent with indoor light?
- Does the image feel closer to how the moment actually looked?
- Would the result still seem natural if someone did not know it had been edited?
Part 5. When results may be limited
Brighten Photo works best when the source image still contains enough usable facial and room detail. Results may be limited if the portrait is heavily blurred, deeply underexposed, strongly compressed, or missing too much information around the face and eyes. In those cases, the feature may improve the overall impression, but it may not fully rebuild a clean natural indoor portrait.
It is also important to keep expectations realistic for very difficult room light. If the original scene was captured under extremely poor conditions, the best outcome may be a clearer and more readable version of the same photo rather than a fully polished professional-looking image. Good guidance should state that clearly.
Conclusion
If your indoor portrait looks darker, grayer, or less flattering than the room felt in real life, the issue is usually not the person or the memory. It is that the camera did not translate the indoor light well enough. A useful brighten-photo workflow should make the face easier to read while keeping the room believable and the result natural. That is where Relumi is most relevant: helping the portrait recover a version of the moment that feels closer to what you actually saw.
FAQ
1. Can Brighten Photo help if my indoor portrait looks dark but not completely black?
Yes. This is one of the most common use cases. Many indoor portraits are technically visible but still feel too dim, too gray, or too flat. A natural correction is often more about restoring facial readability and balance than performing extreme recovery.2. Will brightening the photo ruin the indoor atmosphere?
It should not if the correction stays believable. A strong result usually keeps the room feeling like the same place while making the person easier to see. If the room starts looking washed out or the face appears detached from the light, the edit has likely gone too far.3. What kinds of indoor portraits work best for this feature?
Casual home portraits, indoor selfies, restaurant photos, dinner scenes, and everyday low-light portraits are all strong candidates when the moment felt better in person than it appears in the image.4. What should I check before saving the final version?
Check whether the face is clearer, the shadows look cleaner, and the room still feels believable. The best version should feel naturally improved, not obviously brightened.
 ChatGPT
 Perplexity
 Google AI Mode
 Grok
Grok


