
That post hit a nerve because the problem is everywhere. A professional photographer over-smooths your skin in post. A beauty mode silently runs on every selfie you take. An old family photo gets scanned and the digital version comes back looking like a wax museum exhibit. In every case, the same thing happened: the skin texture — the pores, the grain, the tiny natural variation that makes skin look three-dimensional and real — got erased.
What you're left with isn't a better photo. It's a photo that looks like it was painted, not taken. And the frustration is real: you can't exactly unsmooth a JPEG you already bought from a studio. You can't ask a 40-year-old film scan to magically have detail it lost when it was digitized.
Relumi AI Retake — Skin Texture Restoration is built for exactly this gap. It uses AI trained on real human skin to reconstruct the pore structure, natural grain, and micro-detail that blur and over-processing erased — giving back the texture that makes a face look like a face rather than a vinyl rendering. Free to try on iOS and Android.
In this article
Part 1: Why Skin Loses Its Texture — And Why It Matters
There are three common ways a photo ends up with skin that looks smooth in a bad way. Each one leaves behind the same result — skin that reads as fake — but the cause is different.
Old photos and film scans. Physical photographs from the 1970s and 80s naturally had grain — a fine, irregular texture that was part of how film captured light. When those photos are scanned, the scanning process often averages out that grain along with the natural skin detail underneath it. The result is a face that looks flat, blurry, and soft in a way the original print never did. On screen, it looks smeared. Printed again, it looks worse.
Over-edited portraits from studios or post-processing. This is exactly what happened to the Reddit user above. A photographer applies smoothing in Lightroom or Photoshop to make skin look "clean." A few too many clicks and every pore disappears. The face looks like it belongs in an uncanny valley — recognizable, but clearly not quite real. As another Reddit commenter put it bluntly:
Phone camera beauty mode. Most smartphone cameras have a beauty processing layer that runs automatically — some phones make it opt-out rather than opt-in. It softens skin, reduces what it reads as imperfections, and produces photos where everyone's face looks slightly airbrushed. You notice it most in photos of other people: the skin is suspiciously smooth, the pores are gone, and the face has a slightly glazed quality that you can't quite name but immediately feel is wrong.
In all three cases, the fix isn't to blur more or sharpen randomly — both make things worse. The fix is to intelligently reconstruct what was there: a realistic skin texture that matches the person's face, consistent with how human skin actually looks. That's what Relumi AI Retake Skin Texture Restoration does.
Part 2: How Relumi AI Retake Restores Skin Texture — And How to Use It
Relumi AI Photo Enhancer
AI Retake — Skin Texture Restoration That Brings Real Skin Back
 AI texture reconstruction: Rebuilds realistic pore structure, skin grain, and micro-detail that blur and over-processing erased — using AI trained on real human skin anatomy.
-
Two core scenarios: Works on old or scanned photos where film detail was lost during digitization, and on over-processed portraits where smoothing went too far.
-
Consistent with the face: The restored texture adapts to the person's age, skin tone, and facial zone — forehead texture differs from cheek texture, as it does in real skin.
-
Doesn't add blemishes: Texture restoration is not the same as adding flaws. Relumi rebuilds natural grain structure without introducing artificial marks, spots, or noise.
-
Adjustable intensity: One slider lets you control how much texture is added back — from a subtle grain that breaks the plastic look to a fuller restoration for heavily degraded photos.
-
Free to try: Skin Texture Restoration is available on Relumi's free tier on iOS and Android. Full resolution export, no watermark.


The reason this works where a simple sharpening or clarity slider fails: sharpening enhances edges and contrast that already exist in the image. If the skin texture was erased — rather than just blurred — there are no edges to sharpen. You end up amplifying compression artifacts or noise instead, which makes things look worse, not better. Relumi's approach is generative: the AI understands what skin at this age, in this light, on this face should look like, and reconstructs the missing detail based on that understanding rather than trying to pull detail from data that isn't there.
How to Use Relumi AI Retake — Skin Texture Restoration on iPhone
Step 1. Upload Your Photo & Select Skin Texture Restoration
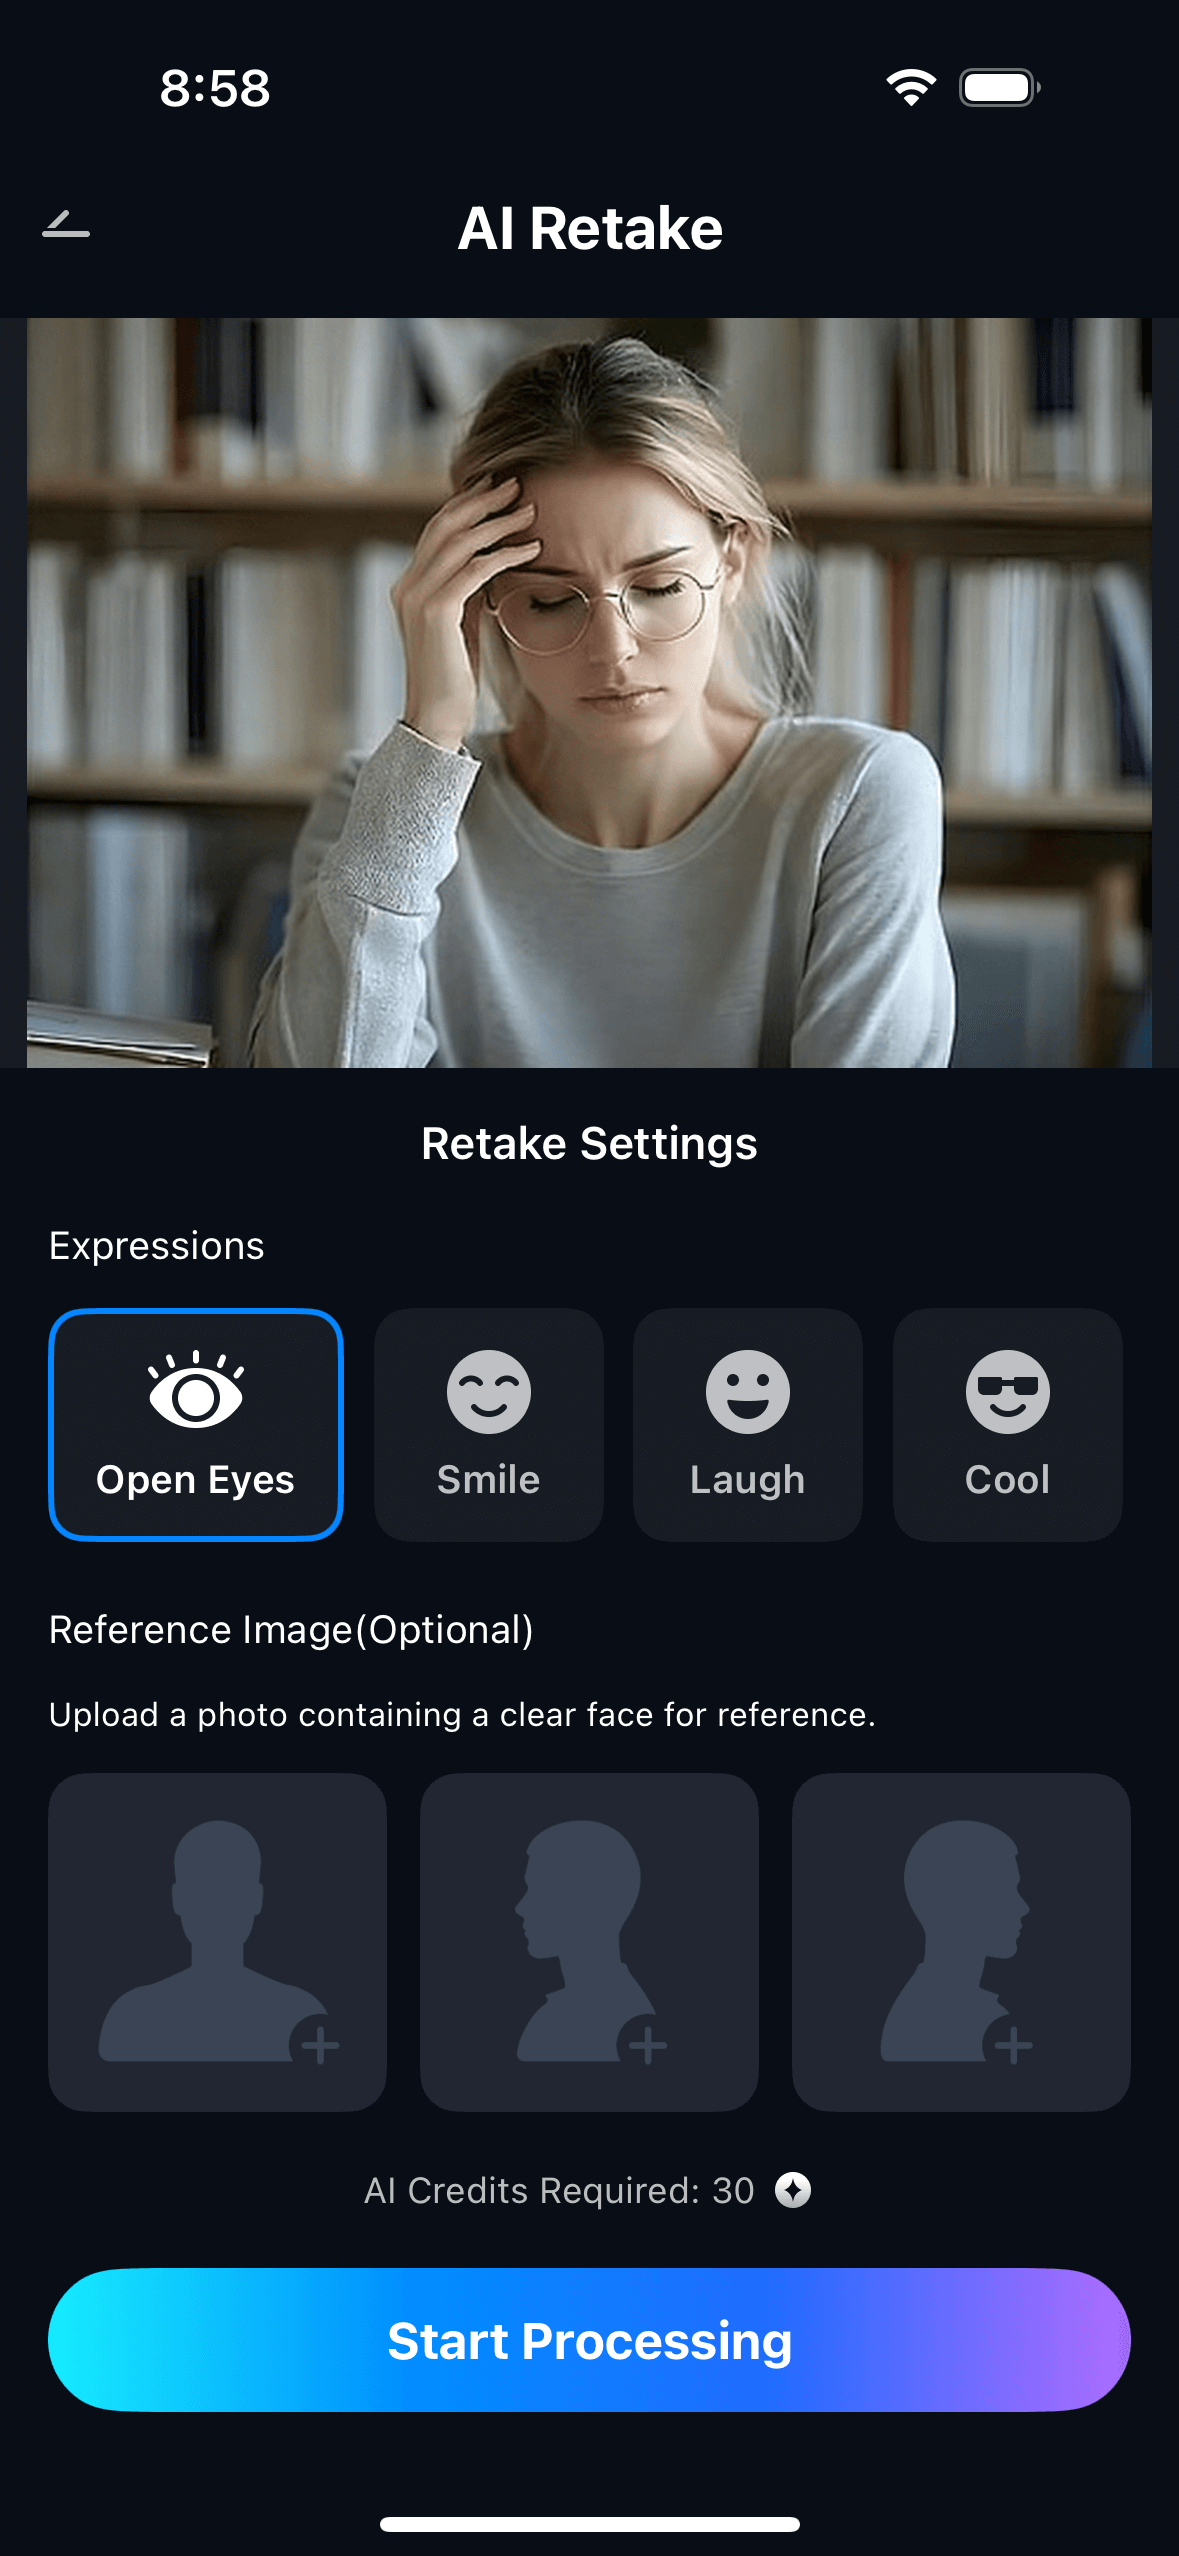
- Open the AI Retake feature from the Relumi homepage.
- Upload the photo you want to restore — scanned print, studio portrait, or beauty-filtered selfie.
- From the AI Retake menu, tap Skin Texture Restoration to activate the feature.
- Use the Intensity slider to set your preferred level — start at 50–60% for most portraits and adjust from there.
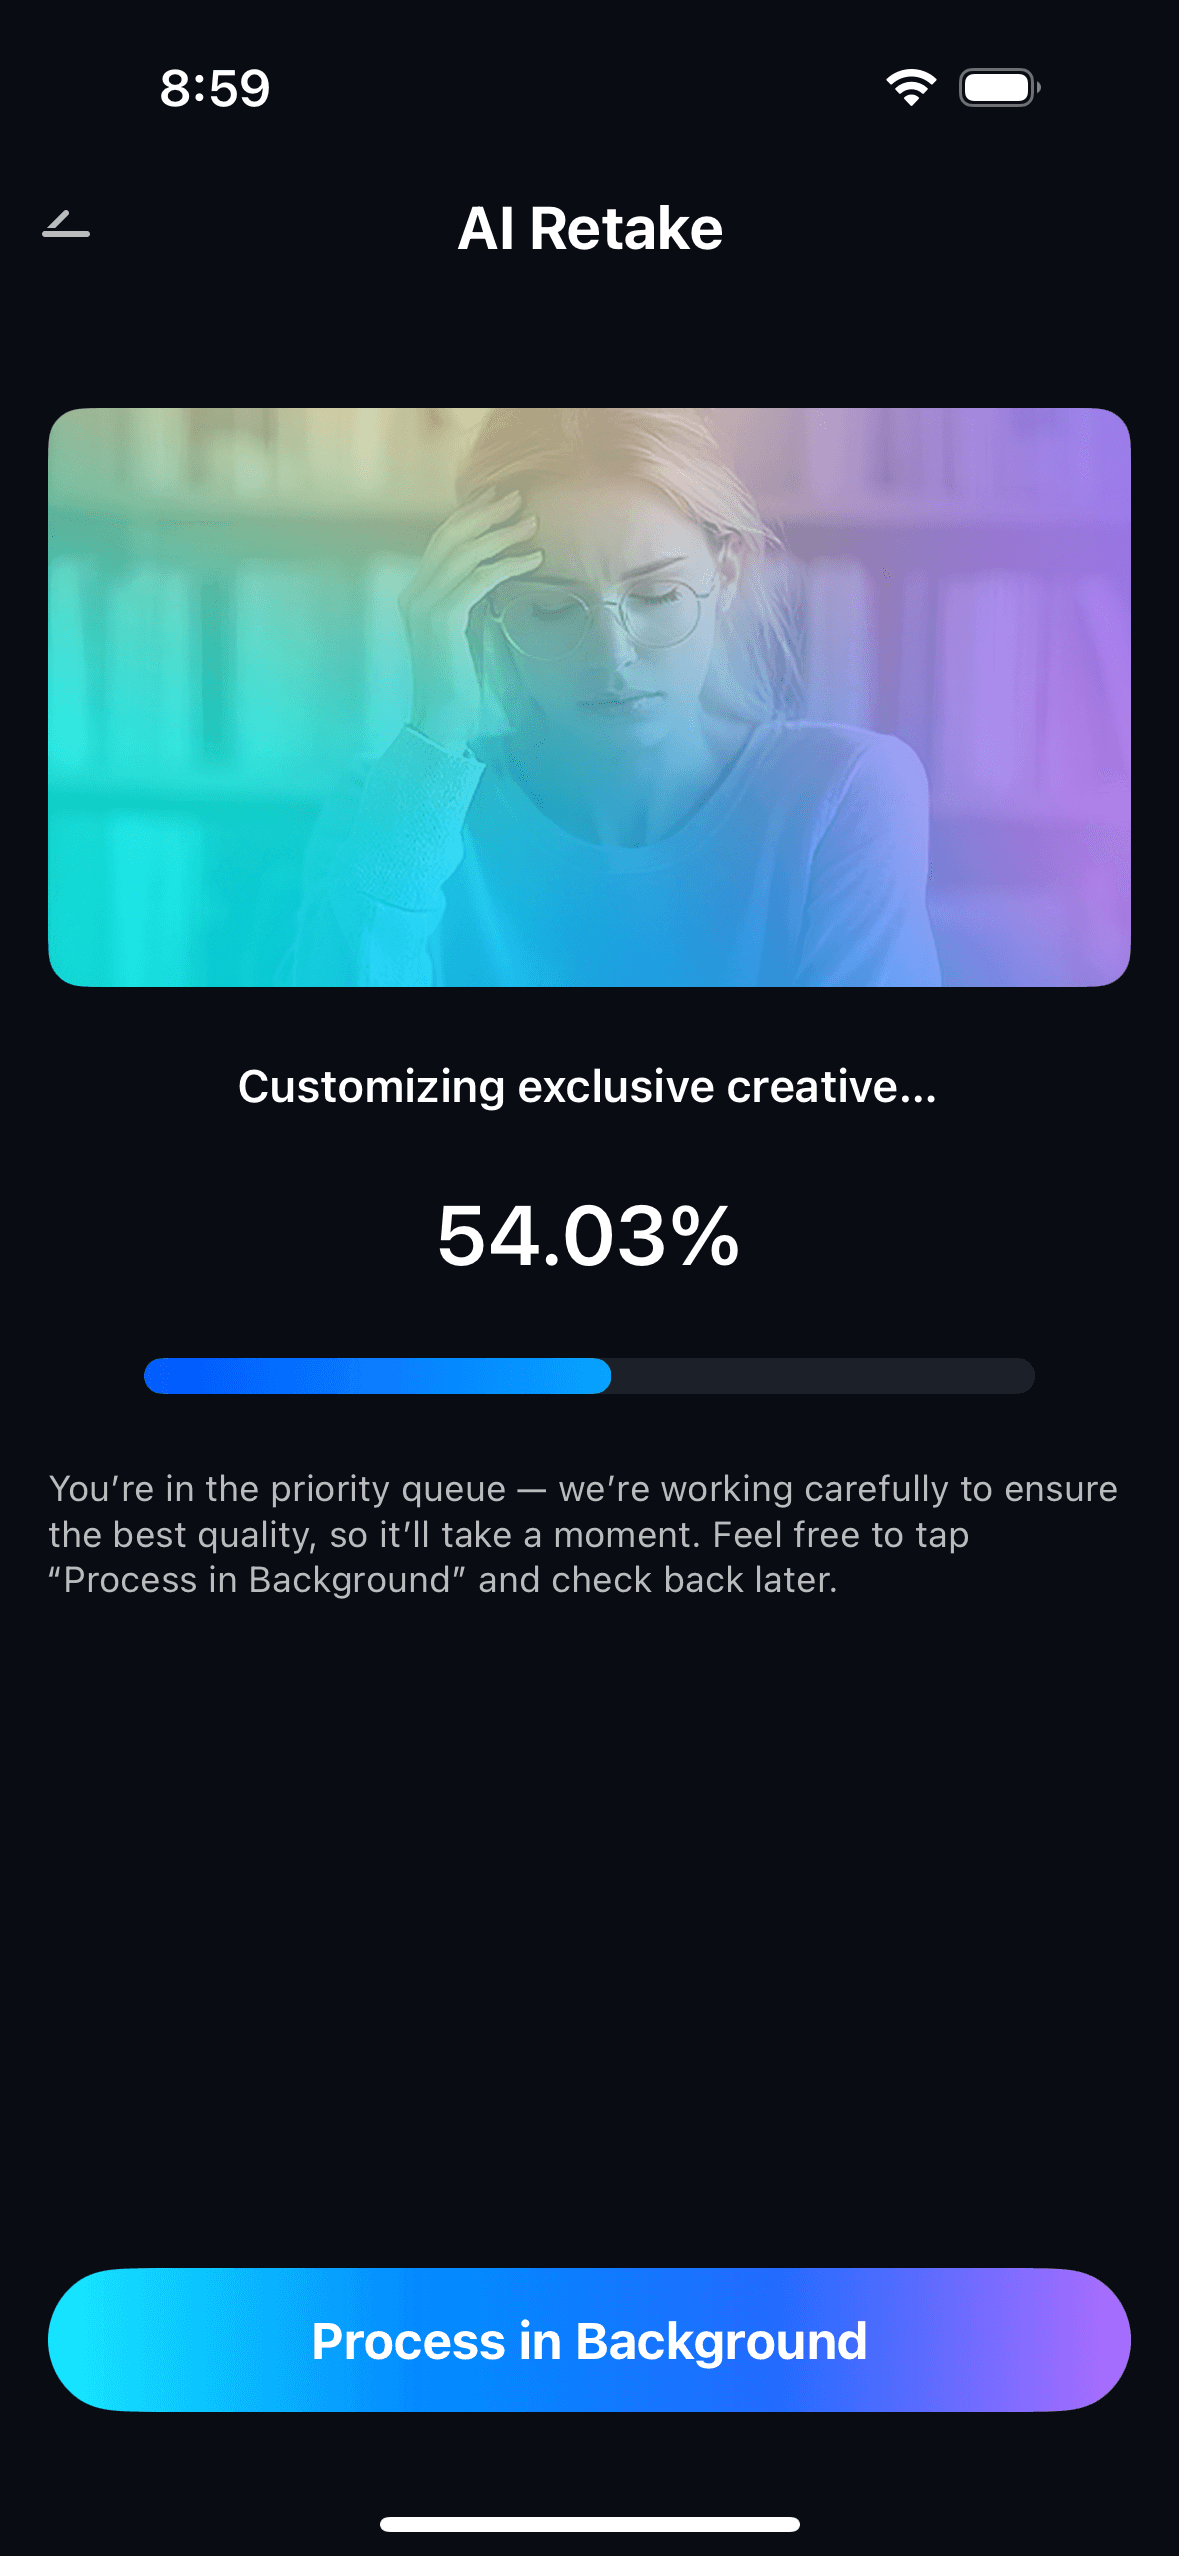
Step 2. Start AI Retake Processing
- The AI scans the face, identifies zones where skin texture is missing or degraded, and reconstructs the natural grain and pore structure that belongs there.
- Processing runs automatically in the background — no manual zone selection or brushwork needed.
- For old scanned photos, the AI reads the image quality and calibrates the texture restoration to match the photo's era and original lighting.
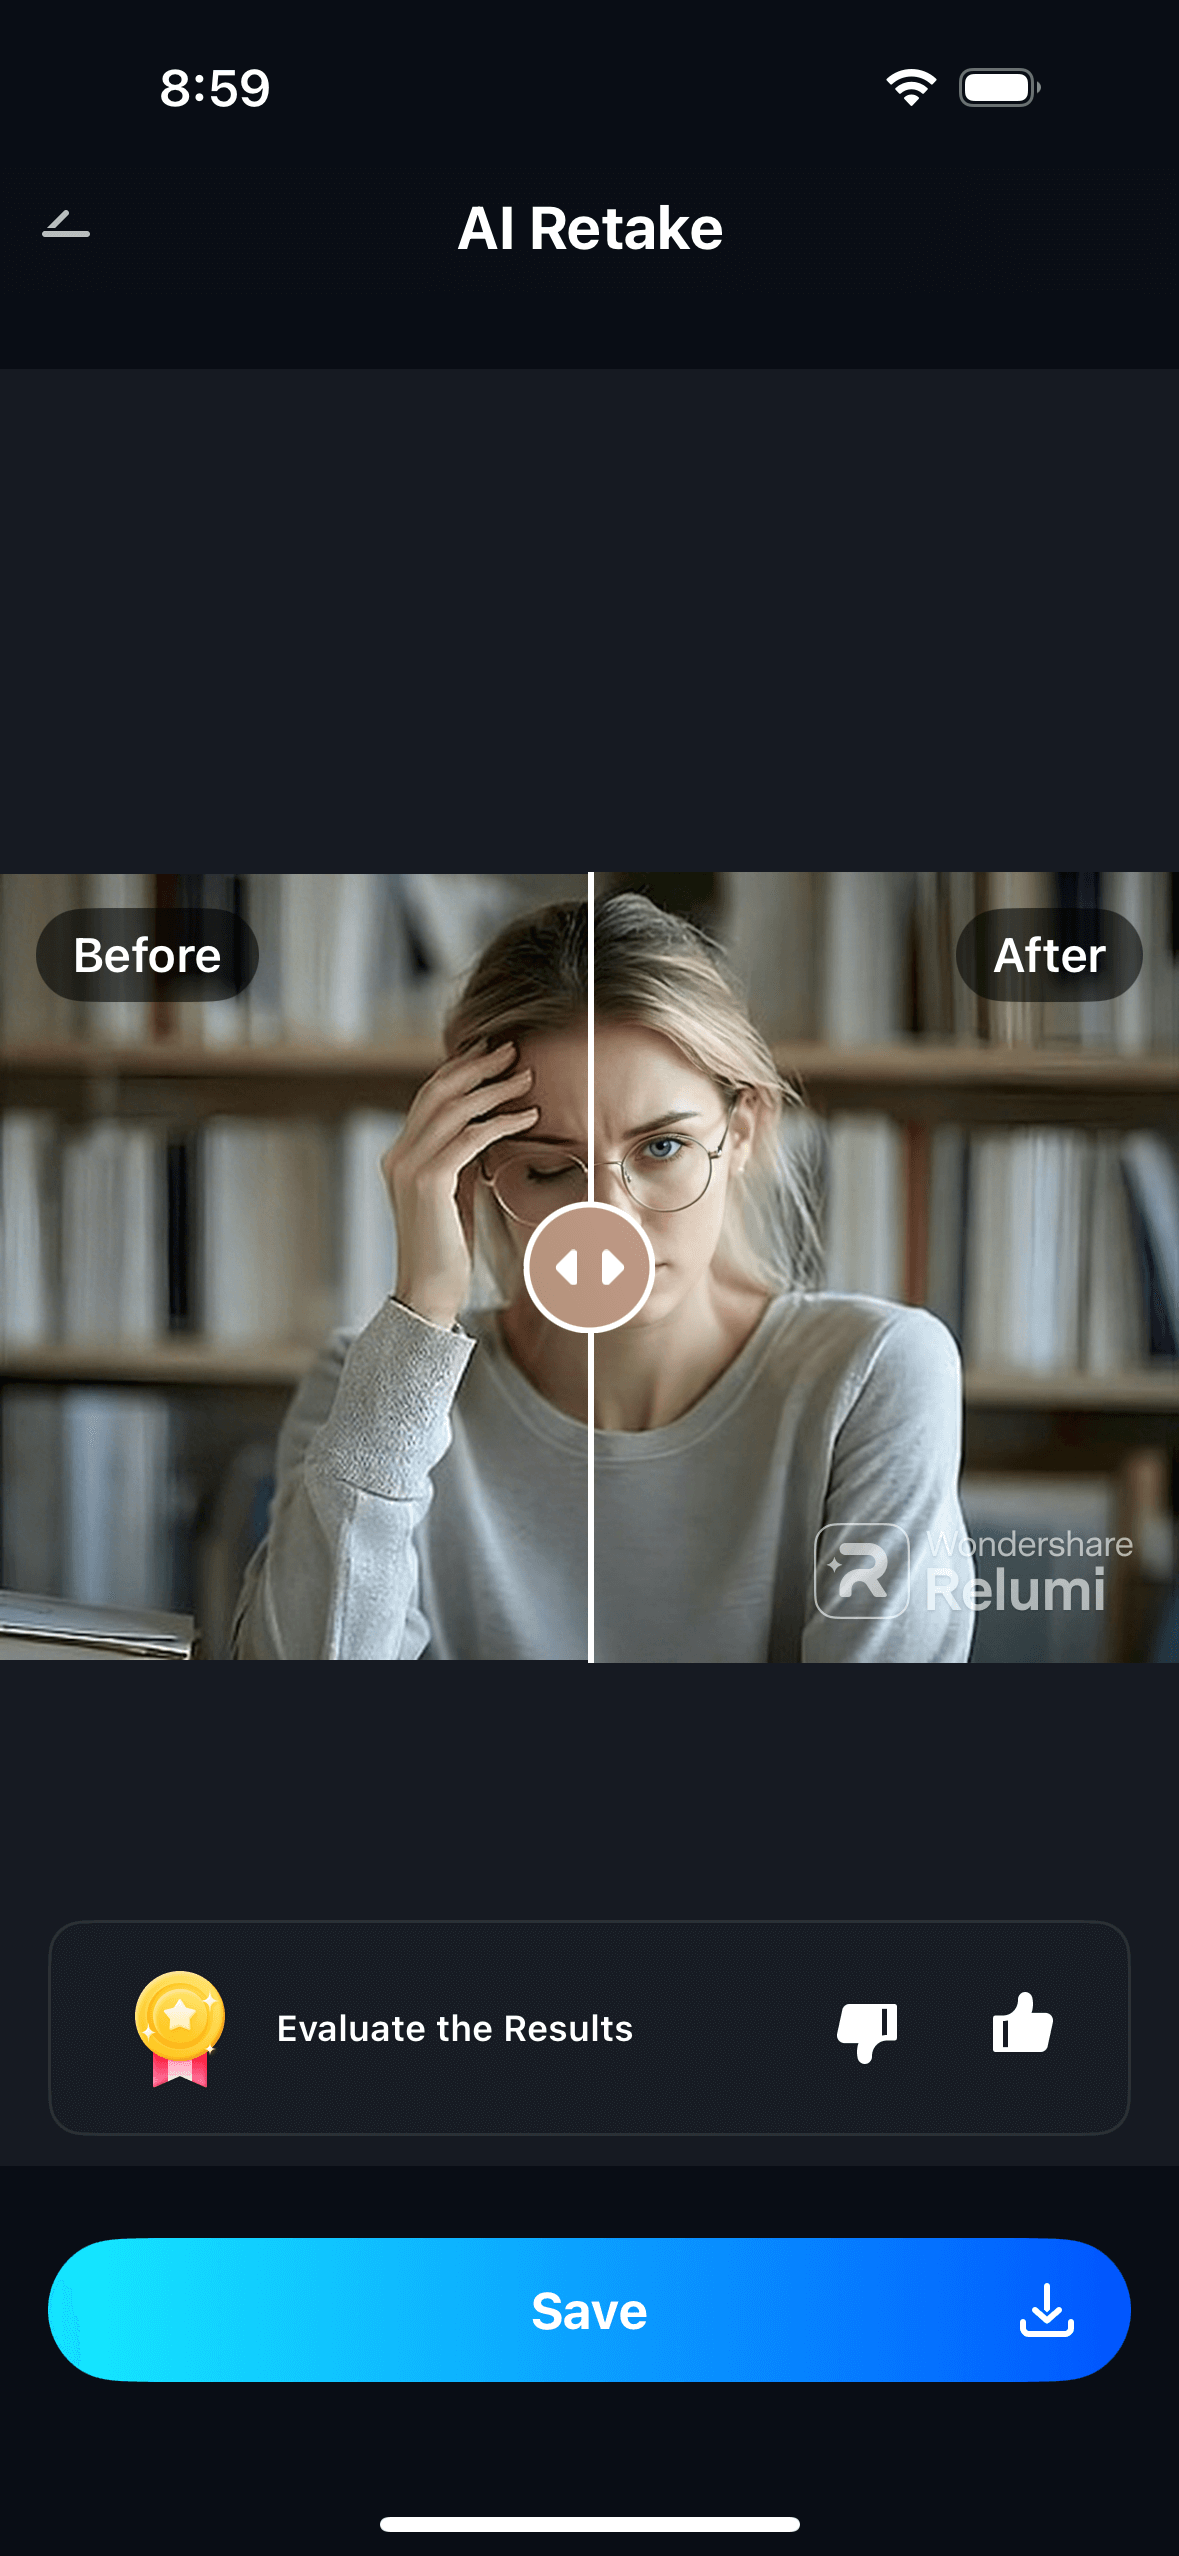
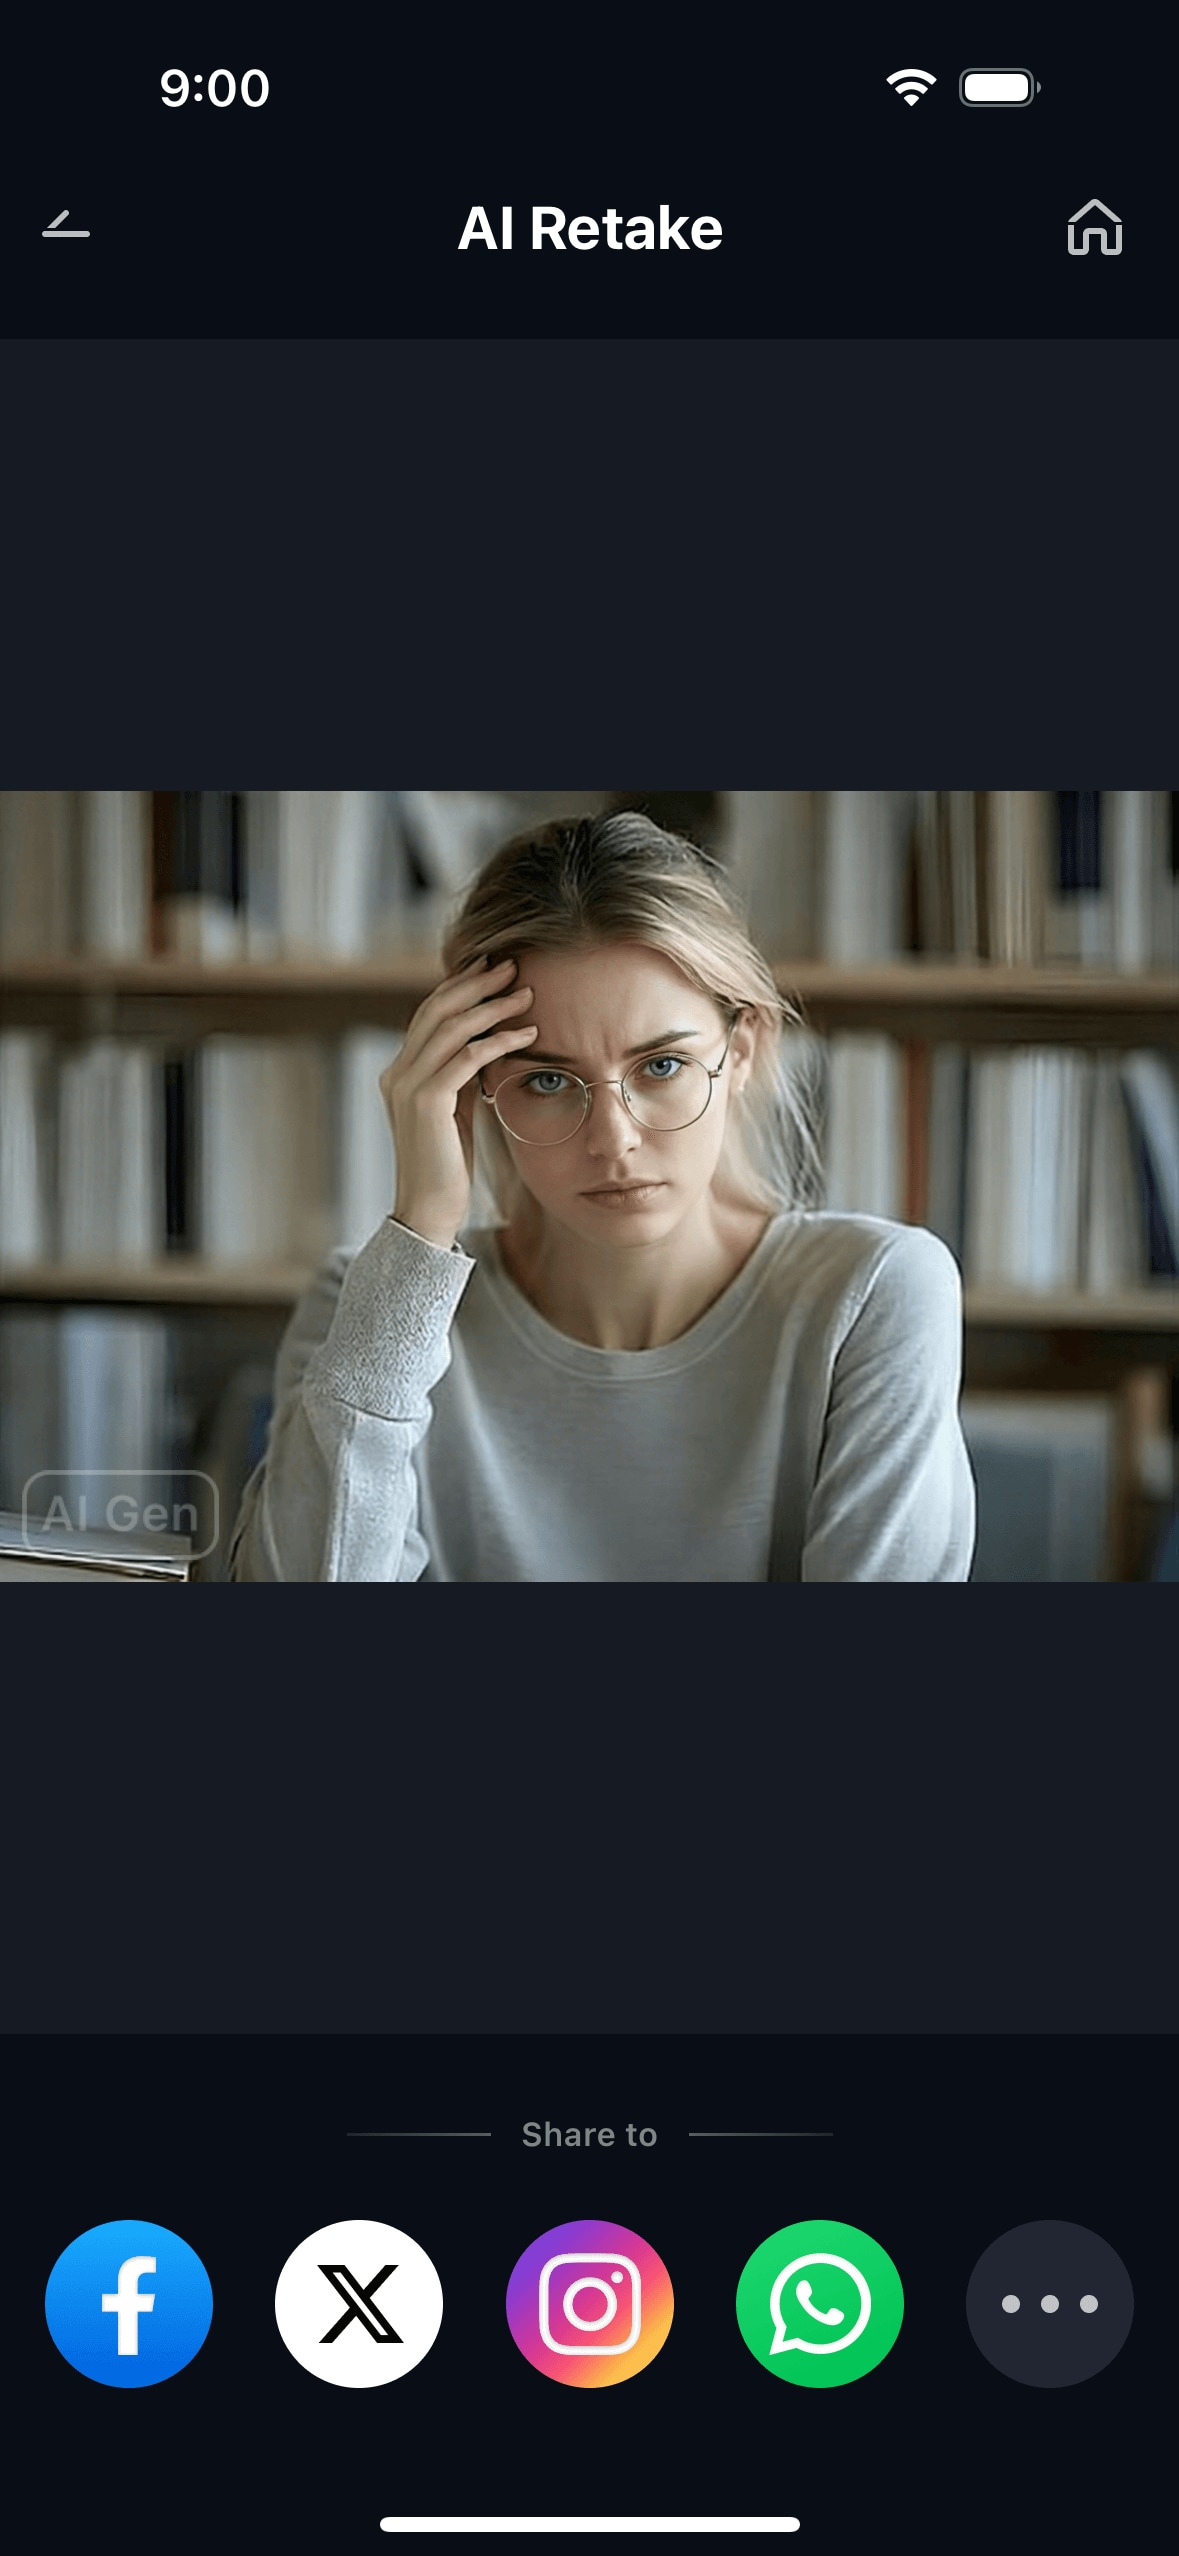
Step 3. Preview, Compare & Save
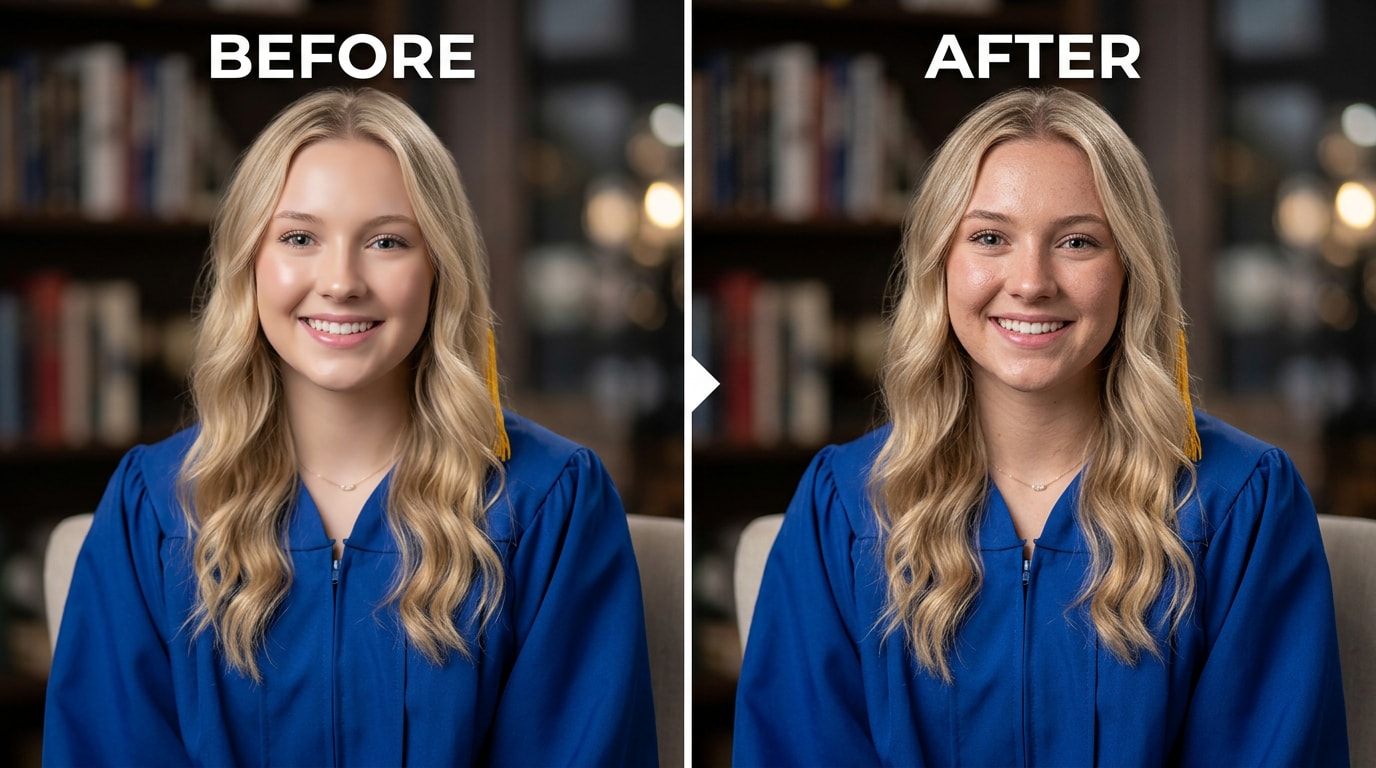
- Use the before/after toggle to compare the original and the restored version side by side.
- Adjust the intensity slider if needed — higher for heavily degraded old photos, lower for portraits that just need the plastic look dialed back.
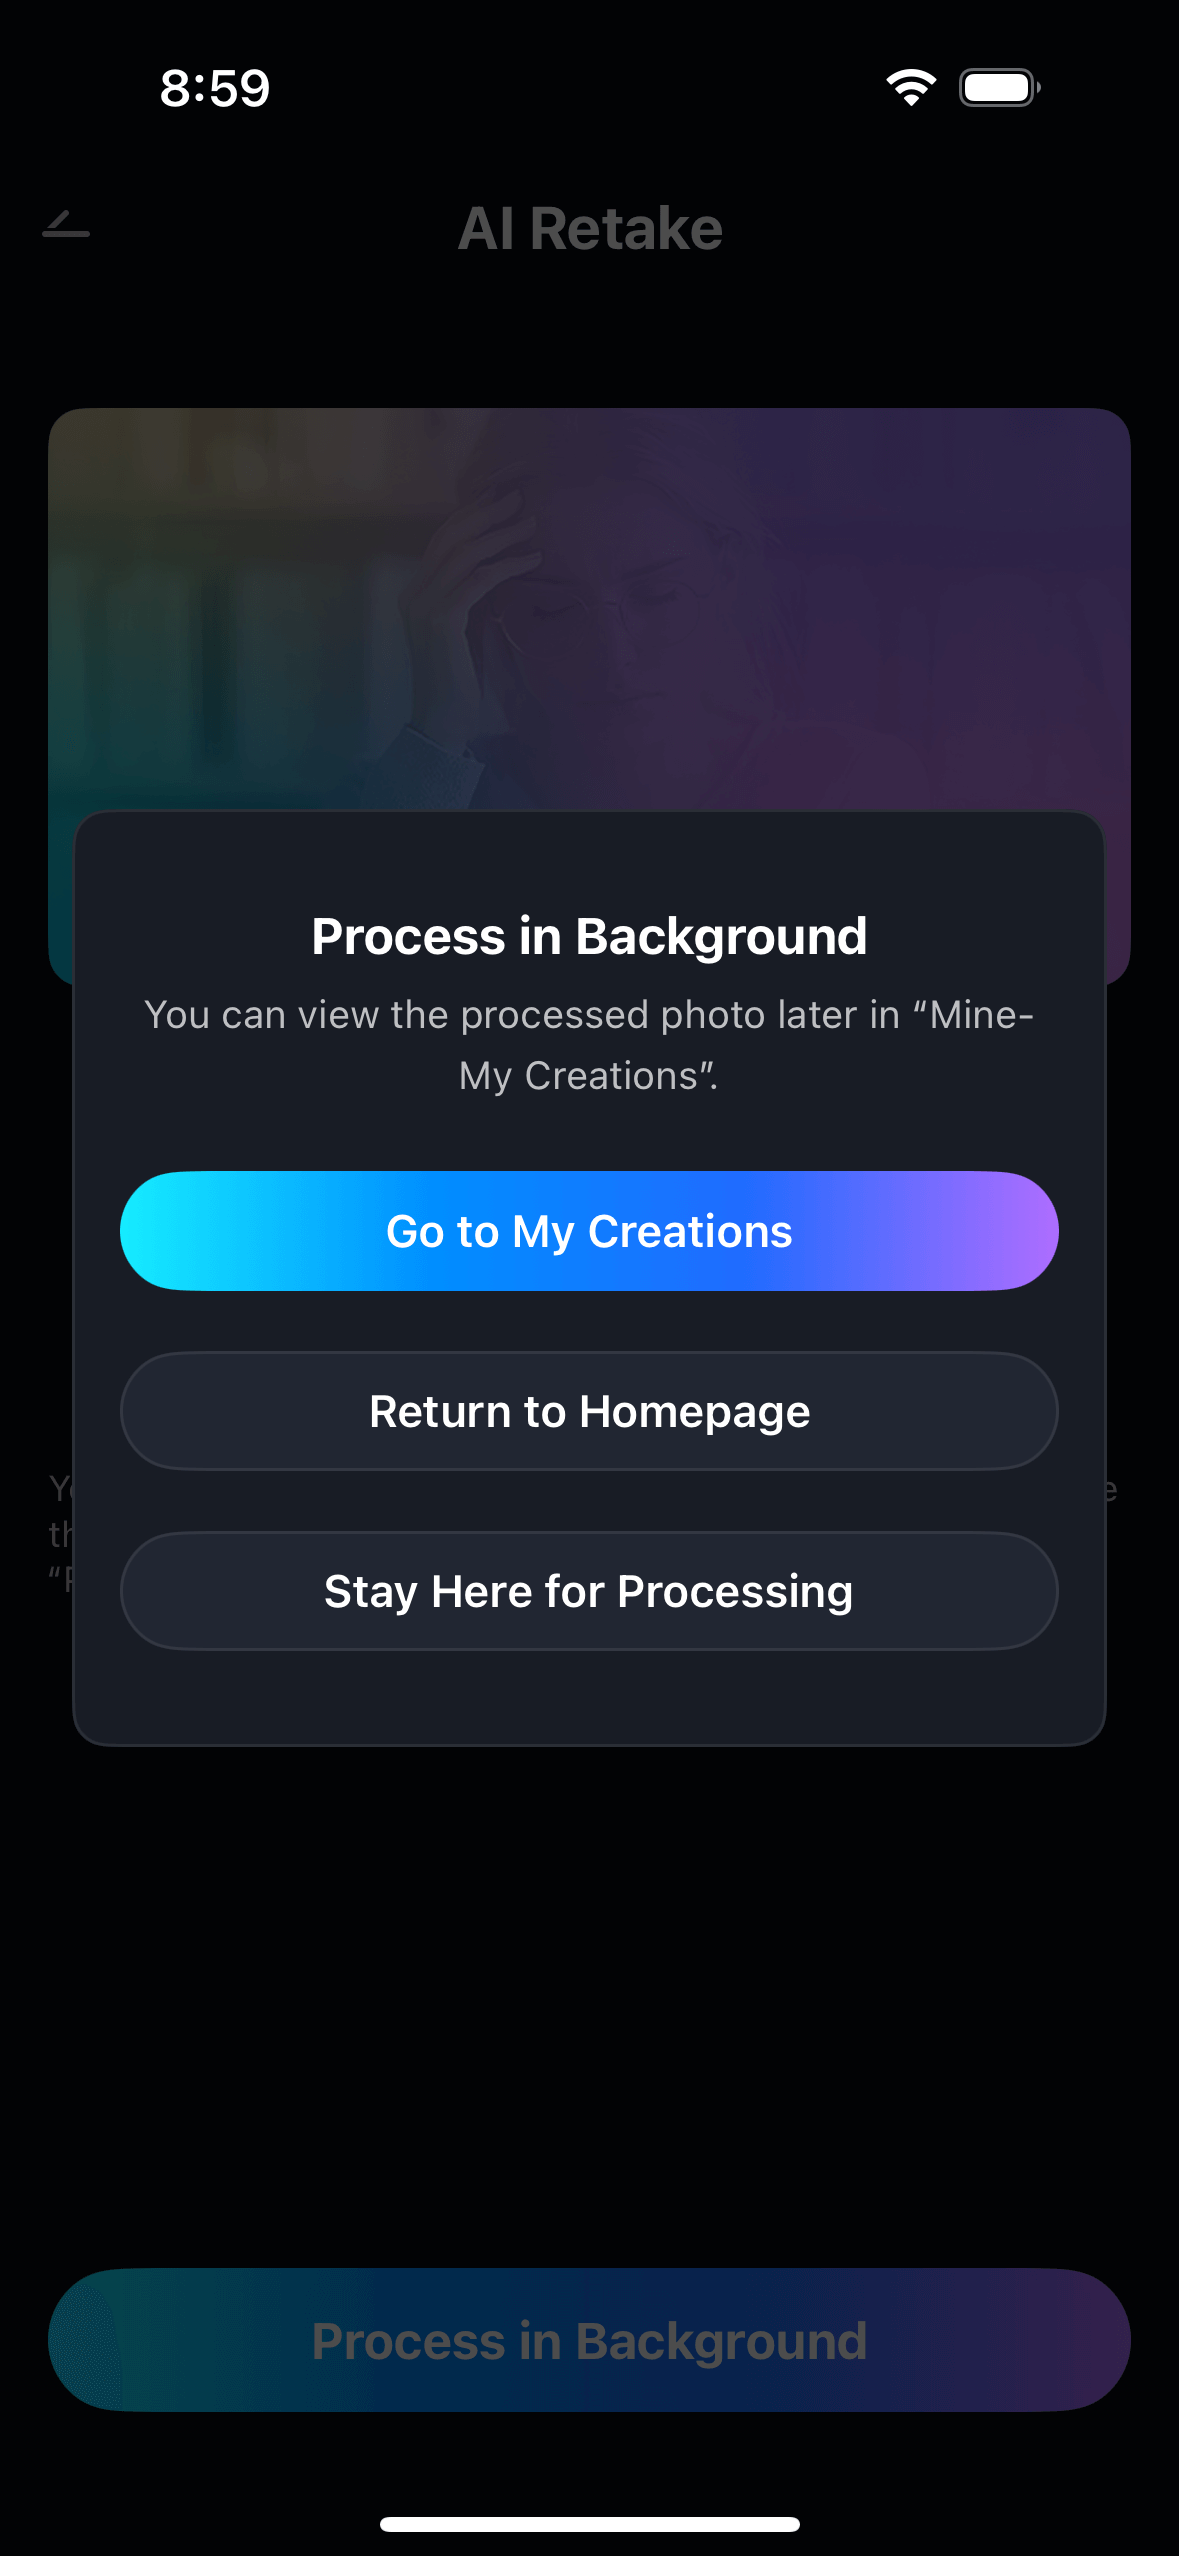
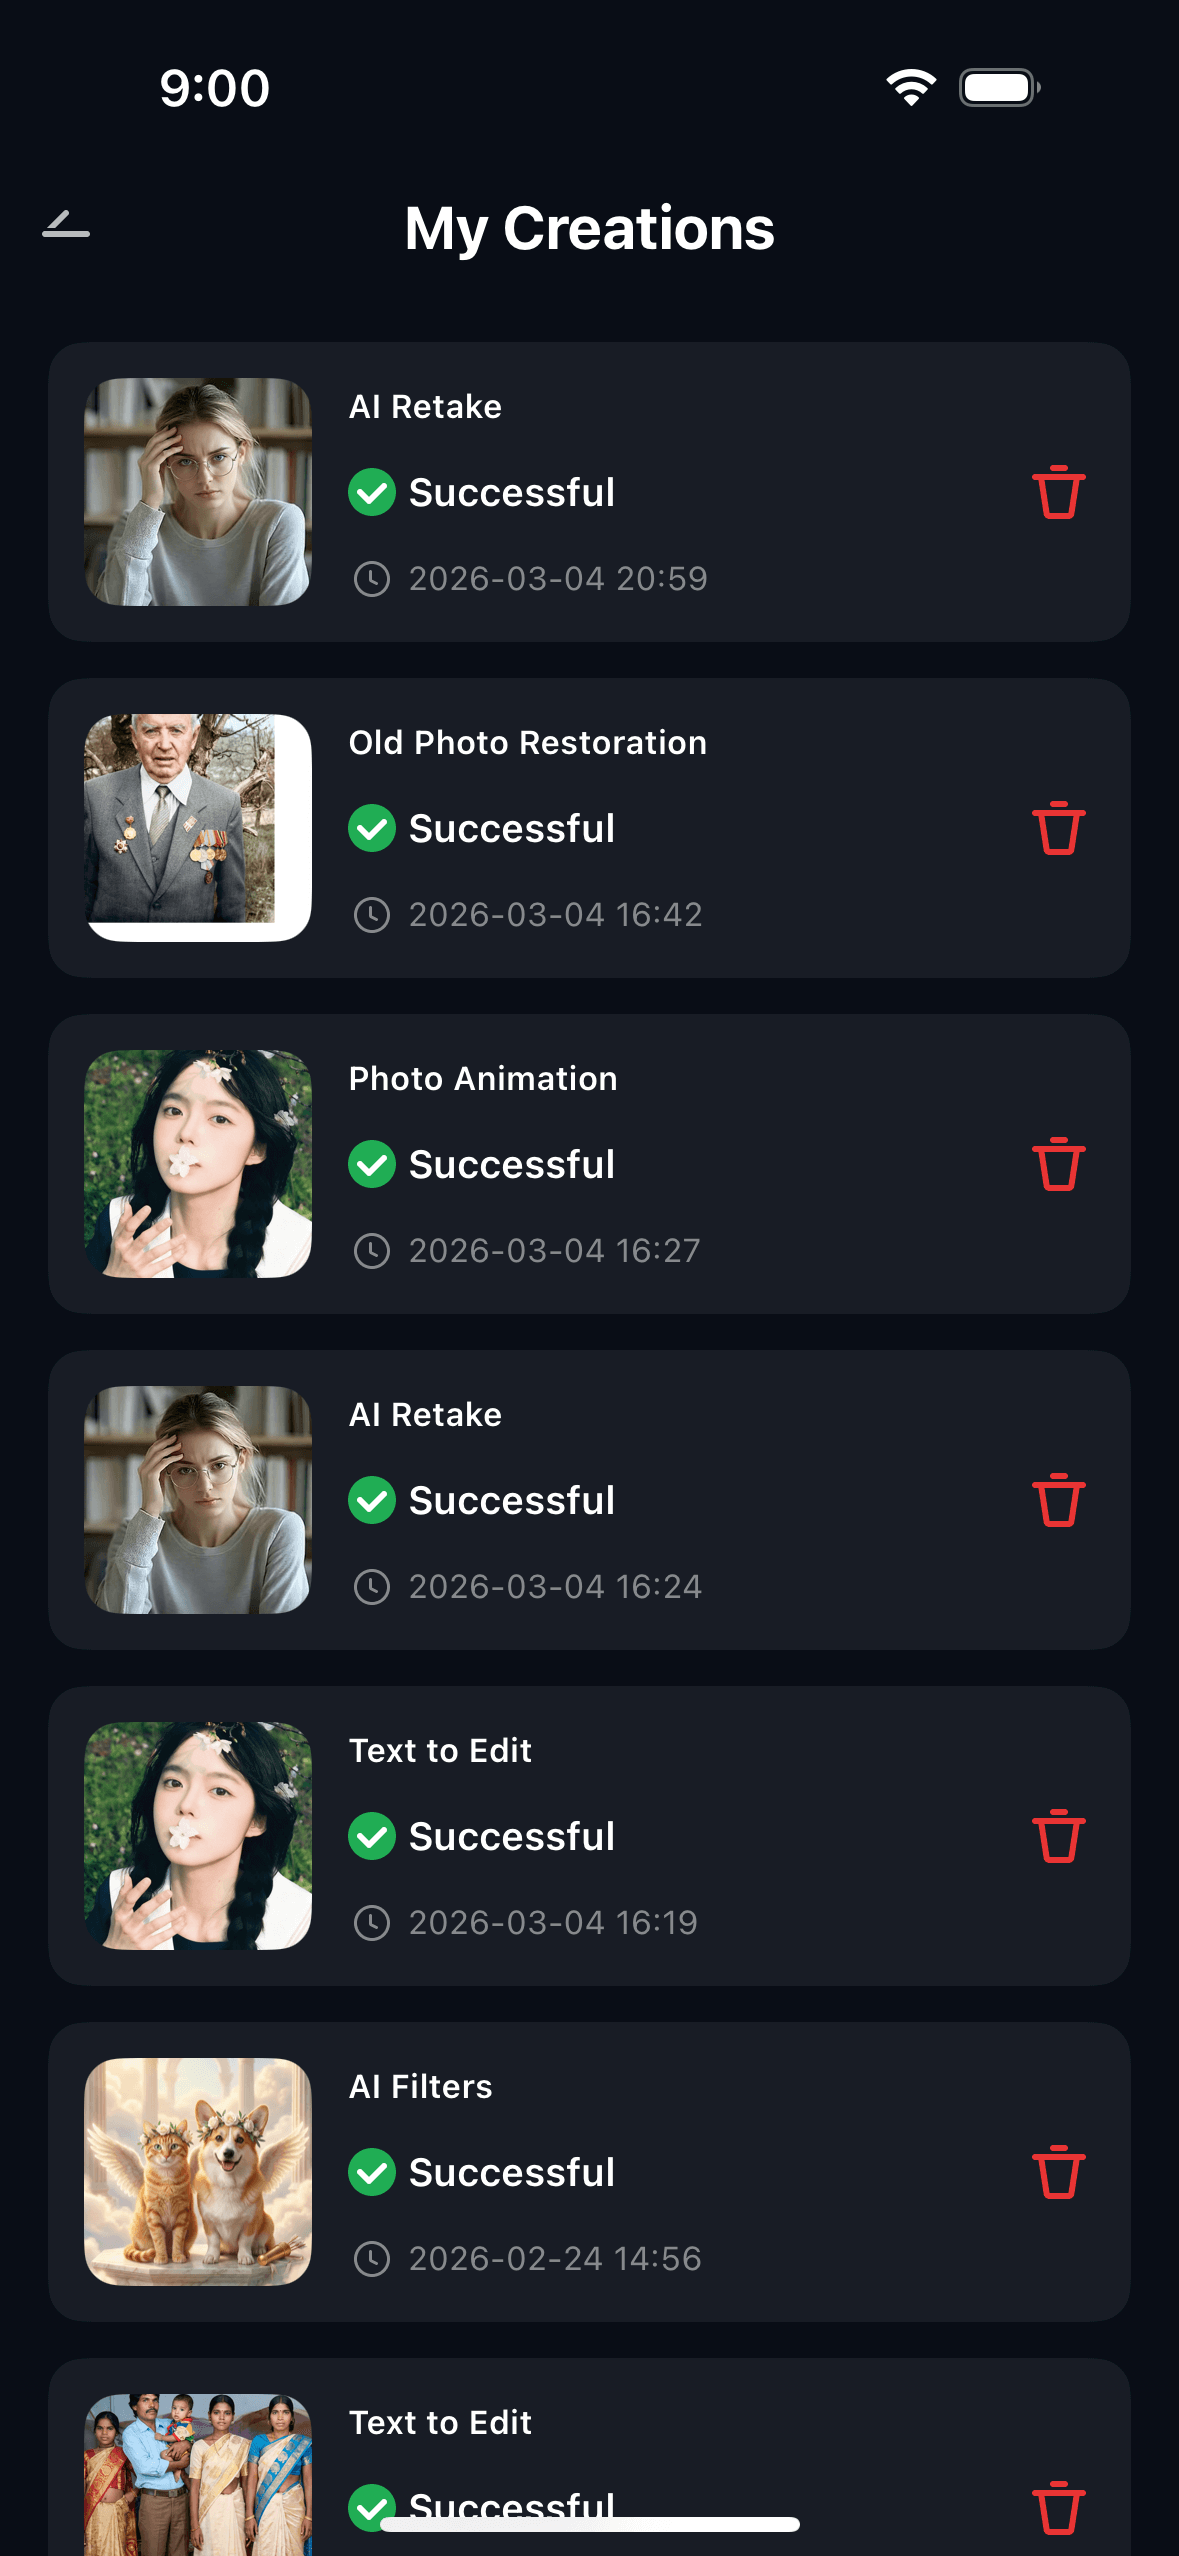
- Tap Save to export in full resolution, or share directly. View all your restored photos in My Creations.
With Relumi on iOS, Skin Texture Restoration brings back what blur, age, and over-editing took away — without introducing artificial sharpening artifacts or making the face look over-processed in a new direction.
Part 3: Three Situations Where Skin Texture Restoration Makes the Biggest Difference
Here are the three most common real-world situations where Relumi AI Retake Skin Texture Restoration solves a problem that sharpening tools and clarity sliders simply cannot fix.
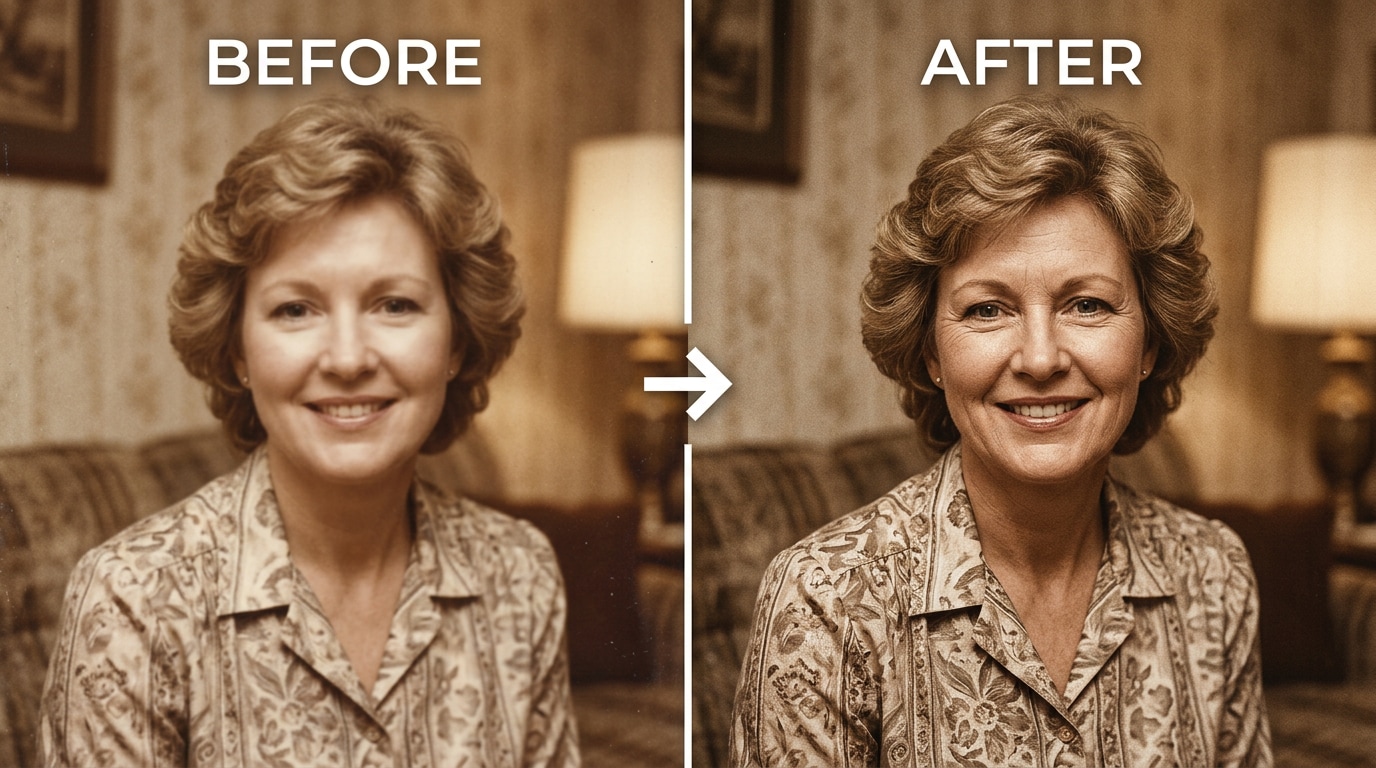
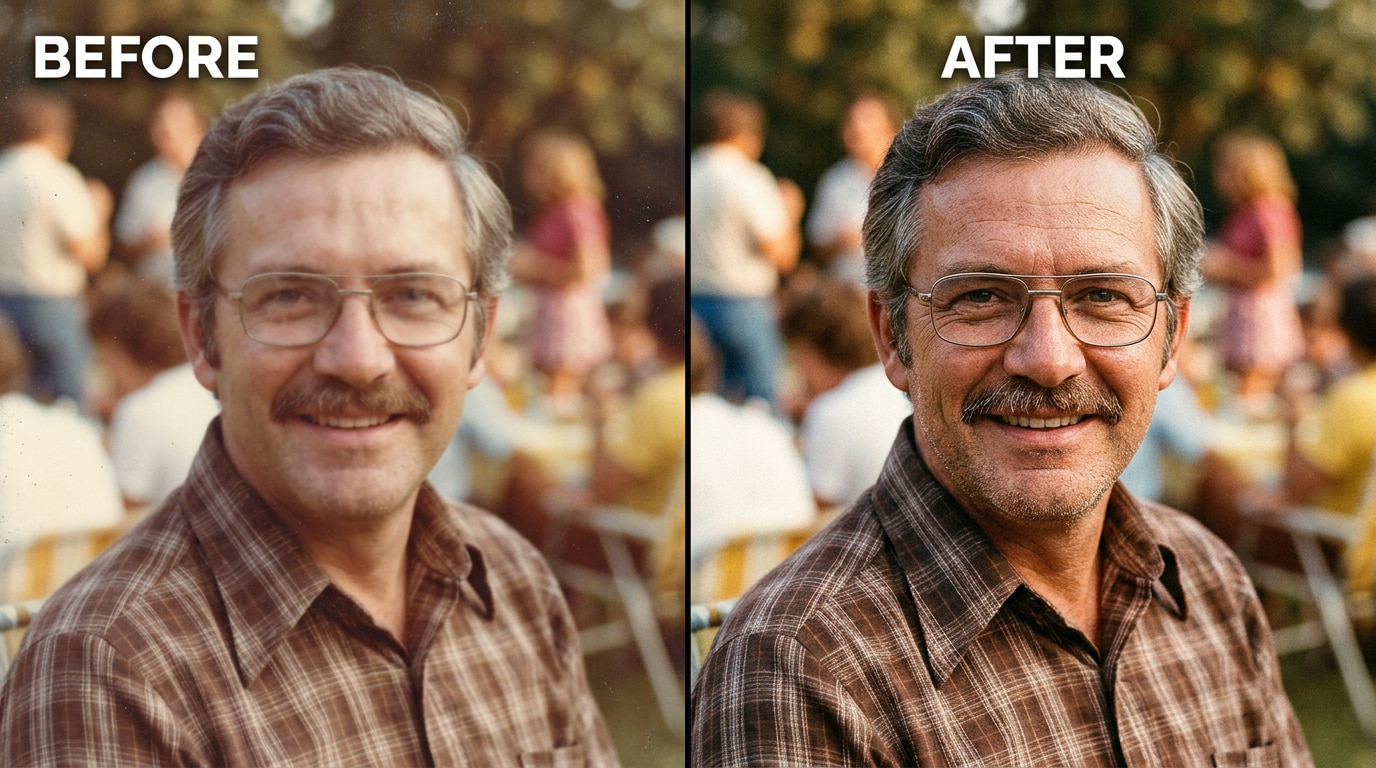
📷 1. Old or Scanned Family Photos
"I've been digging through some old family photos recently and found one that I really wanted to clean up — it's from the late 80s, super blurry, and the faces are barely recognizable. Tried a bunch of online 'unblur' or 'restore photo' tools and most of them either over-sharpen everything into plastic skin, smooth it so much that the faces look wrong, or just blur it even more." — u/Traditional_Ad_1101, r/AskPhotography
Scanning a physical print is a one-way trip: the scanner reads what it sees at the pixel level, and the fine grain of the original film stock — which gave old photos their natural, three-dimensional look — either comes across as noise that gets filtered out, or gets averaged into a smooth, slightly blurry surface. The face in the scan looks like the person, but it doesn't look like a photograph anymore. It looks like a painting of the person.
Relumi reads the degraded skin surface and reconstructs a texture that's consistent with the photo's era, the person's age, and the quality of the original image. It doesn't sharpen the blur — it rebuilds the missing layer underneath. The result is a photo that looks like it was actually taken, not digitally reconstructed.
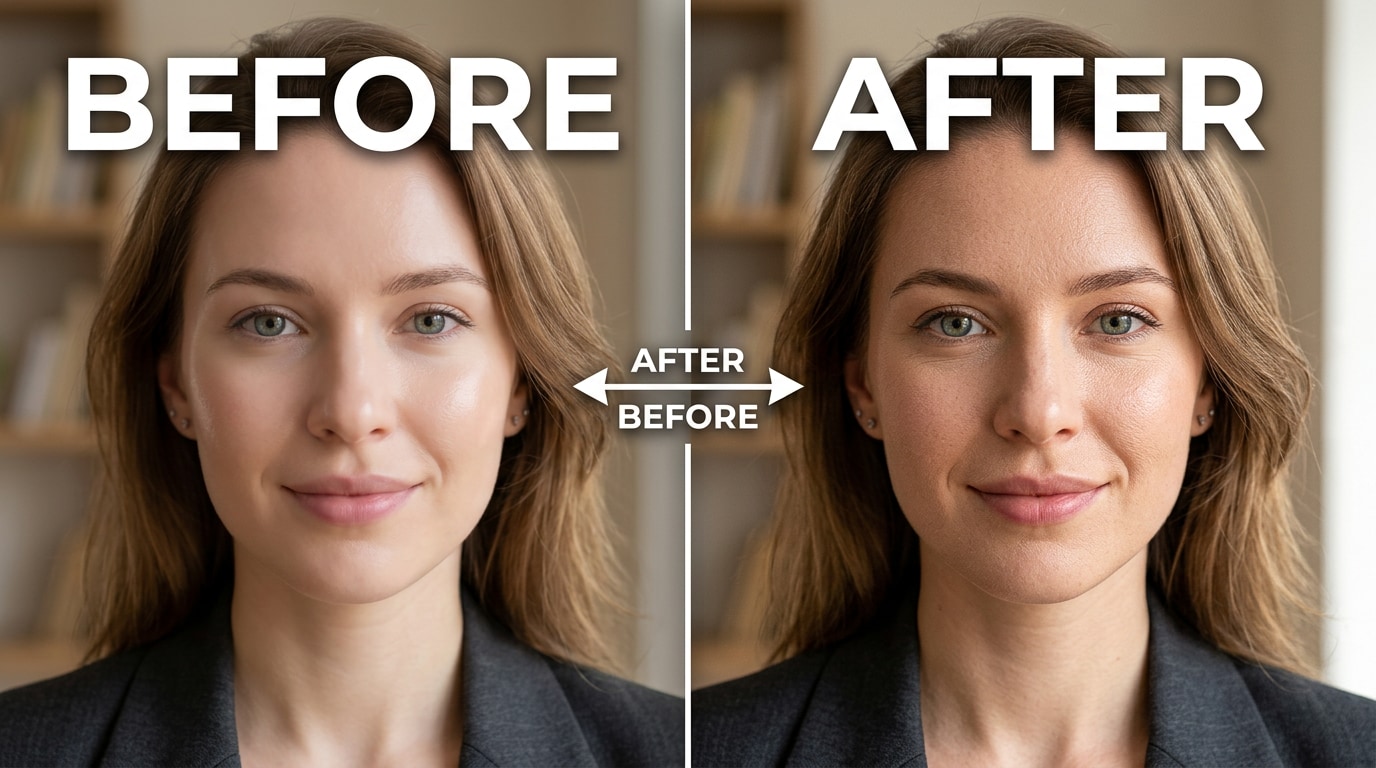
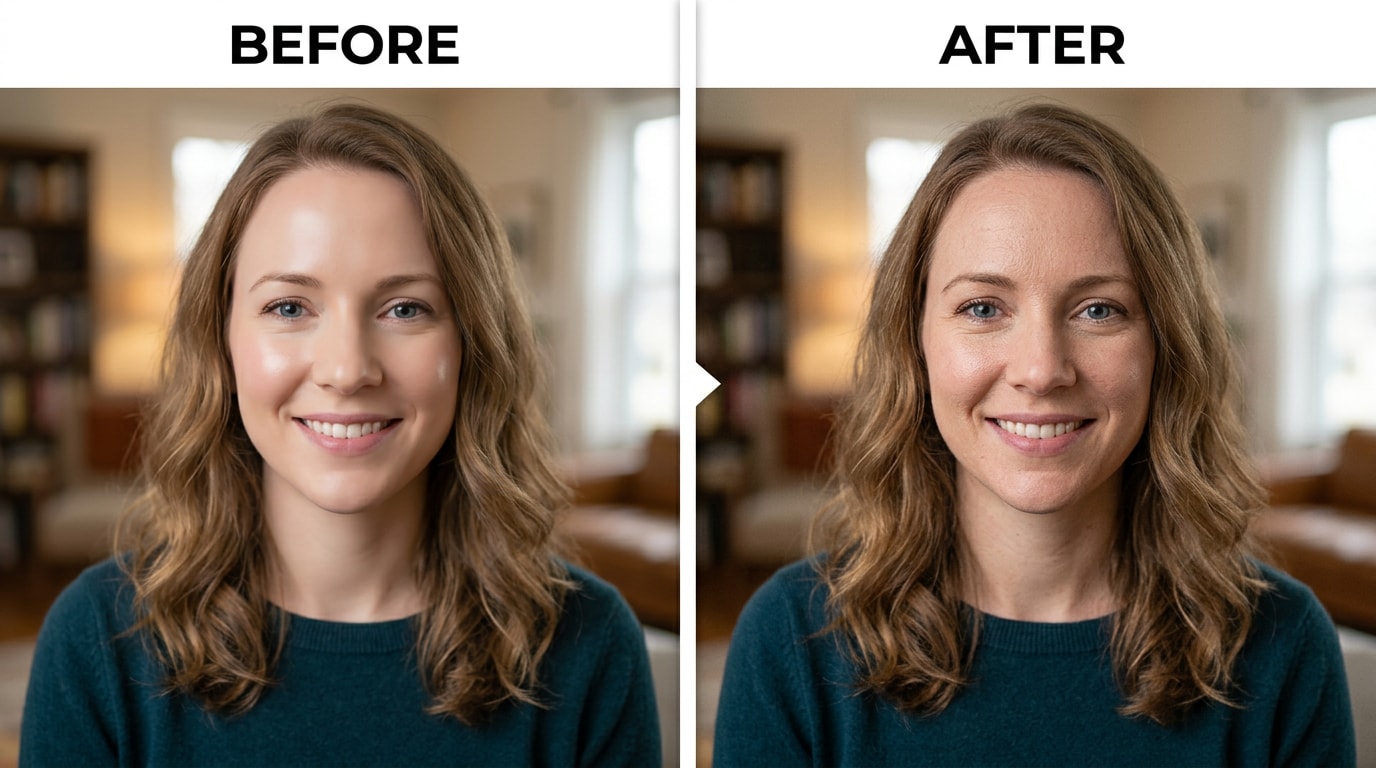
💼 2. Over-Retouched Studio or Professional Portraits
"I got my senior portraits done from a company and I purchased the hard drive of the photos but I really don't like how much they edited my skin. It's way too much, super unnatural, and it almost looks like I'm an AI or something. I just want to add more texture and realism — I just want to look like me." — u/alxssaxo, r/Lightroom
Professional photography studios over-smooth skin as a default — it's faster than careful retouching, and many clients don't notice or complain. But when it goes too far, you're left with a portrait of yourself that doesn't look like you. The specific tell: no pores anywhere on the face, skin that looks like it has the same reflective quality everywhere, and a slightly glazed finish that professional photographers call the "wax figure look."
The problem is that the smoothing is baked into the JPEG you received. You can't undo the edit — the original skin detail isn't there to recover with a clarity slider. Relumi's AI reconstructs what that texture should look like based on the face structure, lighting, and skin tone in the image, and writes it back in at a level you control. The result is a portrait that looks professionally finished and genuinely human at the same time.
📱 3. Phone Camera Beauty Mode That Can't Be Turned Off
Most flagship Android phones have a beauty processing mode enabled by default — sometimes it's labeled, sometimes it runs invisibly as part of the camera's computational photography pipeline. The result shows up in every selfie and every photo taken with the front camera: skin is slightly too smooth, pores are gone, and the face has a subtle softness that makes it look less like a photograph and more like a carefully lit portrait from a mid-tier studio.
This matters most when you're printing photos, sharing them in contexts where they'll be viewed at full size, or when you simply want your photo to look like it was taken rather than processed. At thumbnail size on a phone screen, beauty mode is invisible. At 100% zoom on a monitor, or printed at 8×10, it's immediately obvious. Relumi's Skin Texture Restoration adds back the pore detail and natural grain that beauty mode removed — at whatever intensity level keeps the result looking like a good photo rather than an unfiltered snapshot.
Conclusion
The "plastic skin" problem isn't caused by bad cameras or bad photographers. It's caused by tools that treat smoothing as the goal — when smoothing is actually the process that erases what makes skin look real in the first place. Whether it happened in a 40-year-old film scan, a studio edit you paid for, or a phone camera that processed your selfie without asking, the result is the same: a face that looks slightly wrong, slightly off, slightly not like a person.
Relumi AI Retake Skin Texture Restoration fixes that in the right direction. It doesn't sharpen what isn't there. It reconstructs what was. The AI rebuilds pore structure, natural grain, and skin micro-detail based on what the face and lighting in the photo suggest those textures should look like — then gives you a slider to control exactly how much comes back. The result is a photo that looks like it was taken, not processed.
Free to try on iOS and Android. Load any portrait. Tap Skin Texture Restoration. The difference shows up immediately in the before/after.
FAQ
-
What's the difference between skin texture restoration and skin smoothing?
They're opposite operations. Skin smoothing removes texture from skin — it reduces visible pores, grain, and surface variation. Skin texture restoration adds that texture back in. Use smoothing when a photo has too much visible skin detail (blemishes, redness). Use texture restoration when a photo has too little — the skin looks waxy, plastic, or painted because a scan, a beauty filter, or an editor removed the natural grain. -
Can it actually recover detail from an old blurry photo, or is it just guessing?
It's both — in the same way a skilled human retoucher would work. When original skin detail is completely gone (erased by smoothing or digitization), no tool can recover what was never recorded. What Relumi does is reconstruct plausible texture: based on the person's visible skin tone, the remaining facial structure, the lighting in the image, and the era/quality of the photo, the AI generates texture that is consistent with what the skin should look like. It's informed reconstruction, not random noise addition. -
Will it make the photo look over-sharpened or artificially crunchy?
No — this is the key difference between AI texture reconstruction and a sharpening or clarity slider. Sharpening enhances edges and contrast that already exist, which on blurry skin just makes compression artifacts and noise louder. Relumi generates new texture at the semantic level — pores and grain that sit correctly on the skin surface — rather than amplifying what's already there. At moderate intensity settings (50–70%), the result reads as natural film texture, not digital sharpening. -
Does it work on JPEGs, or do I need the original RAW file?
It works on JPEGs. The user in the Reddit post above had the same concern — they had only the studio-delivered JPEG with no access to the original RAW file. Relumi's AI texture reconstruction operates on the final image regardless of format. JPEG compression does limit the starting quality, but for most studio portraits and scanned photos, the result is clearly visible even from a JPEG source. -
Is Relumi's Skin Texture Restoration free?
Yes. The Skin Texture Restoration feature is available on Relumi's free tier for both iOS and Android. You can restore skin texture on any portrait and export the result in full resolution without a watermark. No subscription is required to use the core feature. -
What intensity setting should I start with?
For most photos, start at 50–60% and adjust from there. Old scanned photos often benefit from a slightly higher setting (65–75%) because the texture degradation is more severe. For studio portraits or beauty-filtered selfies where the issue is subtler, keep it at 45–55% to avoid making the texture too prominent. The before/after toggle in the app makes it easy to compare at each setting before saving.
 ChatGPT
 Perplexity
 Google AI Mode
 Grok
Grok


