
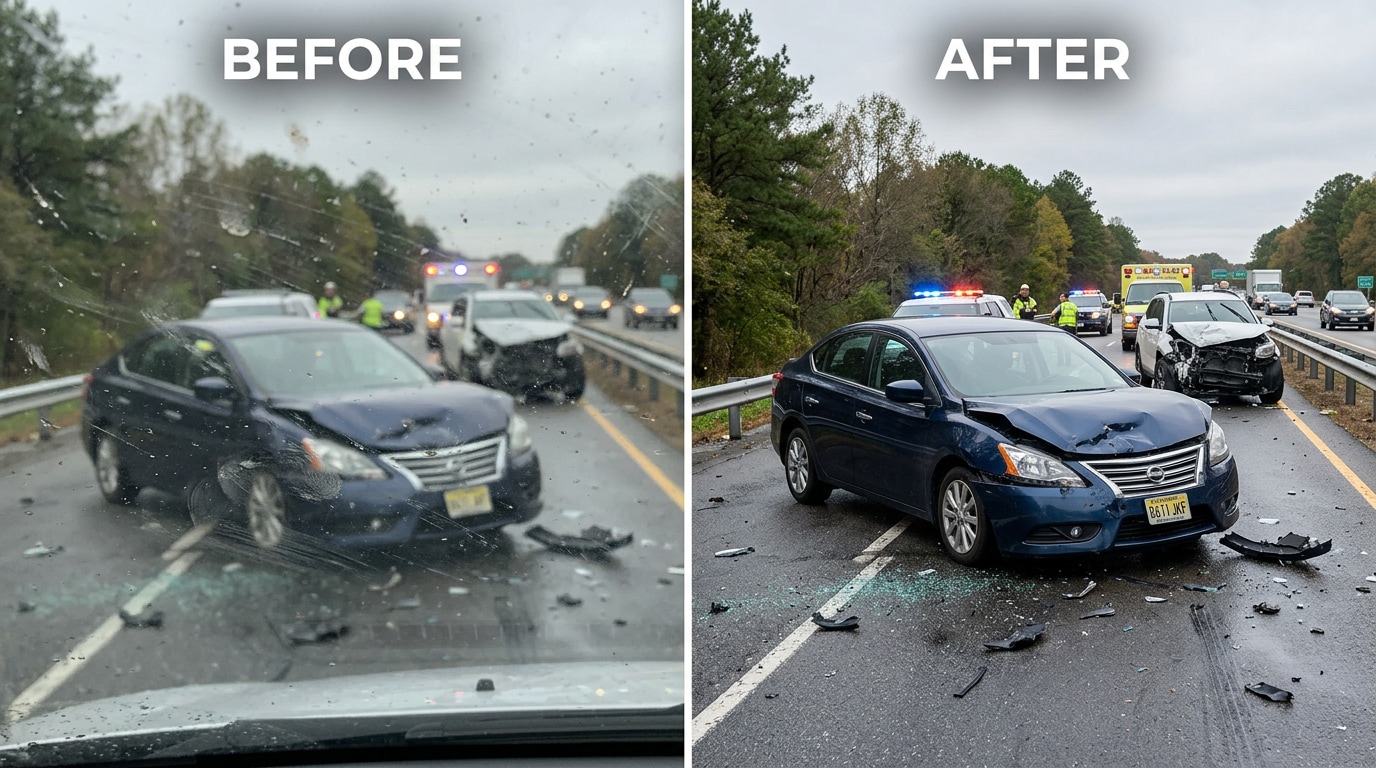
Twenty-two replies. Most of them variations of the same answer: you can’t really fix this. A few guesses at the car make. Someone pointing out that Reddit compresses images and makes it worse. The photo that mattered most — the one that could have identified the other driver — was both blurry from shaking hands and hazed over by a dirty windshield. Two problems at once. Neither one fixable with the tools that were available.
This is the double-problem photo. It doesn’t only happen in accidents. It happens whenever a phone gets grabbed fast, when a lens has been sitting in a bag all day, when a kid runs through the frame before you can focus, when you realize after the fact that the glass was dirty the whole time. The photo has two things wrong with it simultaneously: it’s blurry, and it has smudges or spots. And the frustrating part is that most tools can only handle one problem at a time — sharpen the blur without knowing which parts are blurry and which are smudged, or remove the spots without knowing what the sharpened image underneath should look like.
Relumi AI Retake — Blur + Blemish Combined Repair handles both problems in a single pass. The AI separates the blur problem from the blemish problem, resolves them independently, and recombines the result — producing a recovered photo that is sharper, cleaner, and actually usable. Free on iOS and Android.
In this article
Part 1: Why Blur and Blemishes Happen Together — And Why One at a Time Doesn't Work
Blur and lens blemishes (smudges, dust spots, fingerprints, haze) are two completely different problems. Blur is about lost sharpness — the image data that represents detail has been spread across multiple pixels by camera movement, subject movement, or missed focus. Blemishes are about obstruction — a physical layer on the lens that hides or distorts part of the image before it even reaches the sensor.
They happen together all the time, for one simple reason: the conditions that produce blurry photos are often the same conditions that produce photos through dirty lenses. You grab the phone fast because something is happening right now. You don’t check if the lens is clean. You don’t check settings. You point and tap. The result: motion blur from a moving hand, and a smudge from the last time you put the phone in your pocket.
The problem with trying to fix them separately is that each correction makes the other one harder. If you sharpen the blur first, the sharpening algorithm also sharpens the edges of the smudge — making it more visible, not less. If you try to remove the smudge first, the blemish-removal algorithm can’t reliably distinguish between “area obscured by smudge” and “area that is just blurry” — so it often over-corrects or leaves artefacts. The two problems interfere with each other’s solutions.
This is why the standard advice from the photography community — try Topaz, try Lightroom, try Photoshop — often falls short on double-problem photos. These tools handle one dimension at a time. They weren’t designed for the case where the photo is simultaneously blurry and dirty.
There are three specific reasons the double-problem is hard to solve with traditional tools:
1. Blur makes blemish detection unreliable. A dust spot on a sharp image has a clear, hard edge that an algorithm can identify as “foreign object.” A dust spot on a blurry image has soft, spread edges that look similar to blurry image content. The spot blends into the blur, making it harder to find and remove cleanly.
2. Blemishes corrupt the blur correction baseline. Deblurring algorithms work by analyzing the spread pattern of edges across the image. A smudge creates a fundamentally different kind of spread — a diffuse, directional haze rather than a motion vector. If the algorithm encounters a smudged area while trying to calculate the deblur kernel, it gets incorrect data and produces artefacts in the recovered image.
3. Fixing one changes the difficulty of the other. Any correction applied to the image changes its pixel values. If you apply blur-correction first and then try to remove a smudge, the smudge-removal algorithm is now working on a different image than the original. The corrections compound, and the result often looks processed or unnatural.
Relumi’s approach solves this by treating the two problems as a joint optimization problem rather than two sequential tasks — which is what makes the combined repair actually work.
Part 2: How Relumi AI Retake Fixes Blur and Blemishes Together — And How to Use It
Relumi AI Photo Enhancer
AI Retake — Blur + Blemish Combined Repair That Fixes Both Problems in One Pass
 Joint blur-and-blemish analysis: Instead of treating blur and spots as separate problems, the AI maps both simultaneously — identifying which areas have blur, which have obstructions, and which have both — before applying any correction. This prevents each fix from interfering with the other.
-
Motion and camera-shake blur recovery: Reconstructs fine detail that was spread across pixels by hand movement or subject motion — recovering edges, text, and facial features from genuinely blurry images, not just sharpening contrast on soft images.
-
Lens smudge and fingerprint removal: Detects and removes the hazy, diffuse patches created by greasy fingerprints, breath condensation, and lens smears — restoring the image content that was hidden behind the obstruction.


The practical difference from running two separate tools: when you run Topaz Sharpen followed by a spot-removal tool, you’re applying corrections to an already-modified image. The sharpening has changed pixel values that the spot-removal tool now has to interpret. Relumi’s joint approach means the AI “sees” the original image — both problems simultaneously — and computes a single correction that resolves both. The result is cleaner and more natural-looking because no intermediate correction has contaminated the input for the next step.
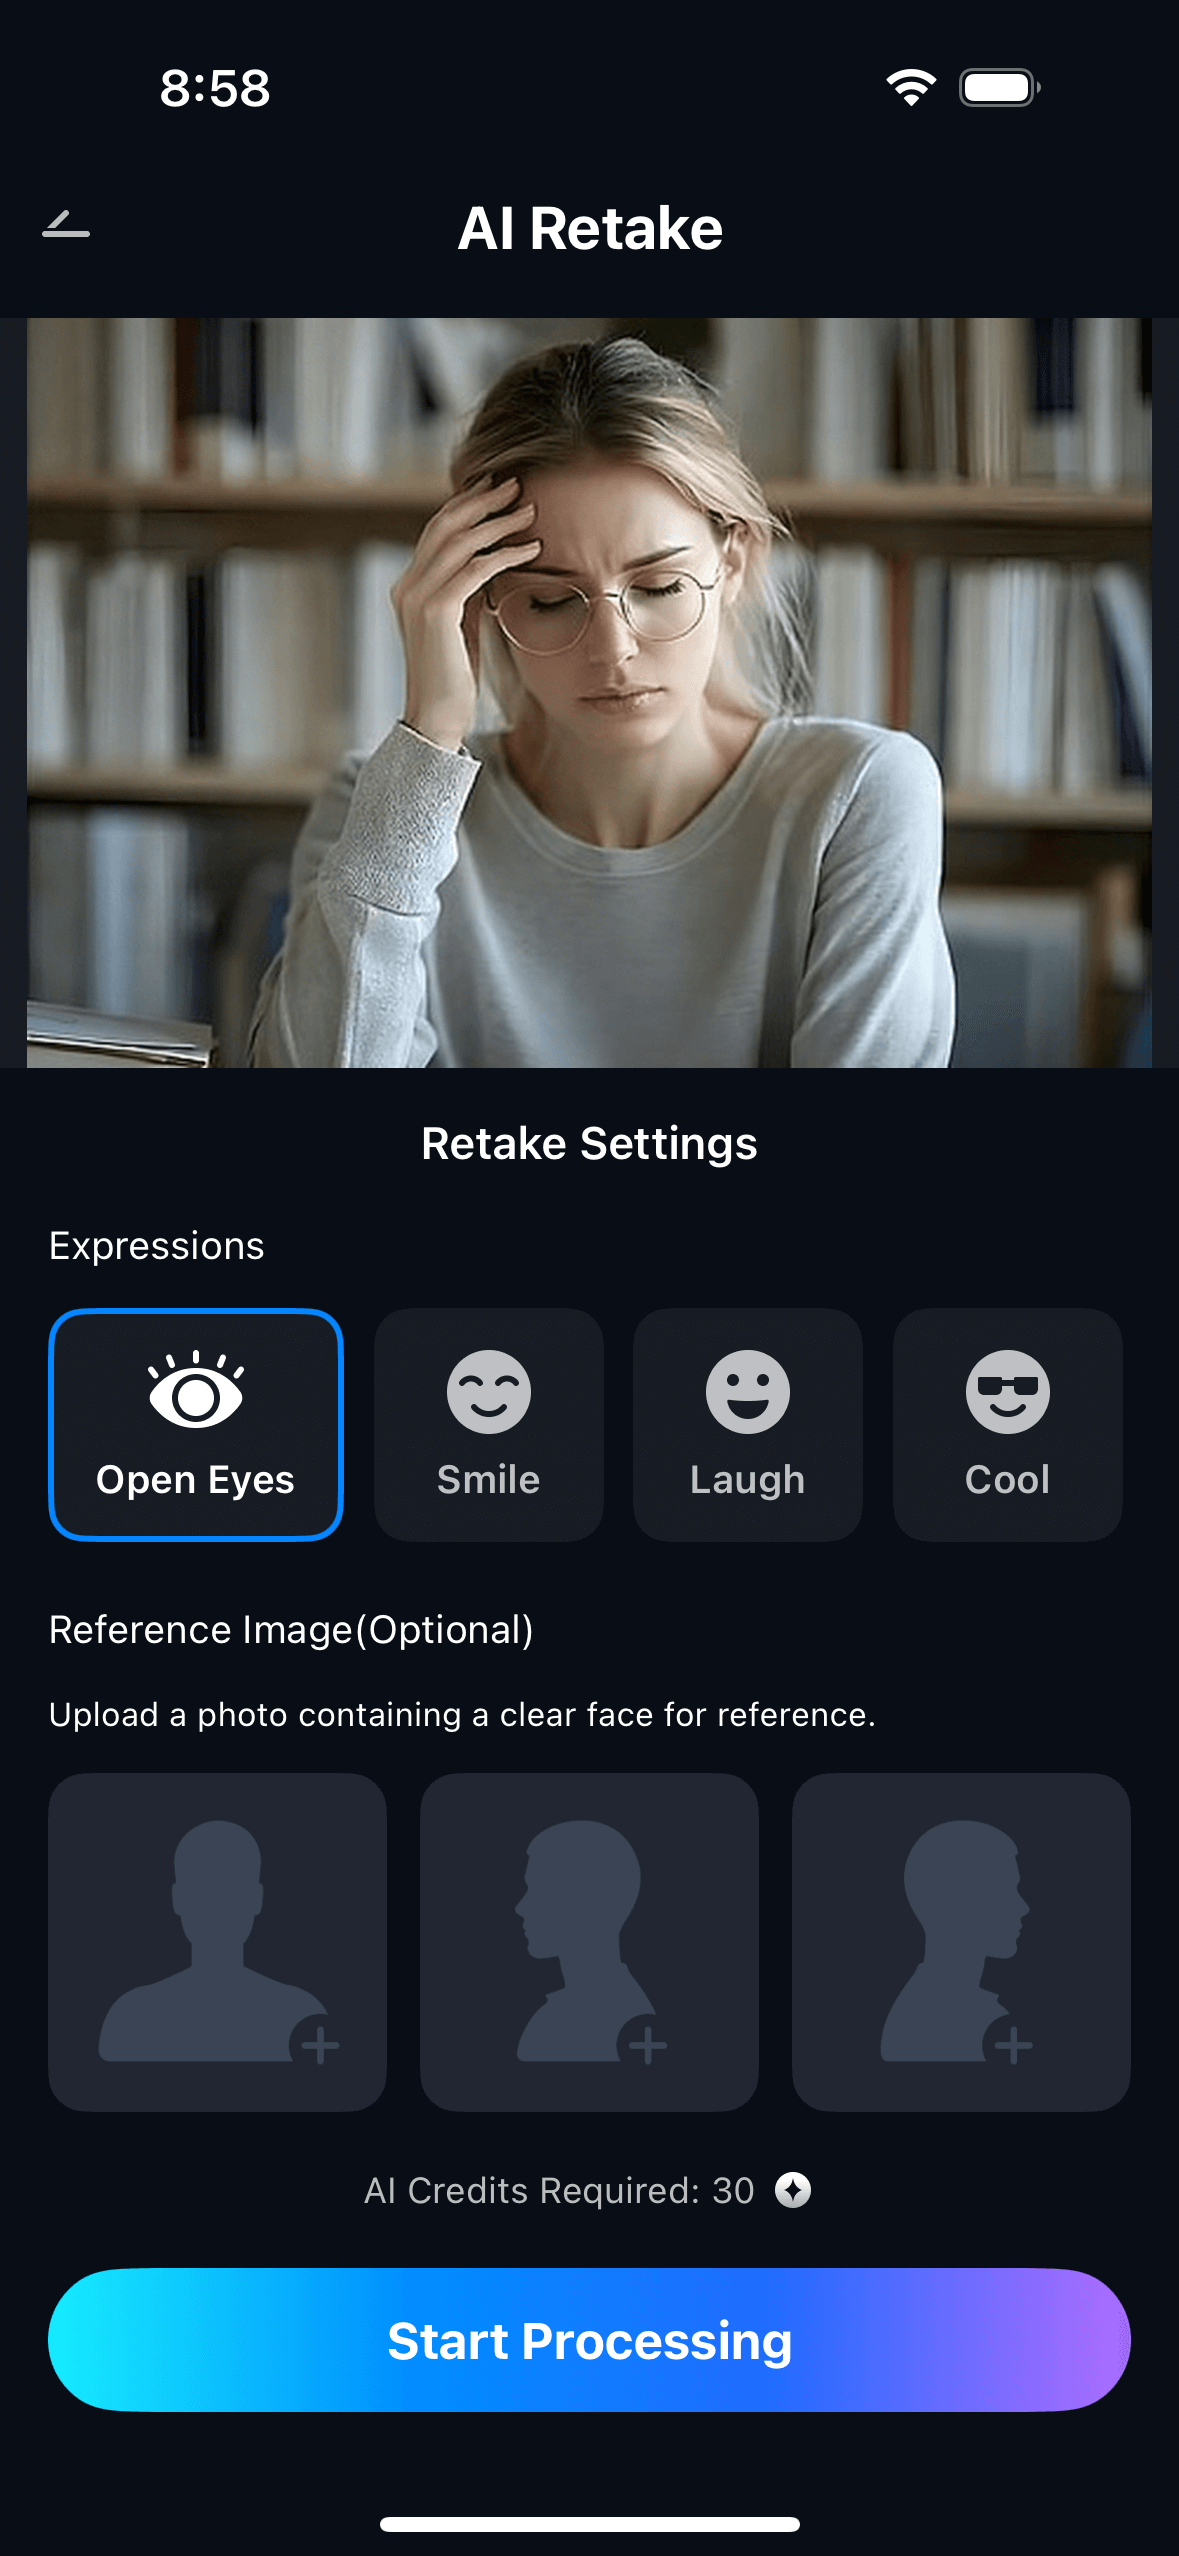
How to Use Relumi AI Retake — Blur + Blemish Combined Repair on iPhone
Step 1. Upload Your Photo & Select Blur + Blemish Combined Repair
- Open the AI Retake feature from the Relumi homepage.
- Upload the photo that has both problems — blurry and dirty. This could be an accident documentation photo, an action shot with a smudged lens, a grabbed candid through a fingerprinted phone screen, or any image where you can see both blur and visible spots or haze.
- From the AI Retake menu, tap Blur + Blemish Combined Repair to activate the feature.
- Use the Intensity slider to set the correction level — start at 50% for moderate combined correction and adjust based on how severe the blur and blemishes are.
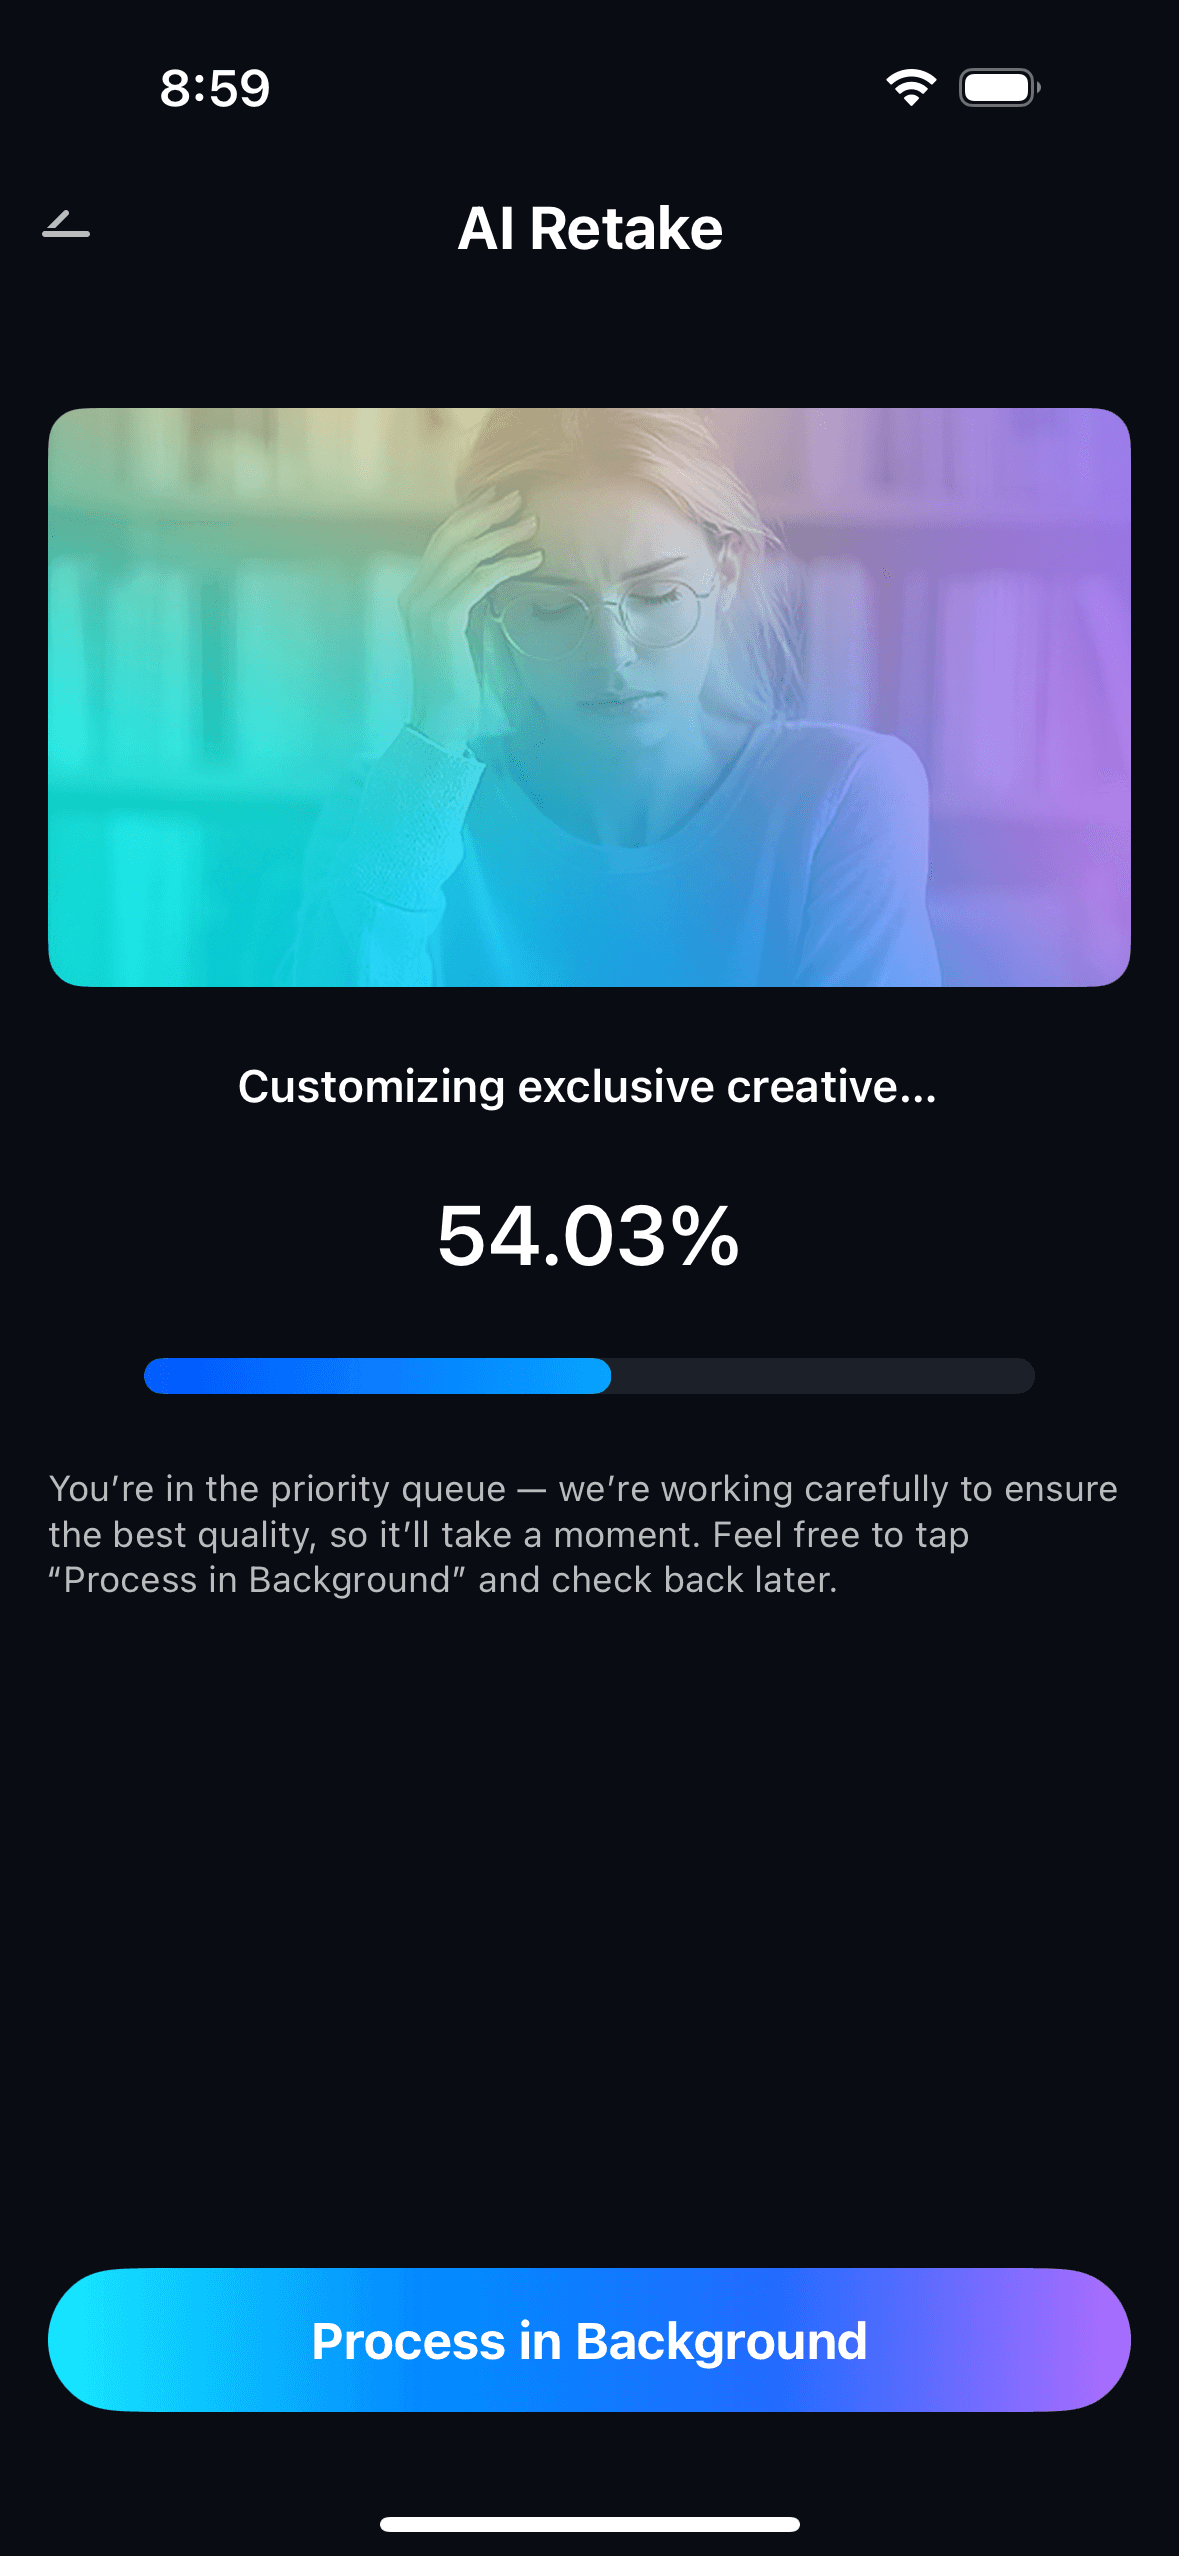
Step 2. Start AI Retake Processing
- The AI performs a joint analysis of the entire image — mapping blur patterns, identifying smudge areas, and locating discrete spots, all at the same time before any correction is applied.
- It calculates a unified correction that addresses blur recovery and blemish removal simultaneously — preventing the interference artefacts that occur when these are treated as two sequential steps.
- Processing runs automatically with no manual input — no selecting blur regions, no marking spots, no masking smudges. One tap initiates the full combined correction.
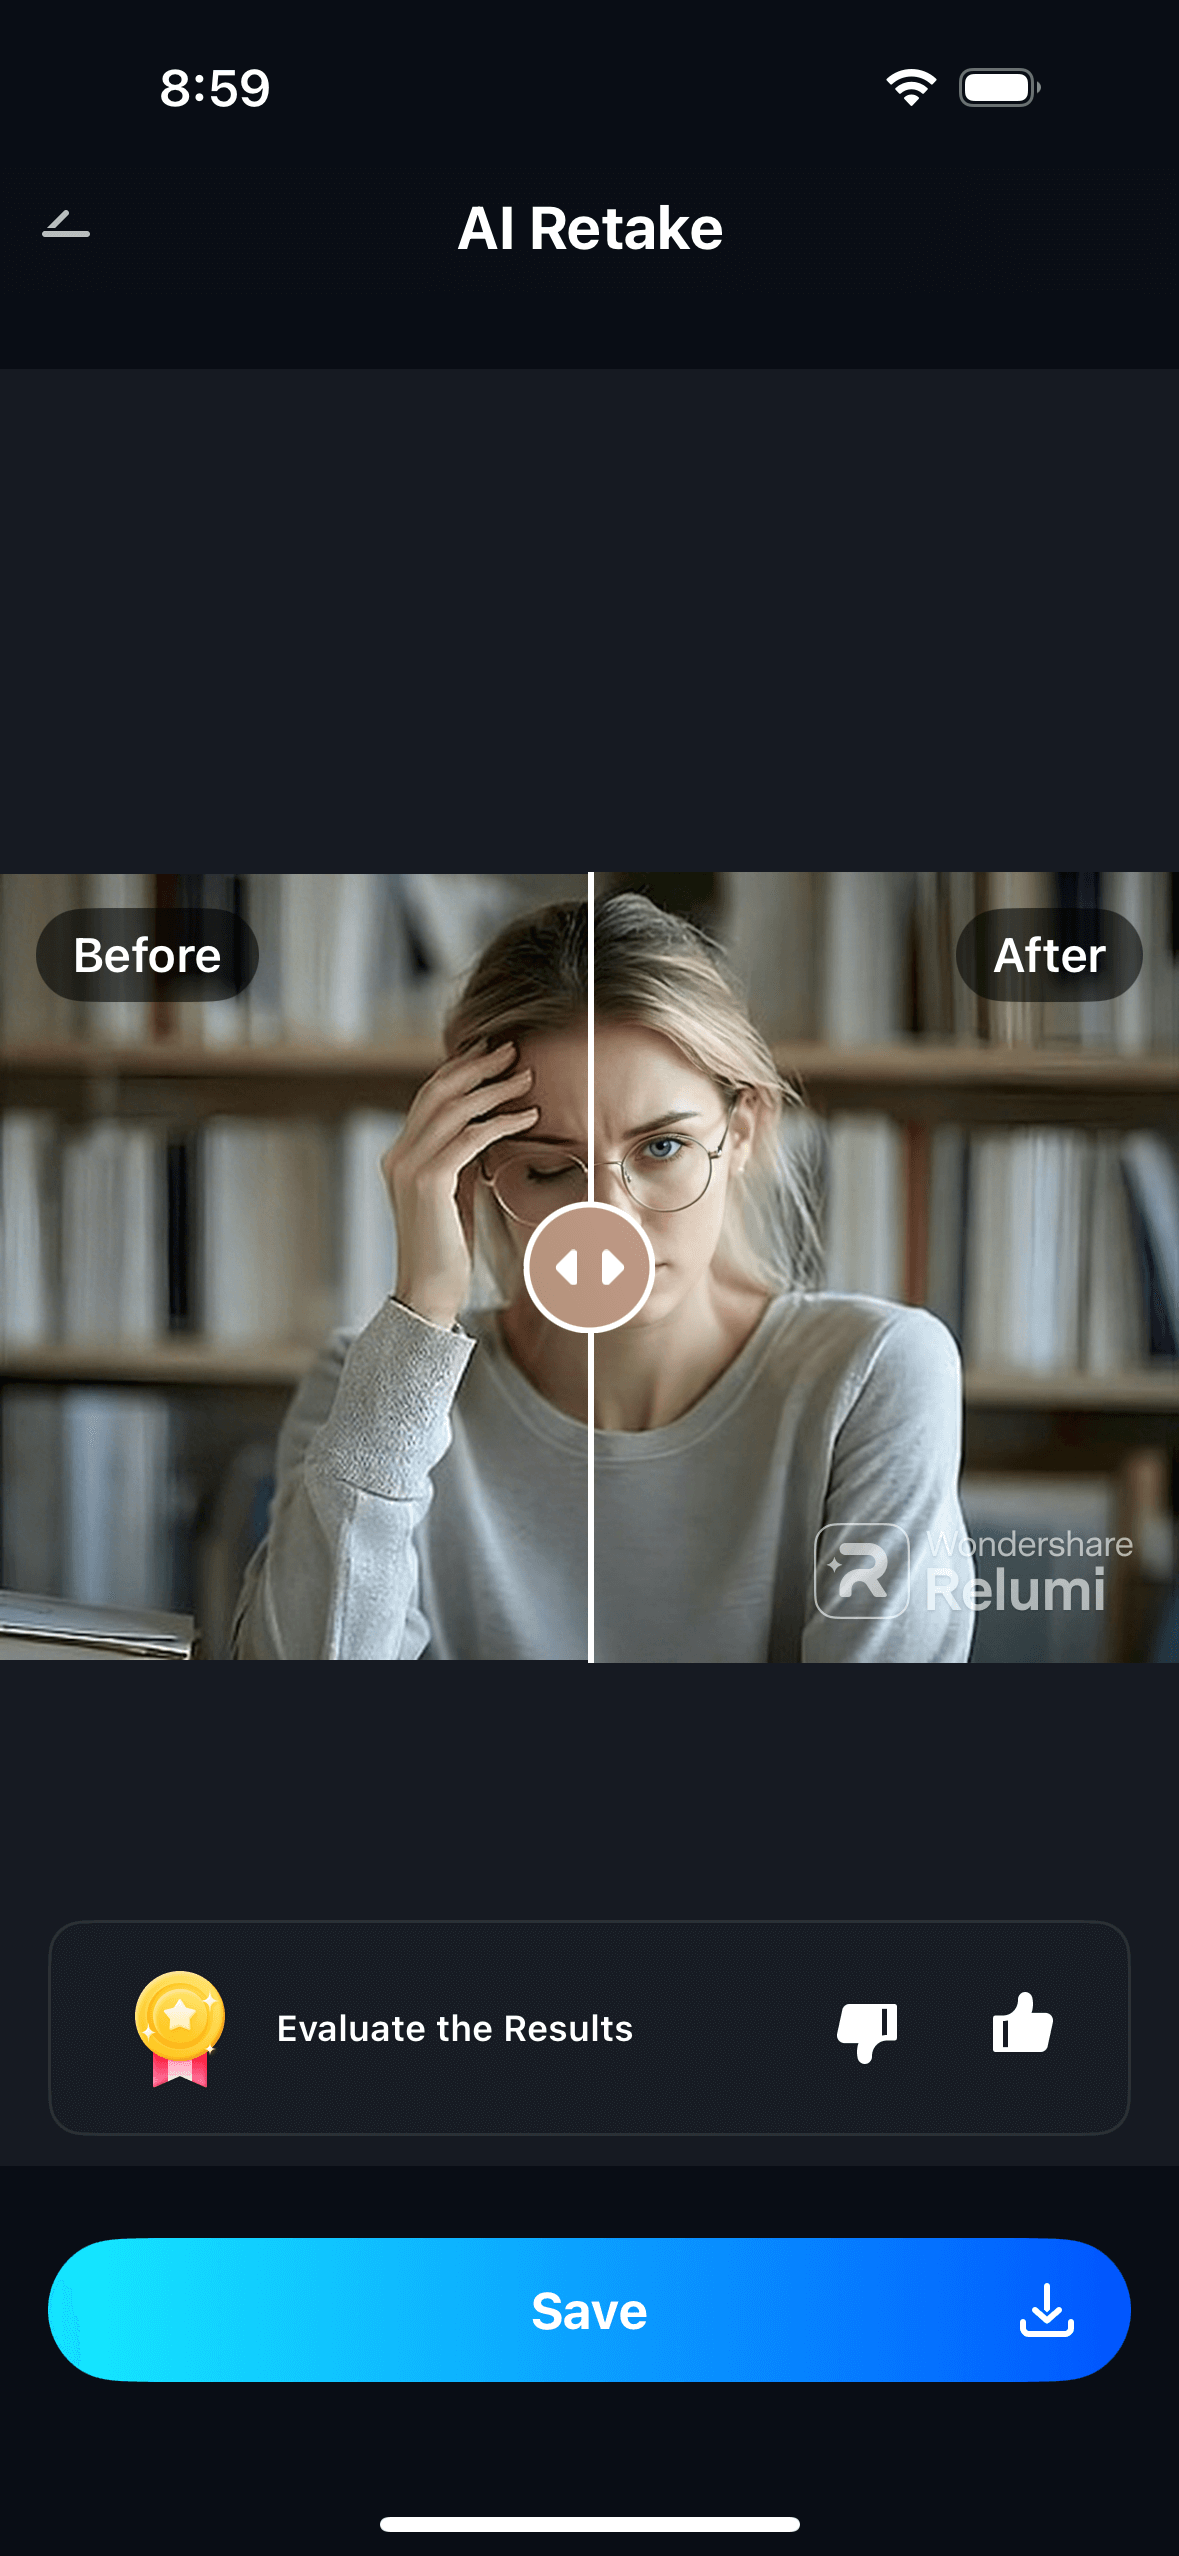
Step 3. Preview, Compare & Save
- Use the before/after toggle to compare the original and corrected versions side by side — checking both the sharpness improvement and the blemish removal in the same view.
- Adjust the intensity slider if needed — higher settings for photos that are severely blurry and heavily smudged, lower settings when only one problem is mild and you want to avoid over-processing.
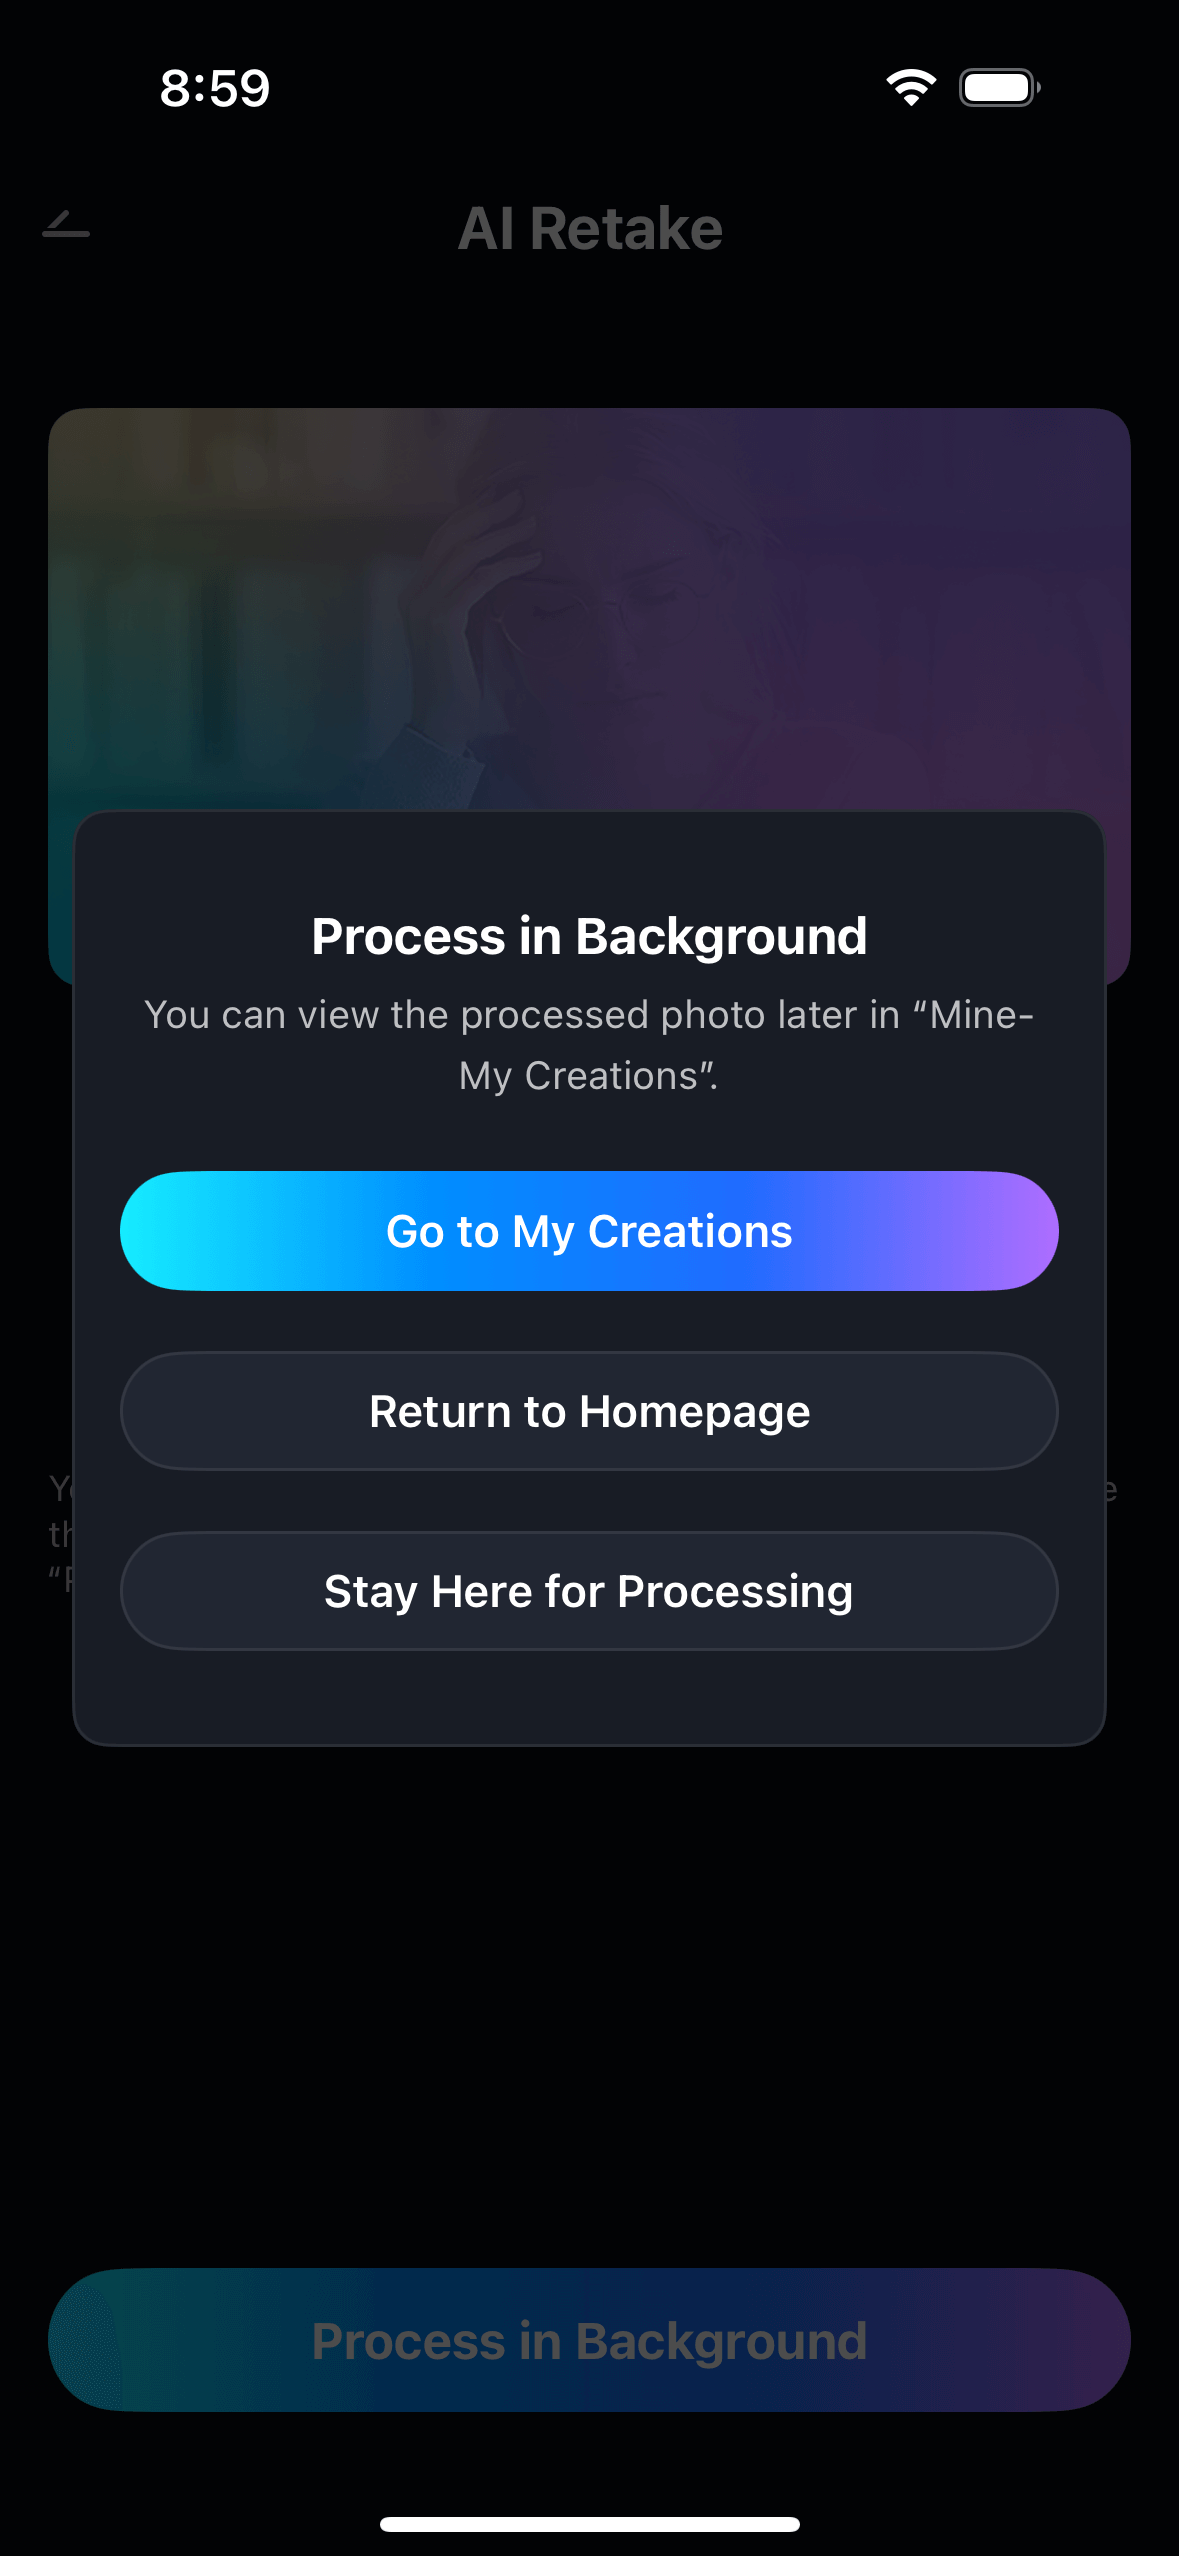
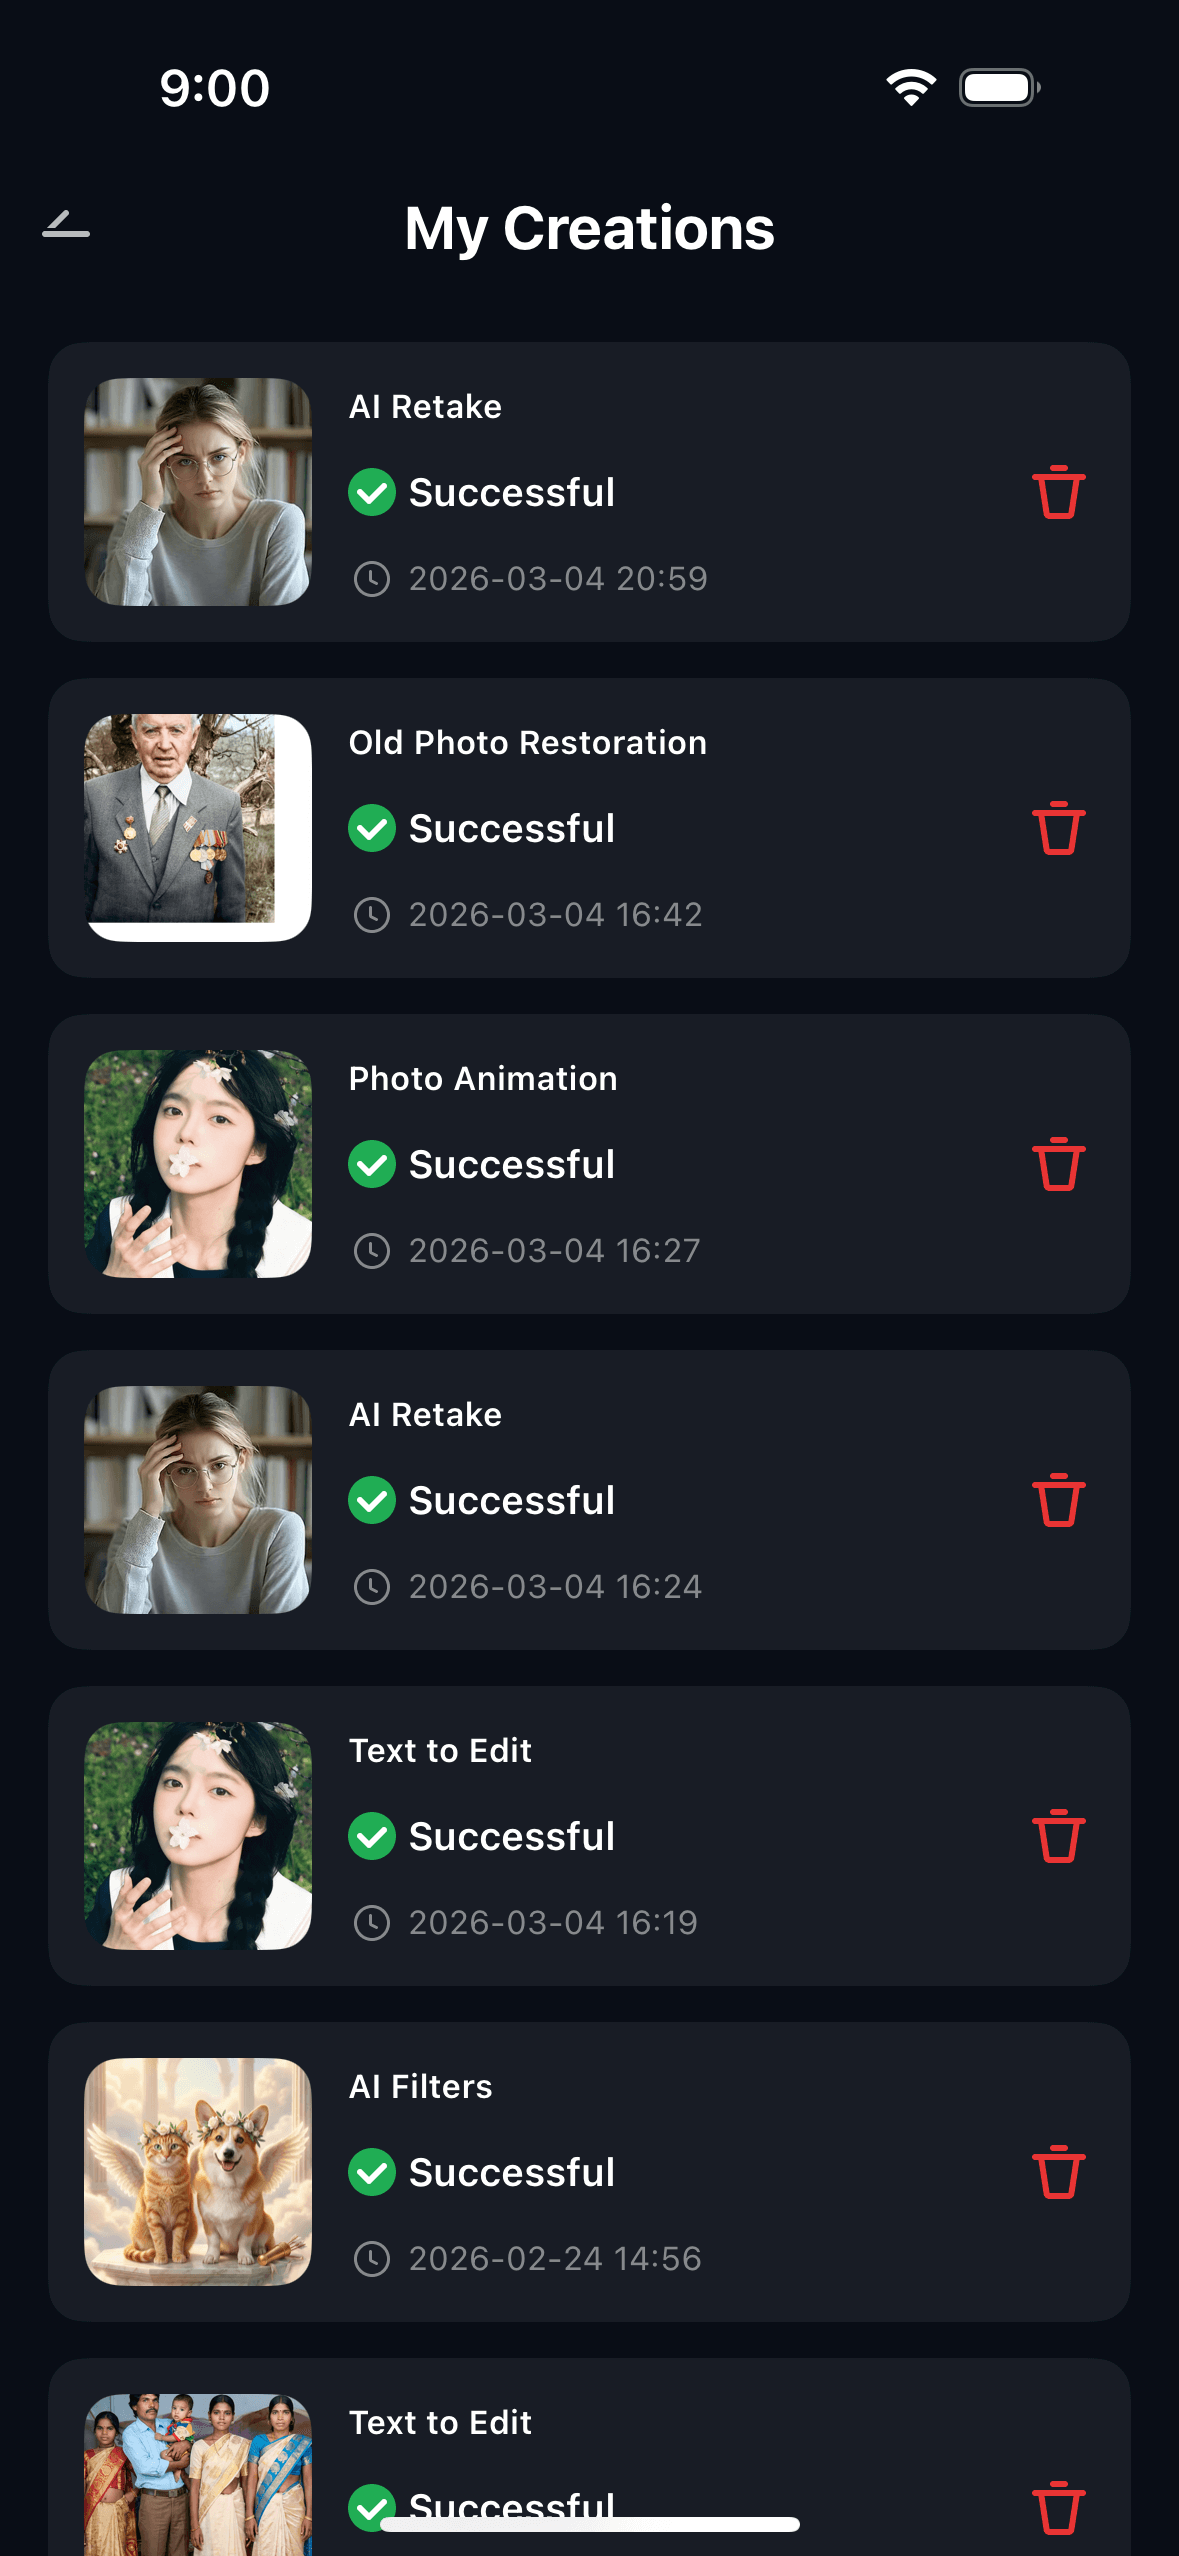
- Tap Save to export in full resolution, or share directly. View all repaired photos in My Creations.

The result is a photo that is both sharper and cleaner — the blur reduced, the smudges gone, the spots removed — without the double-processed look that comes from running two separate correction passes on the same image.
Part 3: Three Situations Where Combined Repair Is the Only Option
These are the three real-world scenarios where the photo has both problems at once, where there is no second chance to reshoot, and where single-problem tools consistently fall short.
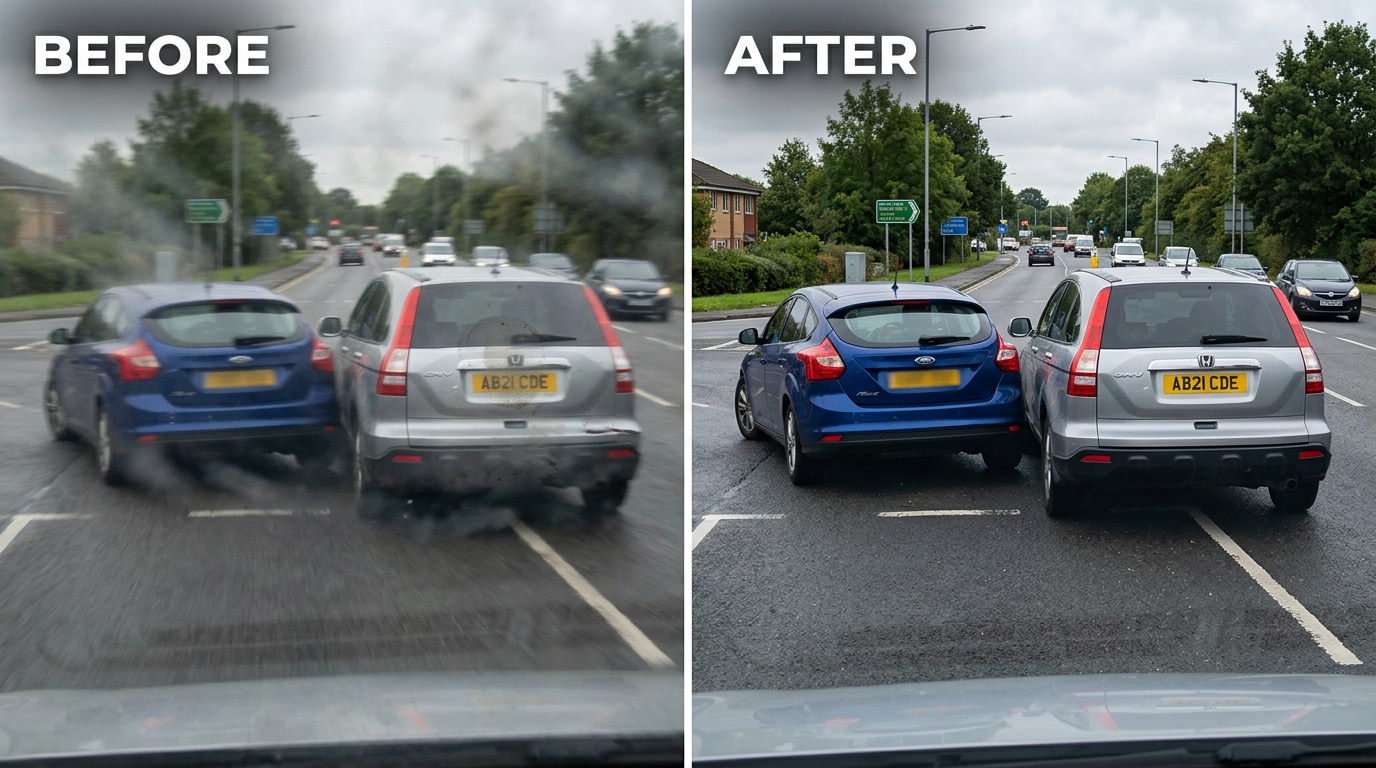
🚗 1. Accident and Incident Documentation — Blurry, Dirty, No Second Chance
An accident happens. The instinct is to grab the phone and document everything — the other car, the damage, the license plate, the position on the road. That instinct is correct. The problem is that grabbing the phone fast means the photos are taken with a shaking hand, in a stressed state, probably without checking if the lens was clean from the pocket it lived in all day. The resulting photos are blurry from camera shake and hazy from a dirty lens. And there is no second chance to take them again.
This is the hardest version of the double-problem photo. The blur is from urgency. The dirty lens is from everyday carry. The stakes are high — the photo may be the only evidence. Relumi’s combined repair can’t manufacture detail that wasn’t captured at all, but for photos where the information is technically present in the image but obscured by both blur and smudge, the joint correction can recover enough to make the photo usable — enough to read a partial plate, confirm a make and model, or show the extent of vehicle damage.
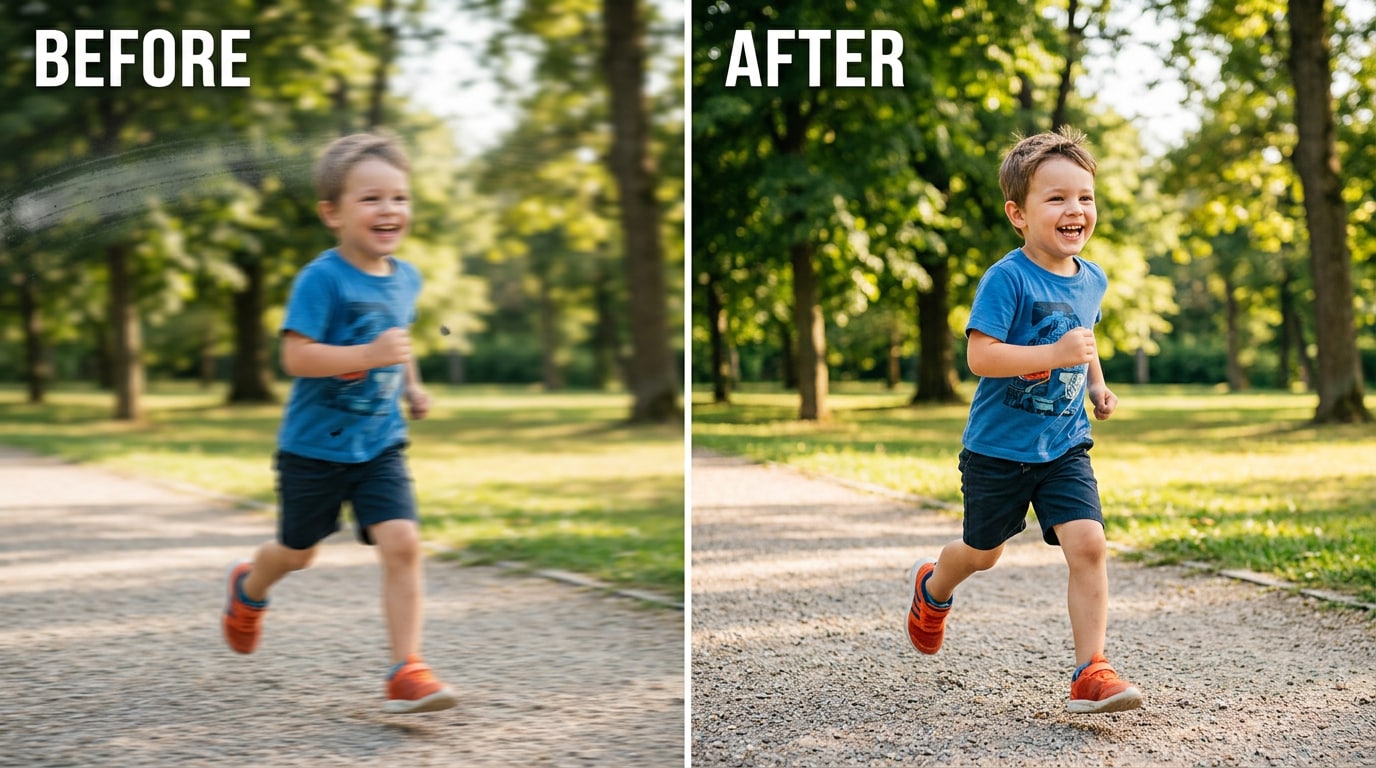
🏃 2. Action and Kids Photos — Motion Blur Plus the Lens You Forgot to Check
Kids at full sprint, a dog mid-leap, a dancer at the peak of a jump — action photography on a phone has one consistent enemy: shutter speed. Phone cameras in auto mode often aren’t fast enough to freeze fast-moving subjects in anything less than perfect outdoor light. The result is motion blur. And if the lens also had a smudge from earlier in the day — a thumb print, a pocket grease streak — that gets layered on top of the motion blur in the same frame.
Lightroom can’t fix this. Topaz Sharpen might help with blur if the blur is mild and isolated. Neither handles the case where blur and a smudge overlap in the same region of the photo — which is the case whenever the smudge happens to be in the part of the frame where the moving subject is. Relumi’s combined repair processes the full image as a joint problem: the smudge is removed from the same pass that recovers the blur, and neither correction corrupts the other.
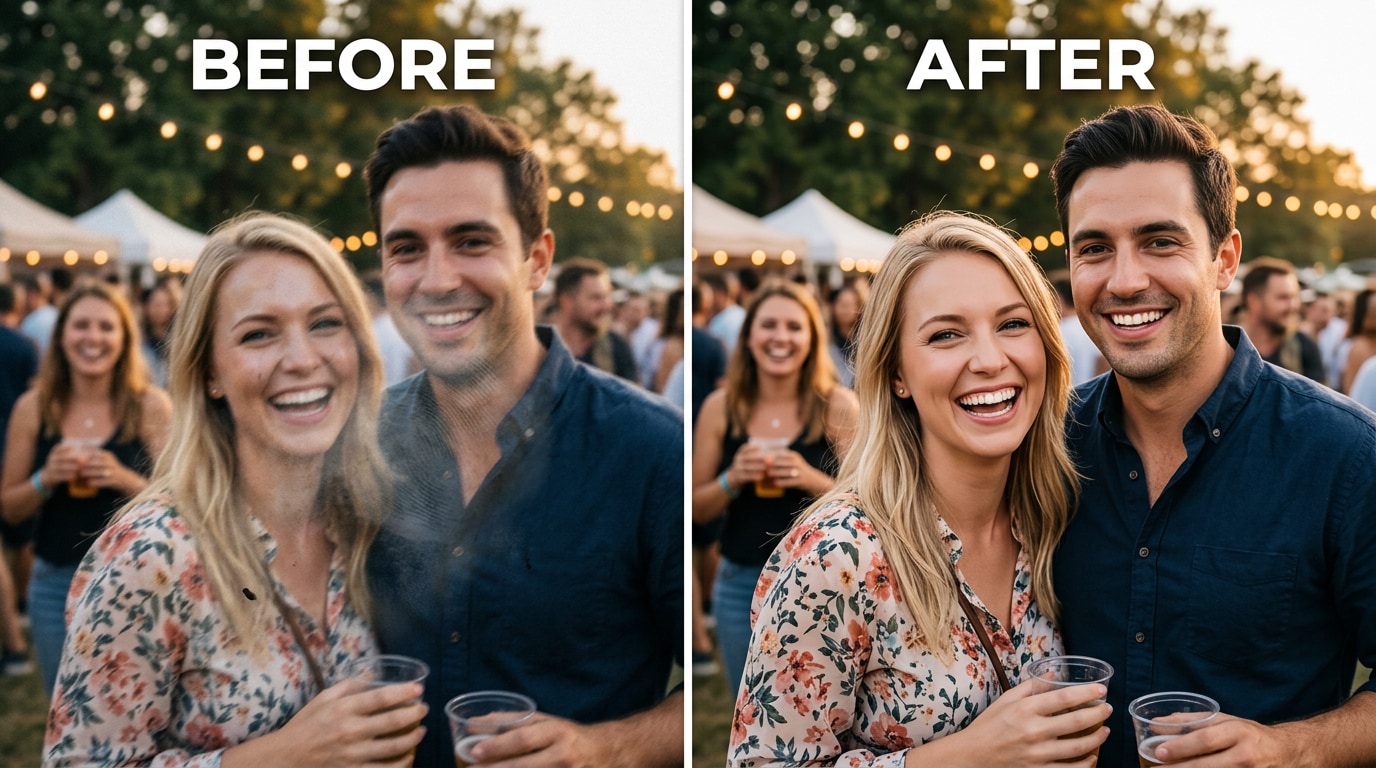
📸 3. Spontaneous Grab Shots — The Moment Was Right, the Phone Wasn't Ready
Someone says something funny. A surprise happens. A perfect candid moment appears for about one second. You grab the phone, unlock it, and shoot before anything stabilizes. The phone wasn’t ready. The lens had been in a pocket. The moment passed before a second shot was possible. What you’re left with is: blur from the grab, and a haze or smudge from the pocket lint and finger grease that accumulated on the lens during the day.
The “slightly soft and a smudge-like flare” description is exactly the double-problem in its common form. Soft focus (camera shake blur from a quick grab) plus lens smudge haze. Noticed only in post, after the moment is gone. The “slightly soft” element responds to Relumi’s blur recovery. The “smudge-like flare” element responds to the blemish removal. Processed together in one pass, both corrections apply without interfering with each other.
Conclusion
Most photo problems come one at a time. Blur is blur. A spot is a spot. Fixing one at a time with sequential tools is annoying but workable. The double-problem photo — blurry and dirty simultaneously — is different, because fixing one problem with a standard tool actively makes the other harder to fix. Sharpen first and the smudge becomes more defined. Remove the smudge first and the sharpening algorithm works on a modified image. Either way, you end up with artefacts from the interaction between the two corrections.
Relumi AI Retake Blur + Blemish Combined Repair solves this by treating both problems as a single joint task. The AI maps blur and blemishes at the same time, in the same analysis pass, and computes a correction that addresses both simultaneously. The result is a photo that is sharper and cleaner — without the double-processed look that comes from running two separate tools sequentially on the same image.
Free to use on iOS and Android. If your photo is both blurry and dirty, load it into Relumi AI Retake, select Blur + Blemish Combined Repair, and check the before/after in a single tap.
FAQ
-
Can it recover a completely blurry photo where nothing is sharp at all?
Recovery depends on how much image data was captured. If the blur is severe — the image is heavily motion-blurred to the point where no edges or detail are distinguishable — the AI can improve the image significantly but cannot reconstruct detail that was never captured. For moderate blur (slightly shaky, soft focus, fast-moving subject that isn’t completely streaked), the recovery is typically good enough to make the photo usable. The before/after toggle lets you judge the result before saving. -
What types of blemishes can it remove alongside the blur?
The combined repair handles the most common lens-related blemishes: fingerprint smudges (greasy patches that create a hazy, soft area in part of the frame), dust spots (small circular dark or light marks that appear as foreign objects in the image), sensor artifacts, breath condensation haze, and general lens grime that creates an overall softness or haze across part of the image. It handles these even when they overlap with blurry areas of the frame. -
Why is it better than running two separate tools — one for blur, one for spots?
Sequential tools interfere with each other. When you sharpen a blurry image first, the sharpening algorithm processes both the blurry image content and the smudge, making the smudge edges sharper and harder to remove in the next step. When you remove a smudge first, the values in the smudge area change, and the deblurring algorithm then has to work on a modified image rather than the original — producing artefacts in the recovered area. Relumi’s joint analysis avoids this by never applying an intermediate correction that contaminates the input for the next step. -
Can it help with dashcam or surveillance footage frames that are blurry and dirty?
Yes — the feature works on any still image, including frames extracted from dashcam footage or screenshots from surveillance video. For frames where the camera lens was dirty and the subject was moving (such as a passing car), the combined repair can help recover detail. The best approach is to extract the clearest individual frame from the video first, then apply the combined repair to that still image. Very low-resolution source footage (sub-720p surveillance video) will produce limited results since the detail wasn’t captured at source. -
Should I use this feature even if my photo only has one problem — just blur or just a spot?
The combined repair works fine on single-problem photos too — it will simply correct whichever problem is present and leave the other dimension unchanged. However, if you know your photo only has blur and no visible blemishes, using the dedicated blur-repair feature may give a slightly more targeted result. The combined repair is designed for when you’re not sure which problem is more dominant, or when you can clearly see both issues in the same image. -
Is Blur + Blemish Combined Repair free to use?
Yes. The feature is available on Relumi’s free tier for both iOS and Android. You can repair any photo with blur and blemish problems and export the result in full resolution without a watermark. No subscription or payment is required to use the core feature.
 ChatGPT
 Perplexity
 Google AI Mode
 Grok
Grok


