

Extending the background of an image in Photoshop is a common task that can be useful in a variety of scenarios. You may need to make a canvas bigger for a design project. Or, remove unwanted parts from a photo. Or, just expand the background to make more space. Photoshop has many techniques to help you do this.
In this comprehensive article, we'll explore three key methods for how to extend photo in Photoshop.
In this article
Part 1: How to Extend the Background in Photoshop: 3 Techniques
You can try any of the below-listed methods to extend background in Photoshop. Get creative and explore these techniques in Photoshop for a seamless background extension.
Method 1: Crop your canvas wider
A simple way to extend a background in Photoshop is to use the Crop tool. You use it to make your image's canvas bigger. This method is very useful. It works when you have a clear, even background to extend.
Here's how to do it:
Step 1: Open your image in Photoshop. From the left toolbar, select the “Crop” icon.

Step 2: Extend the crop handles to expand the canvas dimensions. Keep the Shift key pressed as you drag to preserve the initial aspect ratio.
Step 3: Once you're satisfied with the new canvas size, press Enter or click the checkmark to apply the changes.

Step 4: This method works well when you have a plain background, such as a solid color or a simple gradient. You can also adjust the canvas size this way. Go to Image > Canvas Size. Then, enter your desired dimensions in the box that appears.
However, if your background is complex, you may need a different technique. It will extend the background in Photoshop without making seams or inconsistencies.
Method 2: Expand with Content-Aware Fill
Photoshop's Content-Aware Fill tool is powerful. It can extend backgrounds by filling in the new area. This method works best when the background has a repeating pattern or texture that can be seamlessly extended.
Here's how to extend the background in Photoshop:
Step 1: Open your image in Photoshop. Select the area you want to expand by using the Rectangular Marquee tool or any other selection tool. Go to Edit > Fill, or press Shift + F5.
Step 2: In the Fill window, select "Content-Aware" from the Use dropdown menu.

Step 3: Select "Color Adaptation" within the Options menu, then in the Blending Box, choose "Normal" for the Mode and set the Opacity to 100%.

Step 4: Click "OK" to apply the Content-Aware Fill. Photoshop will analyze the surrounding area and attempt to fill the selection with a seamless extension of the background.
The quality of the result will depend on the complexity of your background. Simple, repeating patterns or textures work best. Complex or irregular backgrounds may need extra touch-ups.
If you're not happy with the result, you can try changing the Content-Aware Fill settings. You can also use the Clone Stamp tool to further improve the extended area.
Method 3: Create solid-hued backgrounds
If your image has a simple background, you can extend it in photoshop. Create a solid-colored layer and put it behind the subject.
Here's how to do it:
Step 1: Just open your image in Photoshop. Click the "New Layer" icon at the bottom of the Layers panel.
Step 2: Use the Paint Bucket tool to fill the new layer with a solid color that matches the background of your image.

Step 3: Resize the new layer to extend the background as needed. You can do this by selecting the layer and using the Free Transform tool (Ctrl/Cmd + T).
Step 4: Adjust the layer's opacity and blending mode as needed to seamlessly integrate the extended background with the rest of the image.
This method works best when you have a relatively simple, consistent background that can be easily matched with a solid color. It's a quick and effective way to how to extend background Photoshop without relying on more complex techniques.
Part 2: How to Extend Photo Background without Photoshop
Photoshop offers powerful tools. They let you extend backgrounds. However, it can be complex and scary for some users. Consider using a specialized tool like Repairit Photo Extender. It's a more user-friendly alternative.
Repairit AI Image Extender is an image editor. It focuses on extending photo backgrounds. Photoshop is comprehensive and feature-rich. Unlike it, Repairit is designed to handle the challenges of extending backgrounds on Photoshop. It does so with ease and efficiency.
Limitations of using Photoshop to extend image background
While Photoshop is a versatile and powerful tool, it can also be overkill for the task of how to extend background in Photoshop. Some of the potential drawbacks of using Photoshop for this purpose include:
- Photoshop is complex. It has a lot of tools and features. They can overwhelm users who just want to quickly extend a background.
- Extending a background in Photoshop takes time. This is especially true if you need to use advanced techniques like Content-Aware Fill or manual cloning.
Introducing Repairit Photo Extender
Repairit AI Image Extender makes it easier to extend the background. It has a user-friendly interface and special algorithms for this task.
Repairit Photo Extender is an AI-powered image editing app. It lets you easily extend photo backgrounds with just a few clicks. It uses advanced algorithms to analyze the background. They generate a natural extension, without the need for manual editing.
Key Features:
- Repairit's AI-powered algorithms can find and extend photo backgrounds. This saves you time.
- The interface is intuitive. Repairit makes it easy for anyone, even those with limited image editing experience.
- No Photoshop experience required. Repairit is a standalone app. You don't need Photoshop or any other image software on your device.
- Batch processing. Repairit allows you to process multiple images at once, making it a time-saving solution.
Pros and Cons of Repairit Compared with Photoshop
Step-by-step Guide for Repairit
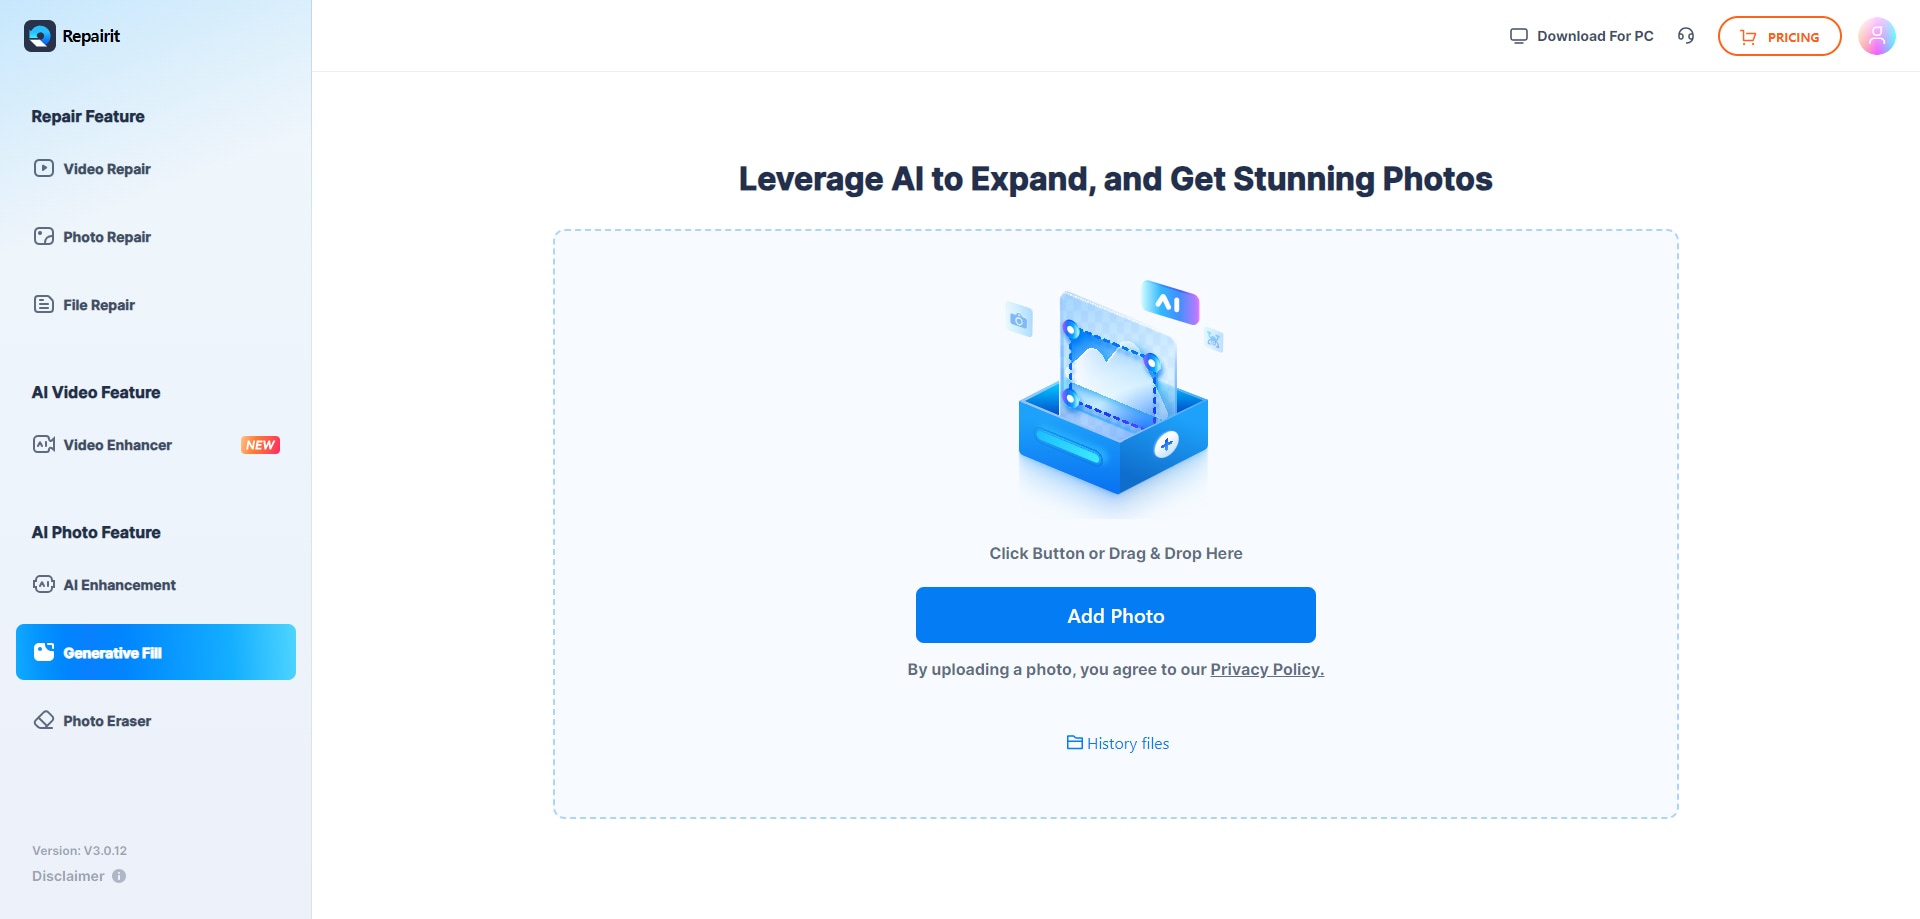
Step 1: Enter Repairit uncrop photo workspace. Click on the “Add Photo” button and browse to upload the image for extending the background.
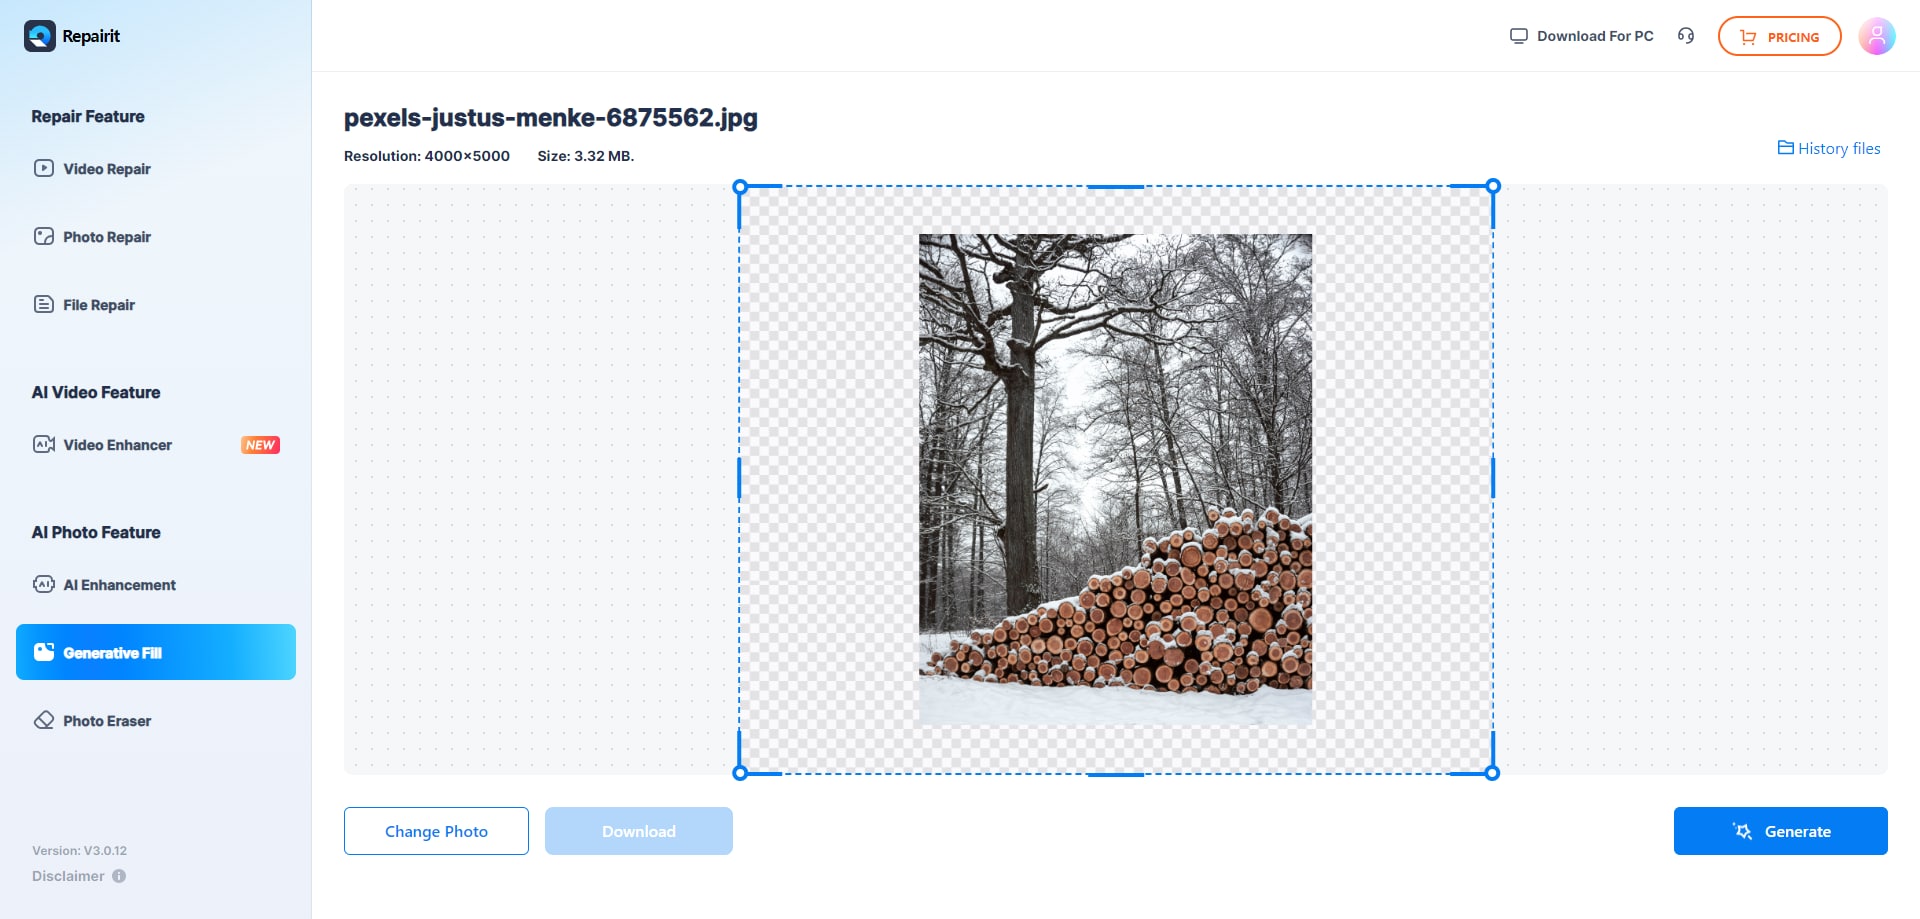
Step 2: Click the "Generate" button to let Repairit's AI-powered algorithms automatically extend the background of your photo.
Step 3: After the filling procedure finishes, you'll be notified with a "Processed Successfully" message. You'll have the option to preview the enlarged photos.
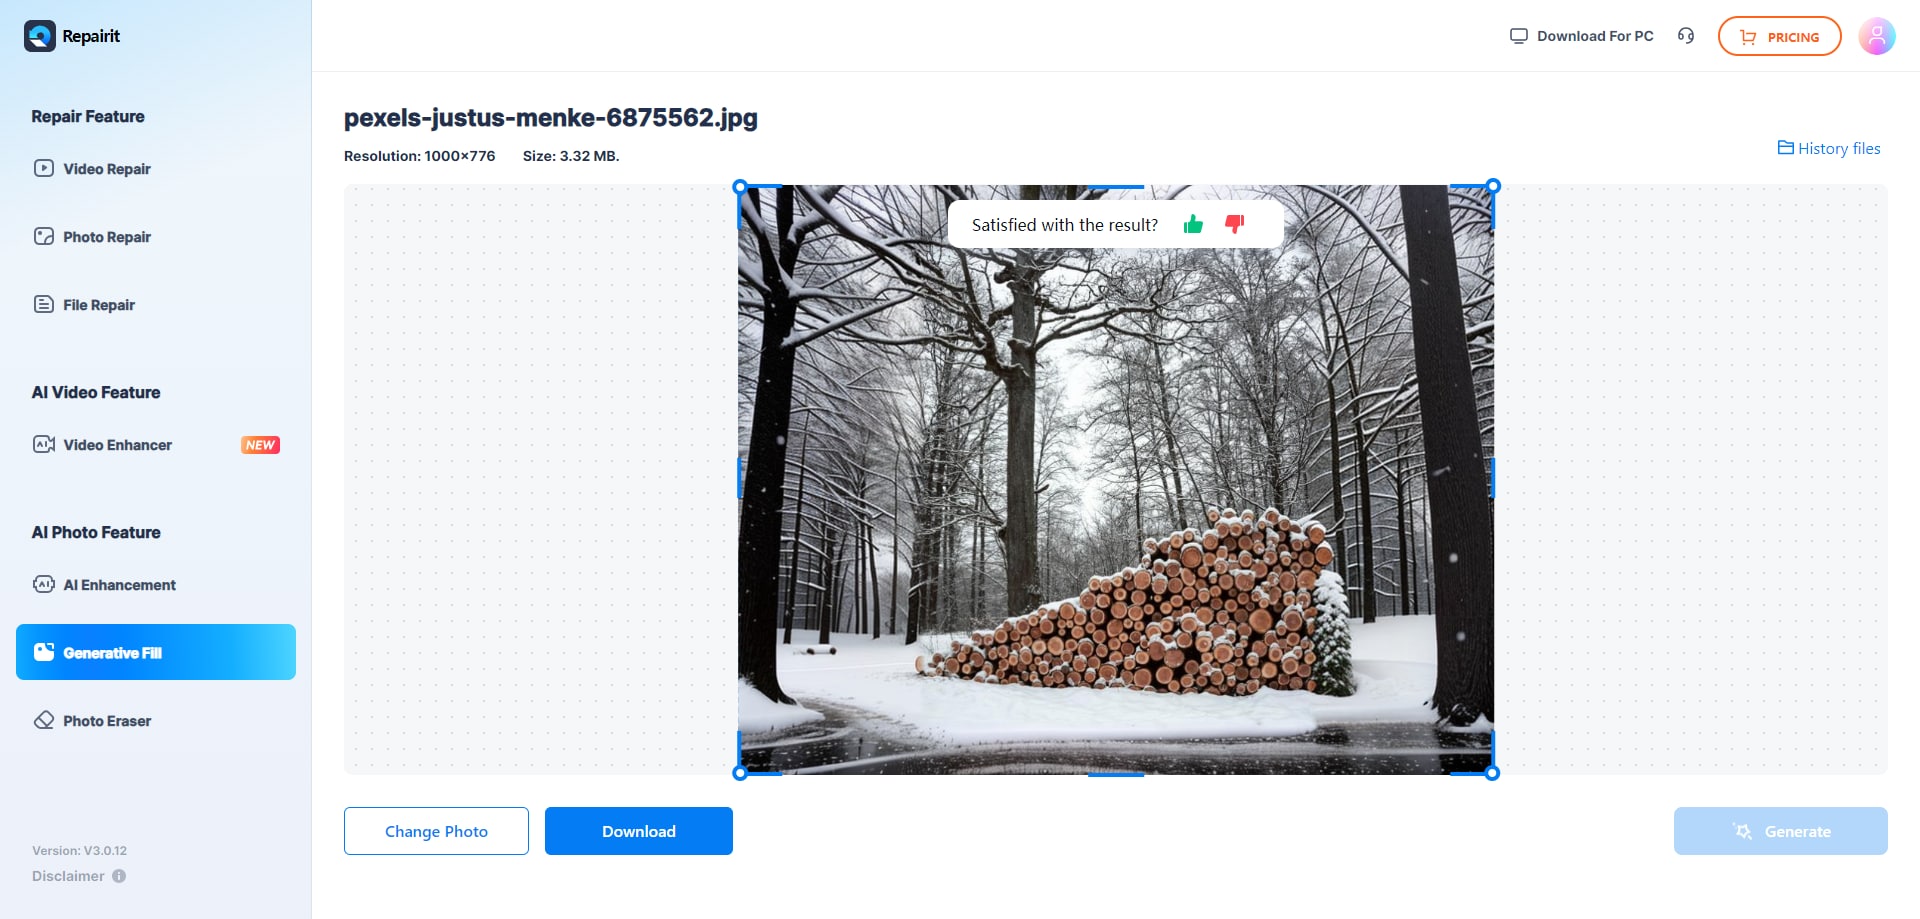
Step 4: If you're content with the result, simply click on Download to store the expanded photo on your device.

Part 3: Additional Tips to Extend Photo Background
So far, the methods and tools we've discussed can help extend the background in Photoshop. But, a few extra tips and techniques can help you get even better results:
- Pay attention to details. Note small details, like texture, lighting, and shadows. They ensure a seamless transition from original to added areas.
- Use layers and masks. Use Photoshop's layers and masks to control and blend the extended background with the rest of the image.
- Consider color and tone. Make sure the new background matches the color and tone of the original one. This will create a cohesive look.
- Experiment with blending modes. Try Overlay or Soft Light. They help blend the background more naturally.
- Refine with the Clone Stamp tool. If you're not happy with Content-Aware Fill or other tools, use the Clone Stamp tool to manually patch and blend the extended area
- Save intermediate steps. Save your work at various stages so that you can go back and make adjustments
Conclusion
Extending the background of an image in Photoshop can be a valuable skill for a wide range of creative and practical applications. You may be working on a design project, enhancing a photo, or just need to make a larger canvas. The tools we've explored in this article can help you achieve the results you want.
Remember, it's important to experiment, pay attention to details, and be patient. With practice and the right tools, you'll be able to how to extend the background in Photoshop with ease and confidence.
FAQ
Q: What are the best methods for how to extend the background in Photoshop?
The top techniques include making the canvas wider. They also include using Content-Aware Fill. And, creating solid backgrounds.Q: Can I extend the background of an image without using Photoshop?
Yes, tools like Repairit Photo Extender offer an easy way to extend the background. They do this without the complexity of Photoshop.Q: How do I ensure a seamless result when extending the background in Photoshop?
Pay attention to details like texture, lighting, and shadows, and use layers and masks to blend the extended area.